Phoenix is one of the golf meccas of the world with nearly year-round weather for it. My buddy Tony is an avid golfer. He attends the Phoenix Open each year to see the pros. This time of year, he's going to be glued to the Master's Tournament, dreaming about the next time he hits the links.
I had so much fun with my last golf project, I thought I'd come up with a birthday gift for my buddy to let him practice in his backyard. I'd build him a golf practice net using plastic, PVC electrical conduit.
I used a dedicated PVC heater years ago to bend plastic pipe during time as a Sparky the Electrician. We'd use these little, electric ovens to heat up ½ to 2-inch conduit to make custom bends.
We'd install it as an underground wire way, beneath the slab of a building or out to exterior stuff, like parking lot lights. These "hot boxes" are super handy,...but they are also super expensive. The little rascal above goes for nearly $500!
So naturally...
Directions
Here's How I Made a Conduit Heater for $25
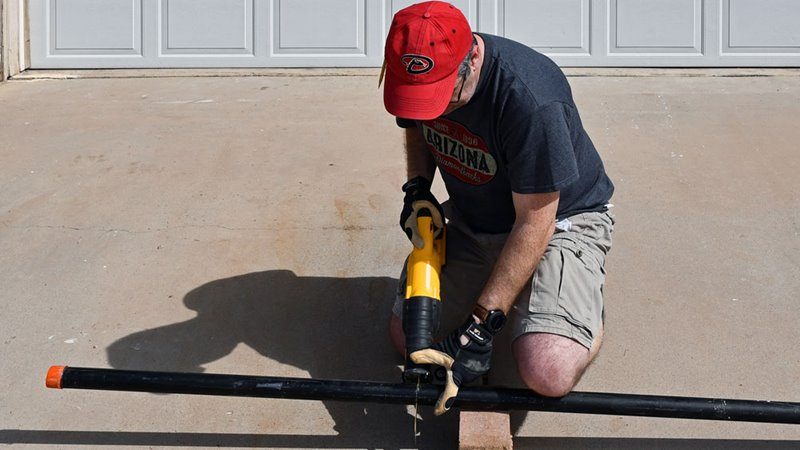
I bought a simple piece of 1¼" black, metal pipe at my local home center to make my own oven. It's important not to use any sort of galvanized pipe because it will give off seriously poisonous fumes when heated. My piece of pipe was steel. It's tough stuff, but can still be cut with a hacksaw or, better yet, a reciprocating saw with a metal-cutting blade.
I lopped a couple feet off the end. That's all I'd need.
Bending PVC Conduit with a Blowtorch
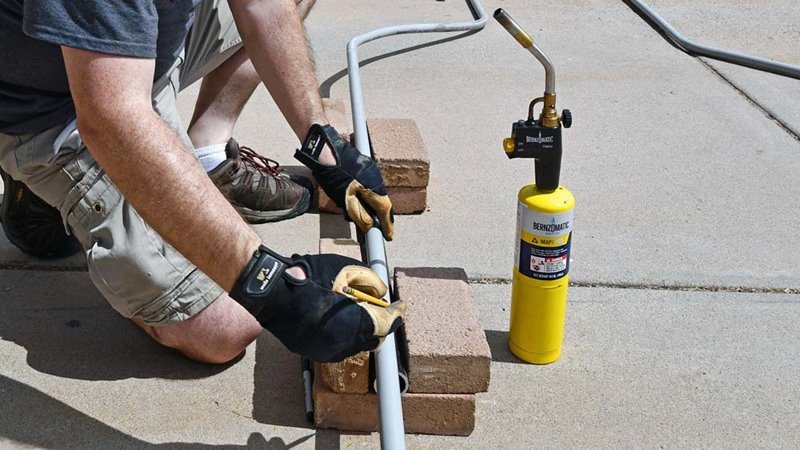
I used the Bernzomatic TS8000 recently to do some plumbing in the kitchen with propane. The blue propane bottle is perfect for soldering copper. For this project, I wanted maximum heat, so I threaded a fresh, yellow cylinder of hotter-burning MAP-Pro fuel.
I triggered the torch to life, clicked the run-lock button in place, and pre-heated the metal pipe, slowly moving the flame along its length.
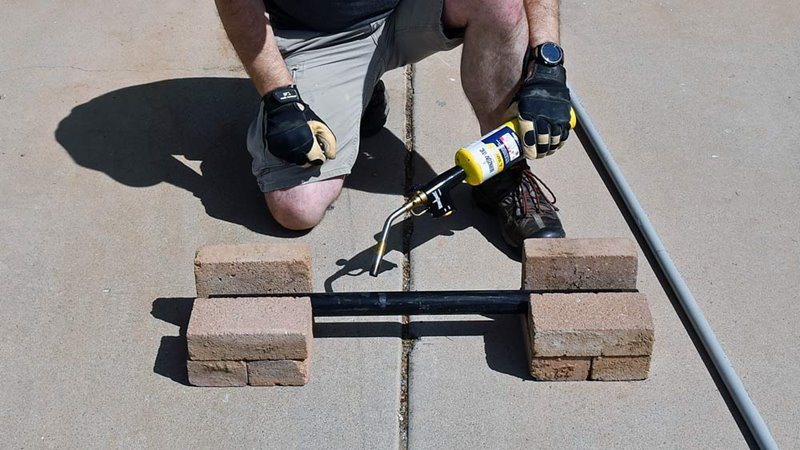
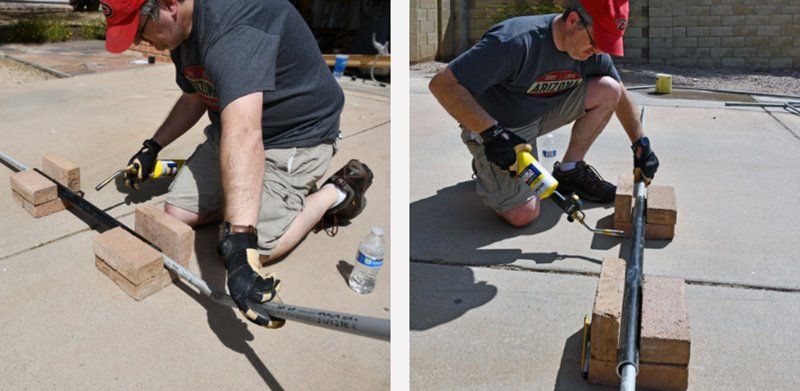
In a minute or so, I could feel the heat from the pipe radiating against my legs. I slid a stick of ¾" PVC into one end, centering it where I wanted the center of my bend to be. I kept spinning the conduit with my free hand as I slid it slightly back and forth. I wanted it evenly heated and didn't want it melting to the hot metal.
The pipe sleeve around the PVC kept me from burning the plastic with a direct torch flame. It also spread the heat across a greater area than a sharp tip of torch fire would allow.
It only takes a couple minutes. There's a very light puff of smoke and a melted plastic smell right before the PVC started to get wiggly. I pulled it out to see that it wasn't quite soft enough to make a 90-degree bend. It straightened out easily and I stuck it back in for a couple more moments.
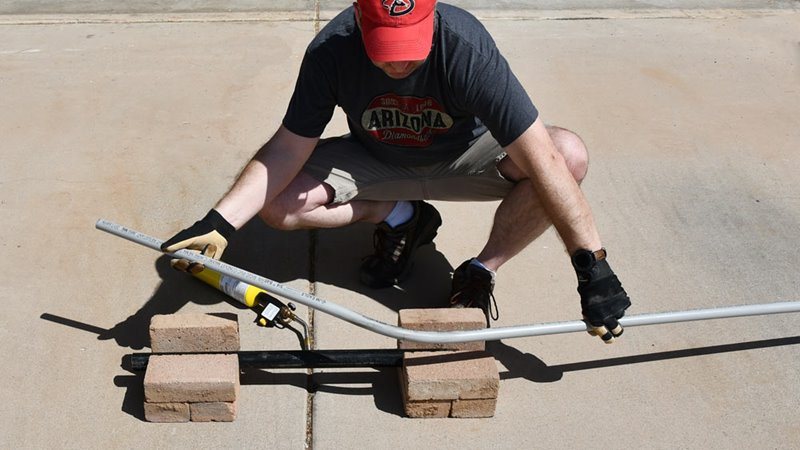
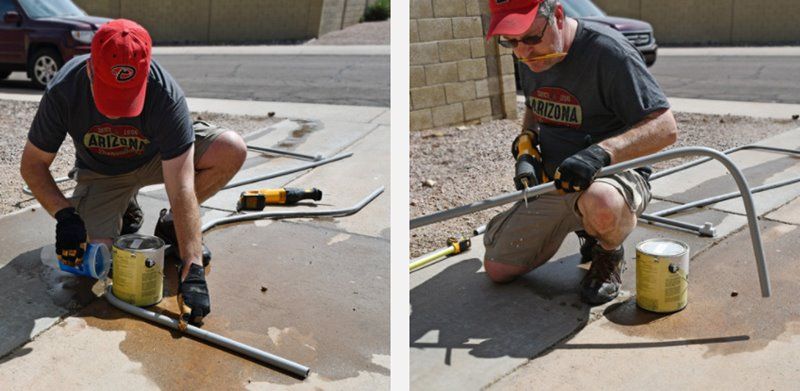
It got really pliable in another few minutes so I pulled it out to shape it. To keep 90 degree bends a uniform radius, I wrapped the pipe around a paint can before cooling it.
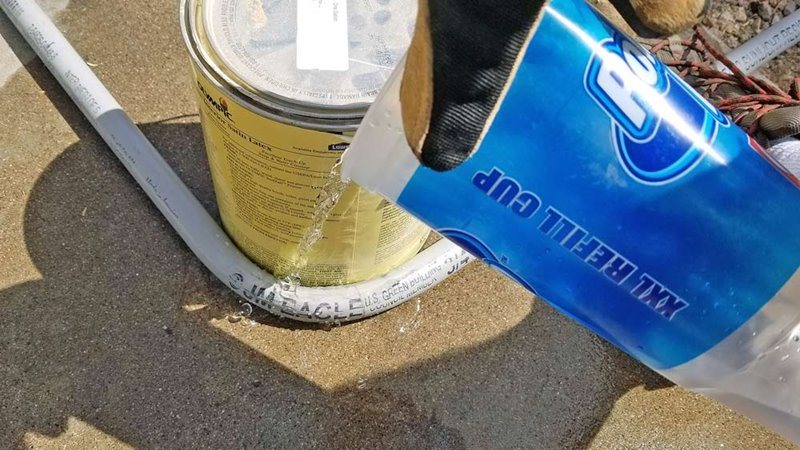
It's well known around around here that the Circle K Polar Pop XXL is a 52 oz thirst-quenching beast, usually reserved for a nice Iced Tea or soda. For this project, however, it perfectly held 52 oz of hot-plastic quenching perfection. I kept the monstrous plastic cup loaded up with cold water to cool each of my bends. Dousing them with water instantly locked the soft, melty plastic into its new shape. It's like hitting a cartoon rattlesnake with a freeze ray.
I kept at it, bend after bend. It got easier as I got the hang of the timing. The metal pipe stayed hot and radiated heat evenly, like a cast iron skillet. I love the trigger-start lighting of the torch and the easy lock button to keep it burning as I blasted away. I'd click it off, set it down, and run for the cooling station for each bend.
It's unbelievably easy, but you still have to be careful and pay attention. The black pipe is scorching hot and the torch flame is nearly invisible in the sunshine.
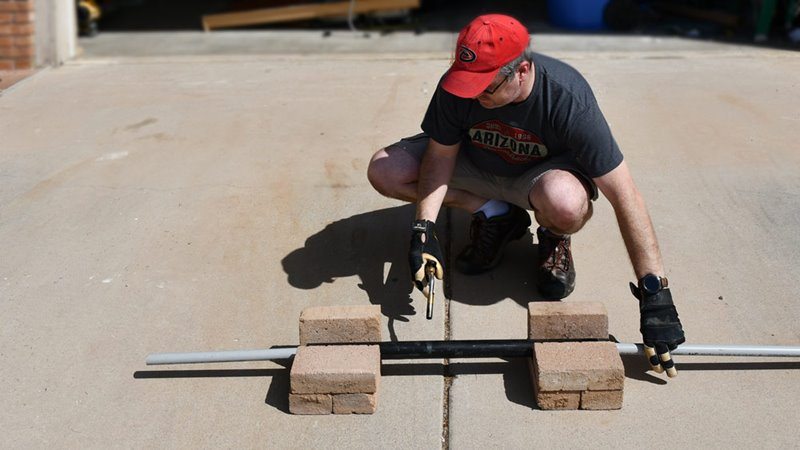
To be sure I didn't literally bend myself into a corner making complex shapes, it took a little planning ahead to make sure there were straight sections of PVC to fit inside the hot pipe.
The center of the black pipe was lined up with a driveway joint. It made it easy to center the bends there by marking the point the PVC would stick out of the end of the heating tube.
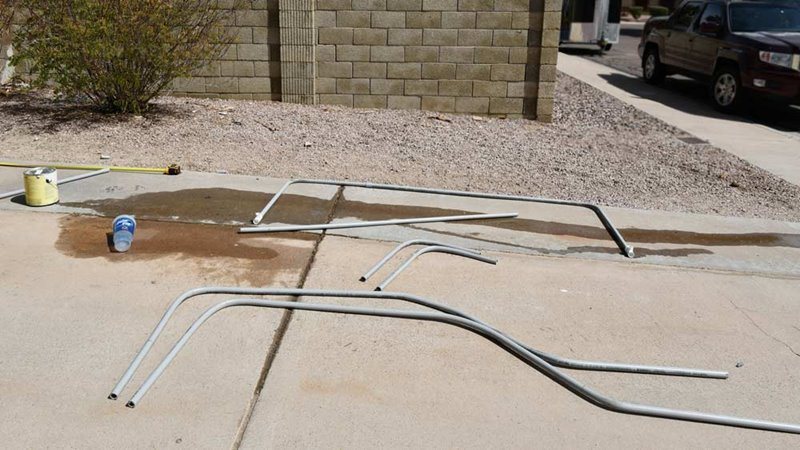
After I cooled the last of the bends, I cut my collection of assorted parts into equal-sized, left and right components. Even with the metal blade, my reciprocating saw sliced through the plastic effortlessly. I'm sure a hacksaw would have done well, too.
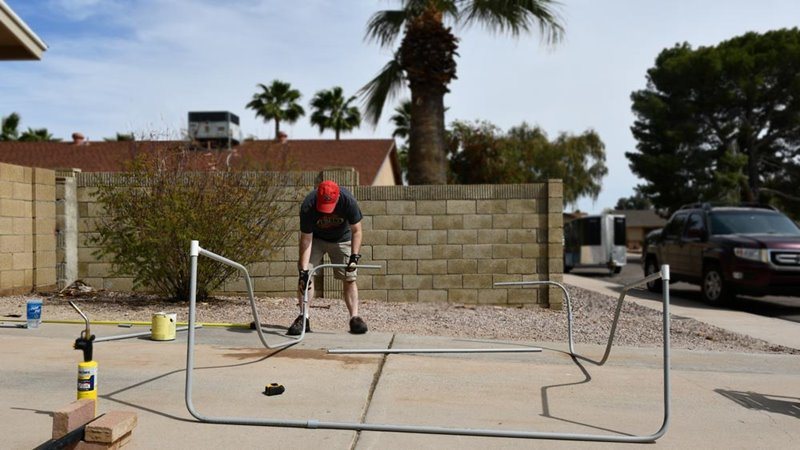
I started dry-fitting the pieces together, building from the ground up.
Flipping the entire assembly on its back, I made a few more cuts to slip it all together with couplings. The contraption was 7 feet wide.
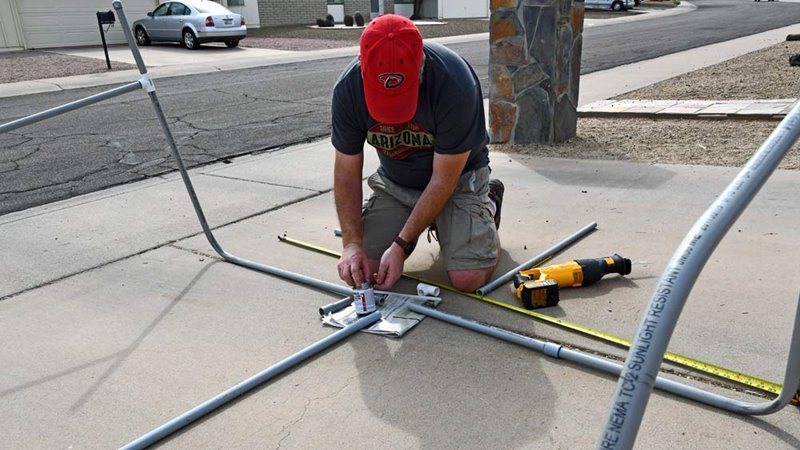
I used electrical PVC (gray) conduit, but was still able to use the white, plumbing-grade fittings. Electrical does not use the "T" shapes, but the plumbing ones fit perfectly.
I used a blue, PVC cement that didn't require an additional primer step. I painted both surfaces, stuck the pieces together with a slight twist, and it was locked solid in seconds. It's some kind of chemical weld process.

After I stood the unit up, it was a little too floppy for my liking. The plastic frame would flex nicely to help absorb the impacts of a golf ball, but I didn't like the way the whole thing moved in a wind gust. I added a central, back strut for support.
That's the cool thing about PVC - you can just cut it and slide new pieces in anywhere you want.
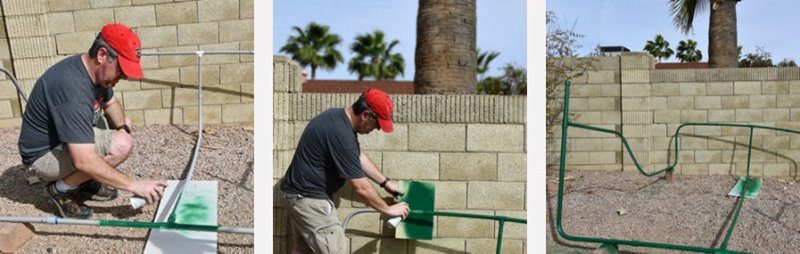
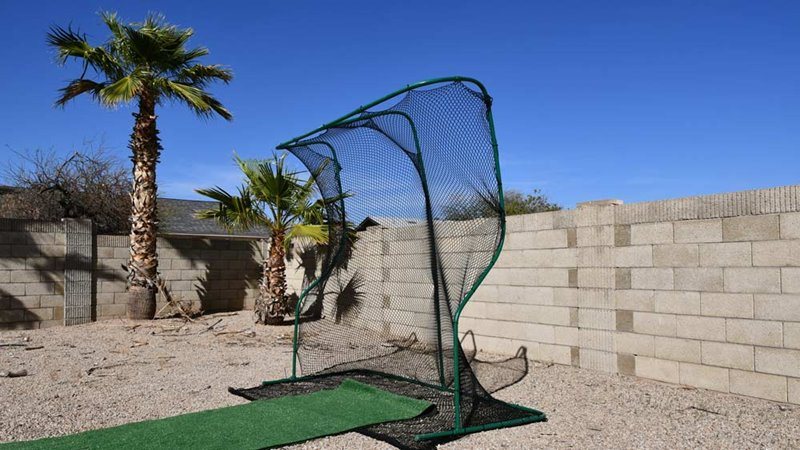
I could leave it gray, but that certainly wouldn't do for a gift. I popped the frame up on some bricks and gave it a good shot of spray paint. I did two coats with only a can and a half of paint.
It looked like powder-coated, steel tubing as it dried. The plastic took paint gorgeously. I left it out overnight to dry.
The frame was about 7 foot by 7 foot, so a 10 foot square of golf impact netting wide enough to allow slack to absorb the energy of a golf ball hitting it without trampolining it at high-speed directly back at a golfer's tender bits.
I centered the net at the top of the frame and started attaching it, working my way around.
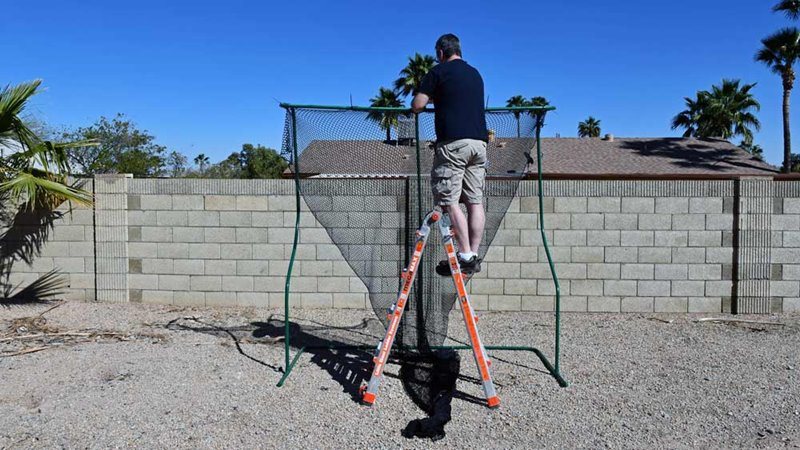
I attached it to the frame with UV rated cable ties that wouldn't get brittle in the sun.
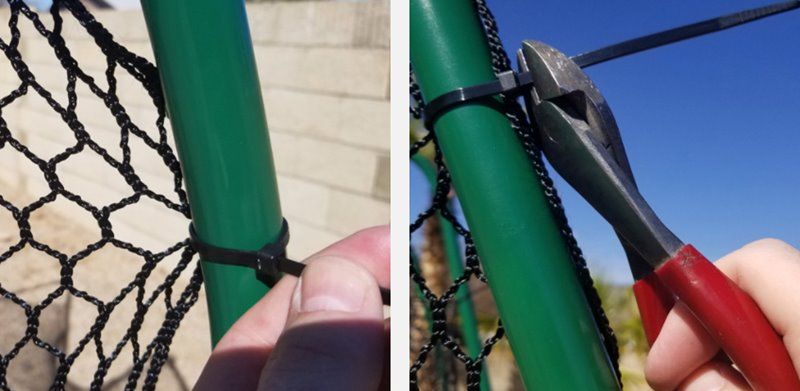
With all the zip ties trimmed, the net was done.
It takes a really sharp eye to notice there are a few, minor bare patches in our lush back yard. Admittedly, there's clearly a place or two where the grass is a little thin.
It's kind of a thing we have to deal with here in the desert, so I ordered a fresh roll of lush, grassy lawn from Amazon.
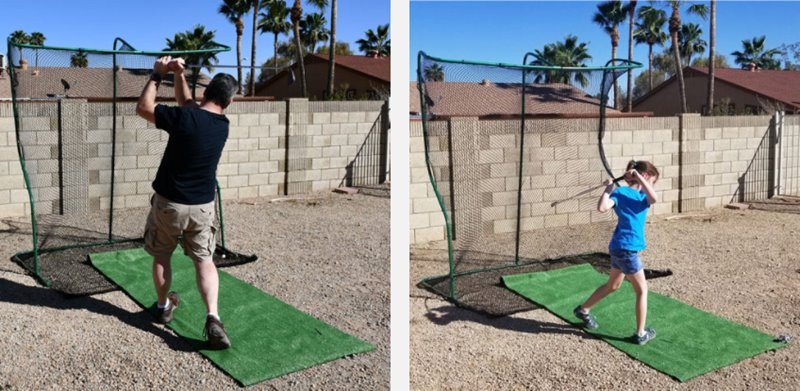
Grace and I, clearly master golfers, gave the net an inaugural blast. We both managed to hold back on our herculean driving power and kept from blasting the net over the block fence into the neighbor's yard.
PVC retains its shape well, even when lashed to the back of a short bed pickup truck and run across town on the freeway. I met Tony at his son's house.
We set it up and let him chip some balls in the front yard. Yeah... it's a real yard... with actual, real grass.
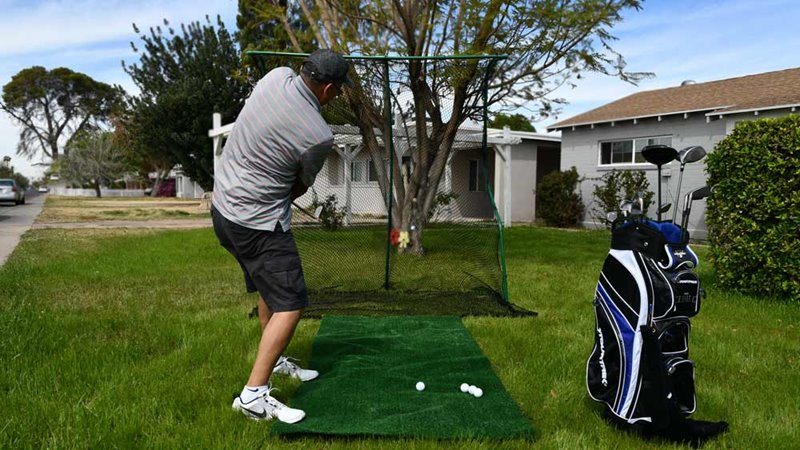
This unit is big enough to use, but light enough so one person can carry it into the garage for storage.
It was a really fun project and quick to build in a couple afternoons. PVC is a simple product to work with. I can imagine all kinds of other DIY projects can be made with it using my inexpensive torch bending method.