Directions
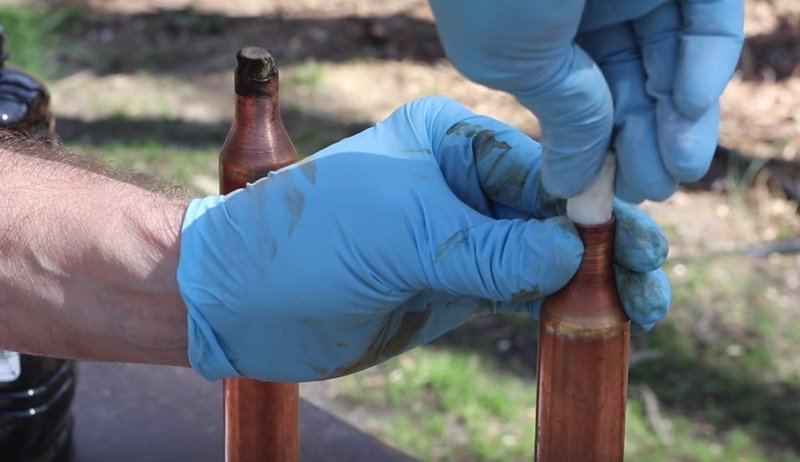
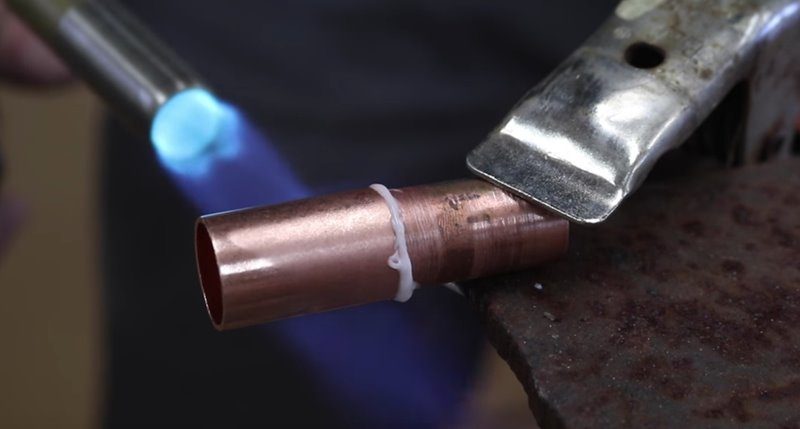
1. Clean all Copper parts with sandpaper and apply flux to both the inside and outside of the ½” Air Chamber Wrot and the Male Adaptor.
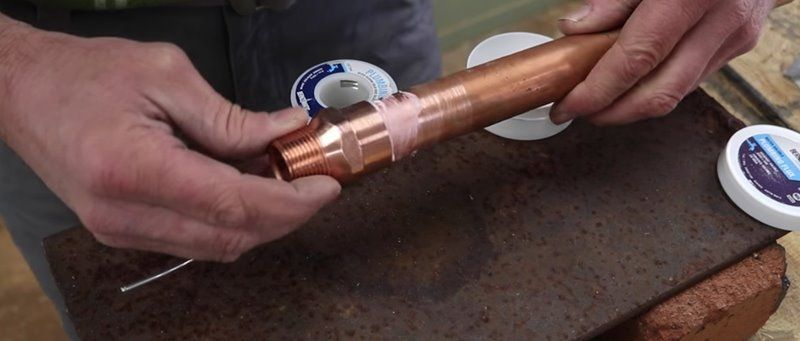
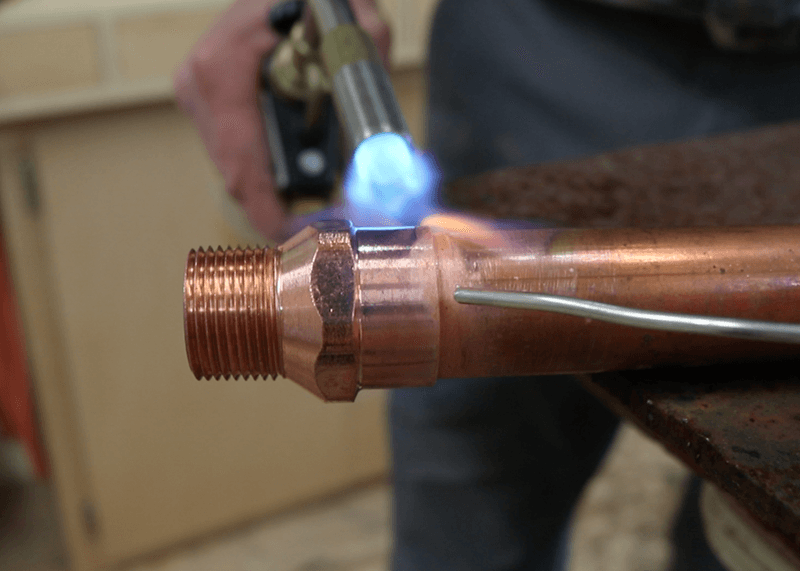
2. Make the solder joint by heating one end of the pipe with the torch until it’s hot enough tomelt the solder. Touch the solder to the pipe and apply heat with the torch. This will form the main length of the Tiki Torch.
3. To make the torch cap, cut a piece of ½” copper pipe with a pipe cutter to a 1 ¼” length.
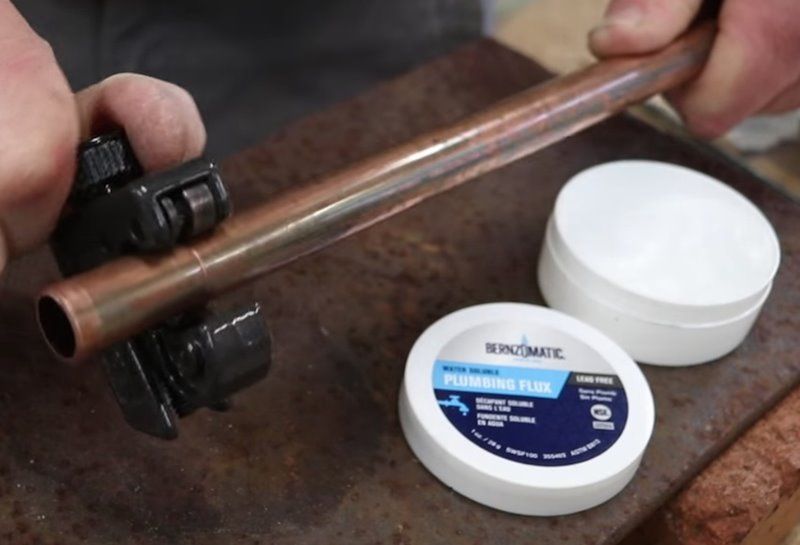
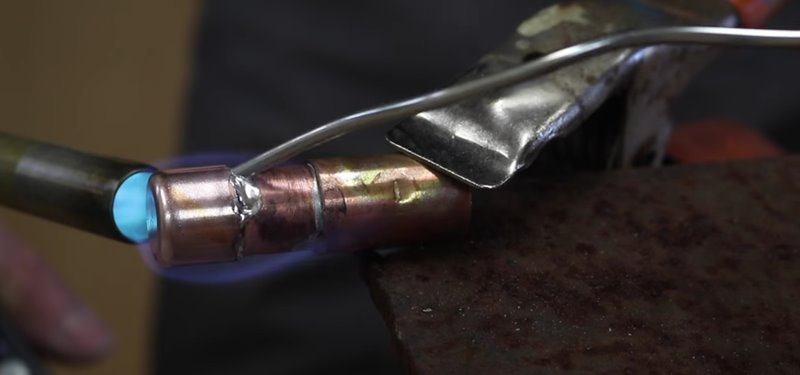
4. Clamp the copper pipe to a metal table, add Flux to both the ½” pipe and ½”coupling and use torch to solder.
5. Let the pipe cool down and attach the tube cap by adding flux and soldering with the torch.
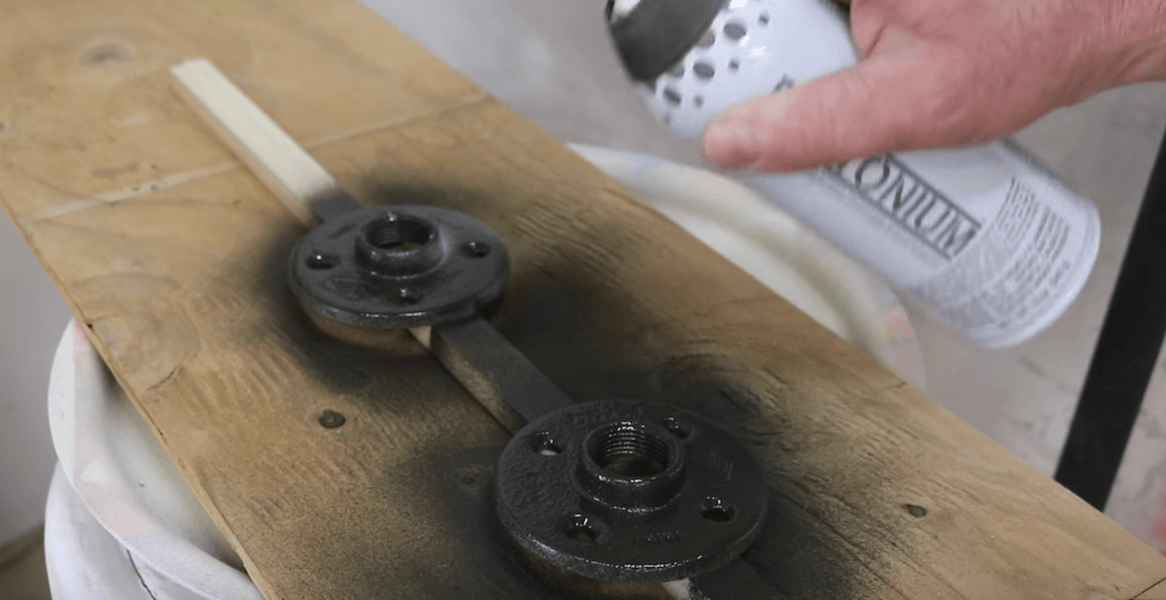
6. Spray paint the galvanized floor flange and screws a grey/green color that will eventually match the finish of the weathered copper torch.
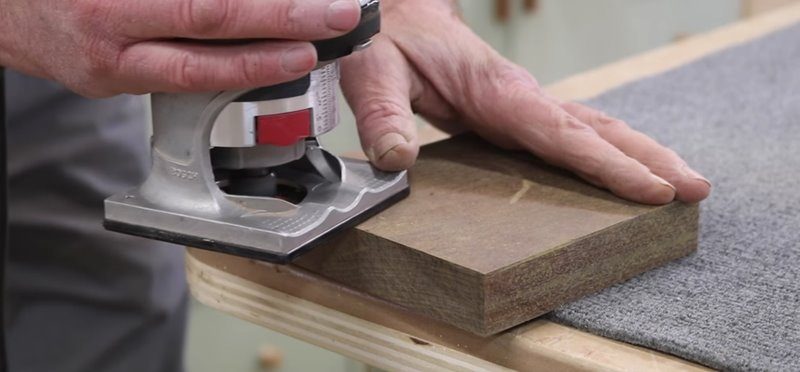
7. Make the wood tiki torch base by cutting a 5” square piece or hardwood. I use an old piece of Ipe decking and make a decorate edge by using a chamfer bit in the router.
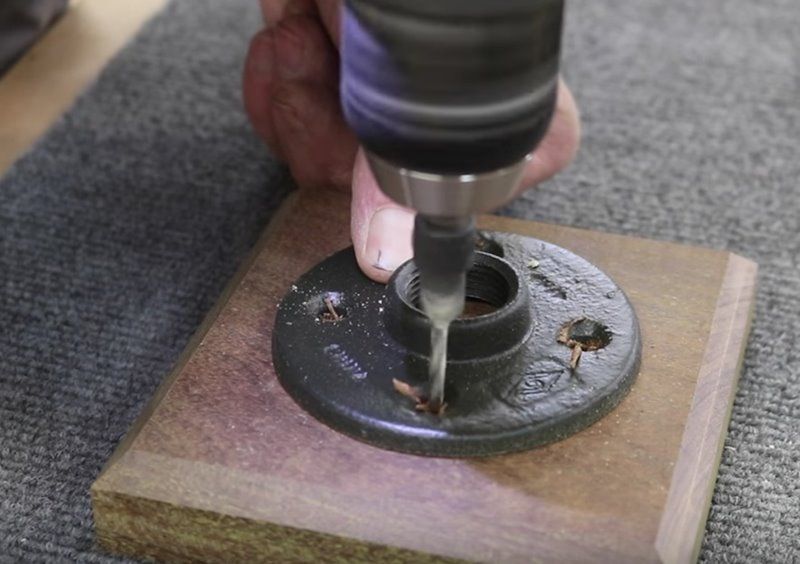
8. Attach the galvanized floor flange to the wooden base by predrilling holes before securing with screws.
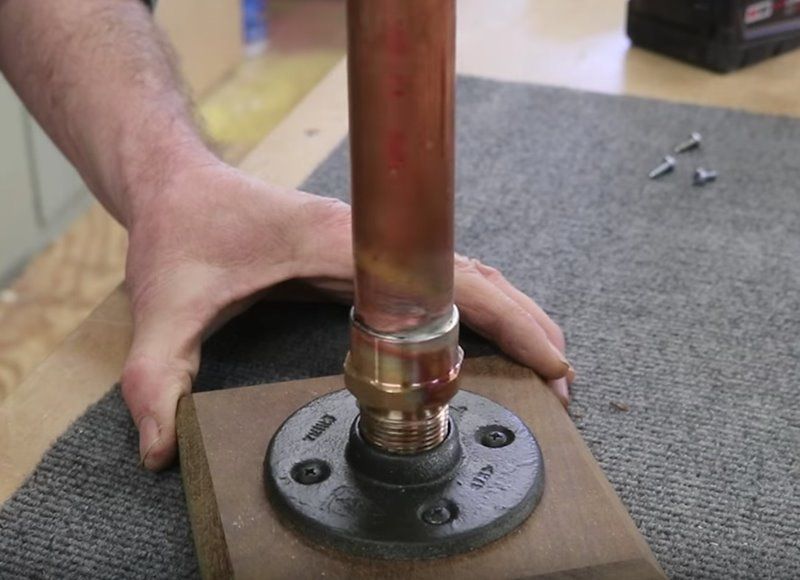
9. Screw the copper adapter into the floor flange to create the finished Tiki Torch.
10. Add Tiki Torch fluid with a funnel and insert a 6” piece of wick material. Light with a torch and enjoy!