Working on the kitchen remodel, I've been glancing out the window, thinking about the little courtyard we're going to have, just outside a new exterior door. That little side yard space is so plain. It just needs something visual out there, besides weeds.
I'd been thinking about making some kind of rustic, wall hanging art for a while. I've seen these things at flea markets, craft shows, and decor shops that give me those "I can make one of these" and "Holy cow! look what they charge for them!" vibes.
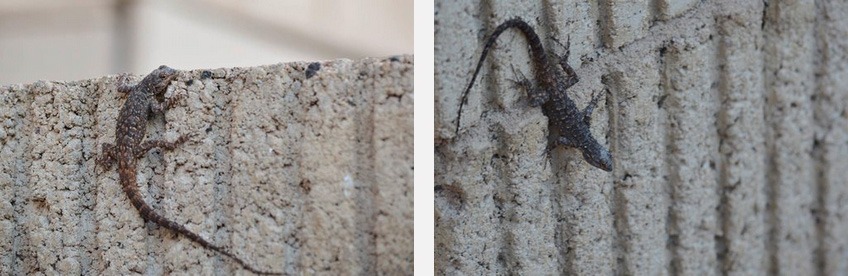
For inspiration, I only had to pop out and visit the desert dwelling denizens running along our block fence. These little critters are fun and friendly, scurrying about, doing their jobs, and snatching up bugs.
A lizard art piece it would be then. Here's how it went down, step by step.
Directions
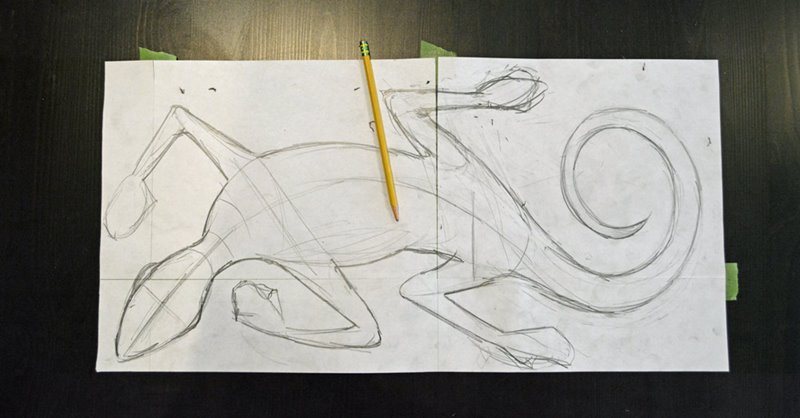
Step 1: Make a Paper Pattern
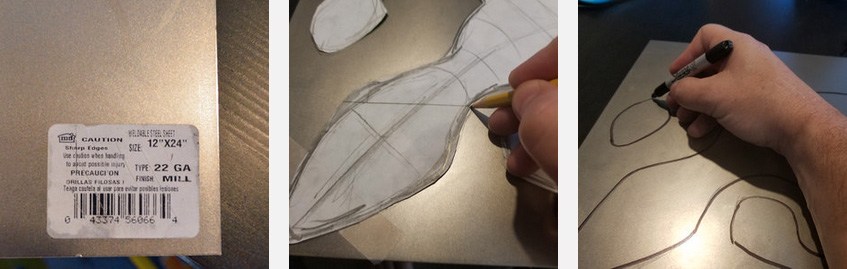
I used some green painter's tape, because I couldn't find regular frosted tape, and made a large sheet of paper the size of my metal stock, 12 in x 24 in. I grabbed a #2 Ticonderoga and started free hand sketching.
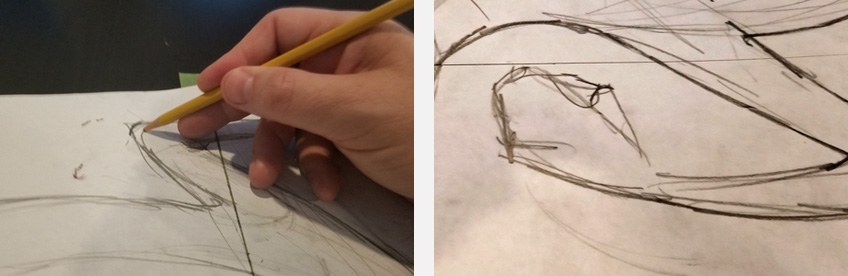
After some feverish scribbling, erasing, and more scribbling, I came up with a reasonably handsome, lizardy design. I kept it simple. I figured I'd not be able to detail the spindly little lizard fingers when cutting metal, so I left the feet kind of vague.
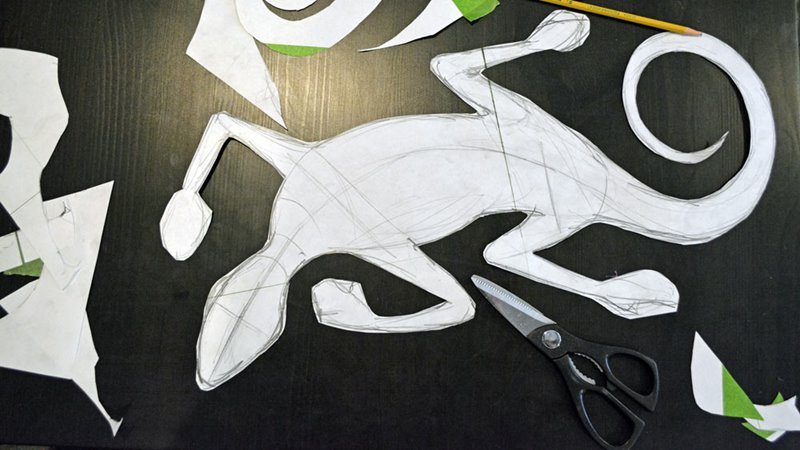
With the help of a pair of kitchen scissors, the reptile burst free from the constraints of its rectangular prison. It was free to scurry about the coffee table.
Step 2: Steel
I'd picked up a 1 foot x 2 foot piece of 22 gauge, mill finish, "weldable" steel at Home Depot. The milled finish had enough texture to use a pencil to trace the pattern. I followed up with a Sharpie marker and darkened the lines; I'd need to see what I was doing when the cutting action started.
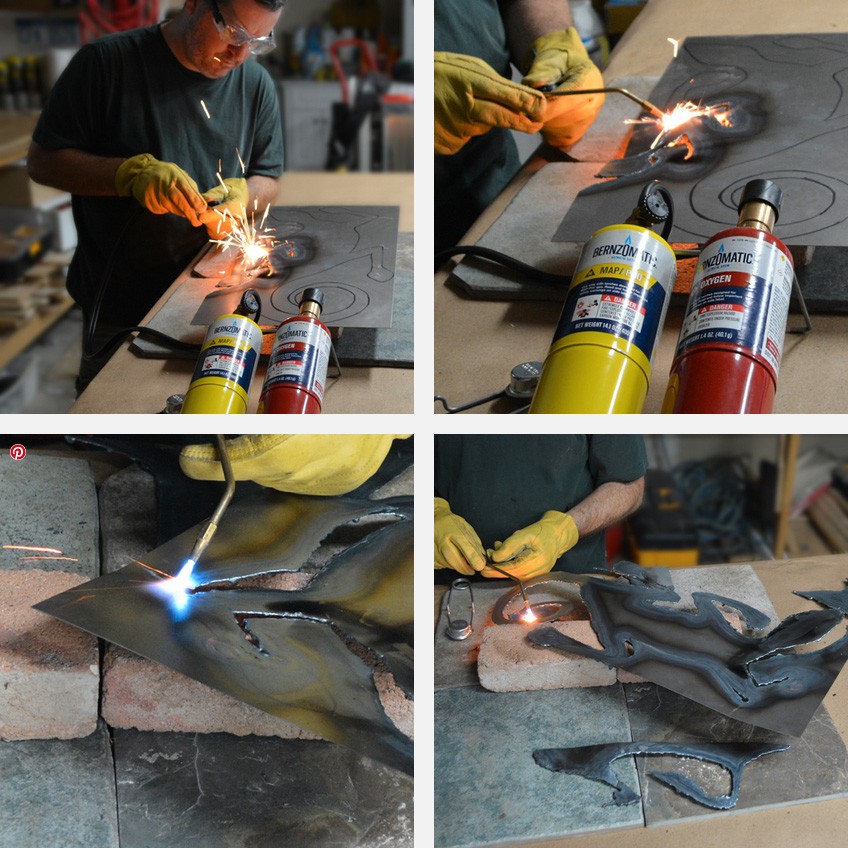
Step 3: Cutting With Fire!
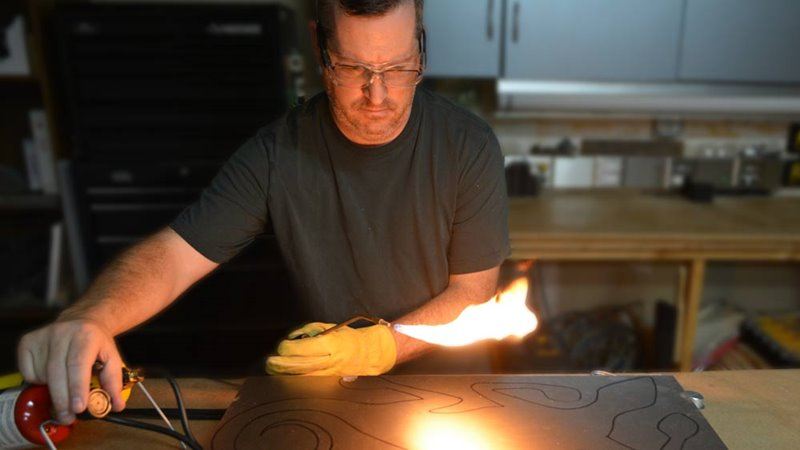
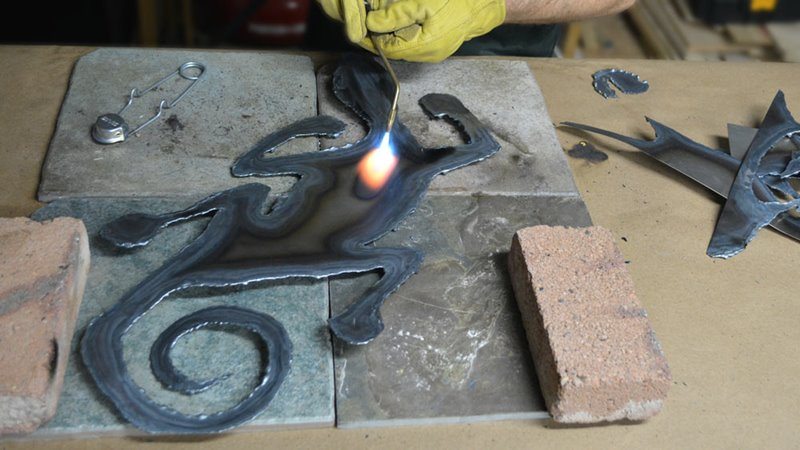
This project was not going to be a lazer-smooth, pretty piece for grandma's parlor. No, I wanted a rough and rustic piece, scaly like a lizard in the wild. Rather than use a metal cutting saw, I set up one of the most fun tools in my collection, Bernzomatic's dual-gas WK5500 OX Cutting, Welding, and Brazing Torch. The hottest-burning, fire-breathing beast in their line of blow torches can eat sheet metal for breakfast.
I'd used this bad boy twice before, once to cut off an old hinge pin on our fence, and then to braze steel bookends from my old electrician's tools. I'd never done anything close to precision cutting with it, so the lizard would be the guinea pig.
Lighting this tool is tricky to get the hang of at first. It takes a little practice and patience, but once you get the process down, it's super easy. You start by opening the MAP-Pro (yellow) gas valve, just a little bit to let is hiss. Light it with the sparker (included with the kit) and adjust the flame down until it's soft and flickering, just touching the tip of the torch.
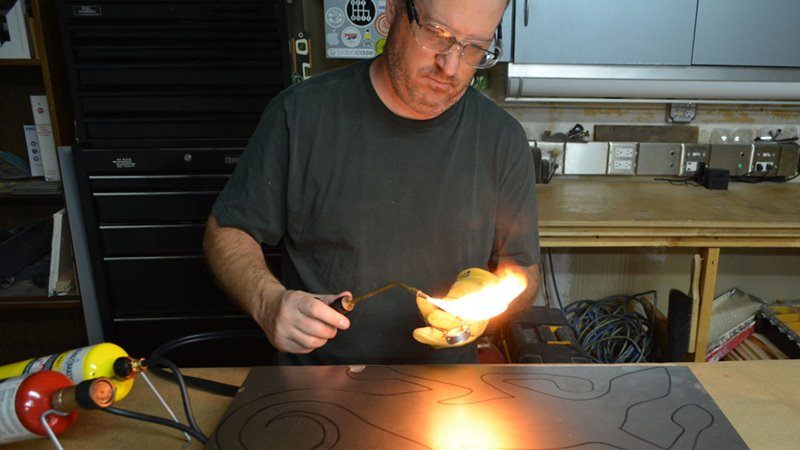
With MAP-Pro gently burning, introduce oxygen (Red cylinder) very slowly. Aiming for a small, blue knife-edge of flame, I've found that initially reducing the MAP-Pro a bit more helps while I ease in more oxygen.
The flame actually snaps and converts into a hard, pencil-sized, blue / white flame with an inner blue tip.
More oxygen actually shortens that inner tip of flame. MAP-Pro extends it. When I light this beast, I keep alternating between the gasses, adding more and more until the inner, blue flame is about a quarter inch long and the torch is positively roaring. Sometimes, I get a little greedy and crank up the gas too quickly causing the flame to blow out with a pop. Then I've got to shut it all down and start over.
That inner flame is the cutting part of the tool. I ease it against the steel, which quickly heats orange hot, dimples, and opens up like melting butter.
I point the flame forward, preheating the line ahead. It looks like I'm gently easing a pea-sized ball of molten metal along the cutline. It's really quite fun when you get the hang of it.
Can you believe a DIY'er can pick up a tool that can do this for only about 65 bucks at local stores?
Check out this quick video so you can get a feel for my pace. You'll want to keep moving along; this rig is thirsty for oxygen, slurping a bottle down in 8-12 minutes. I used 3 oxygen cylinders to do this project, but barely used any MAP-Pro gas at all.
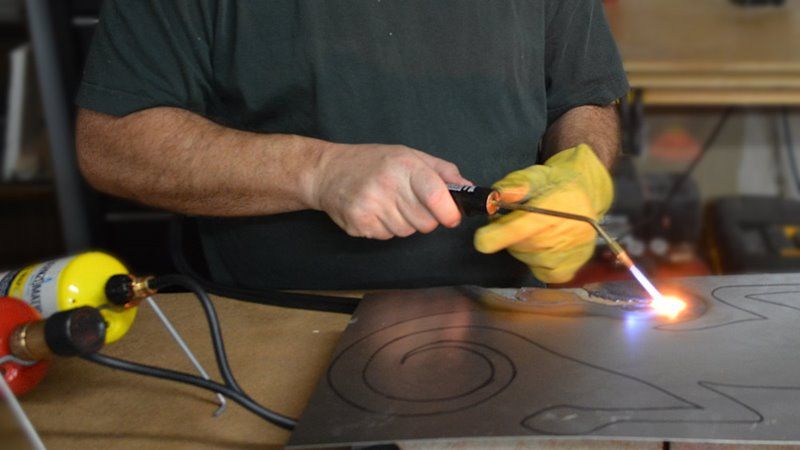
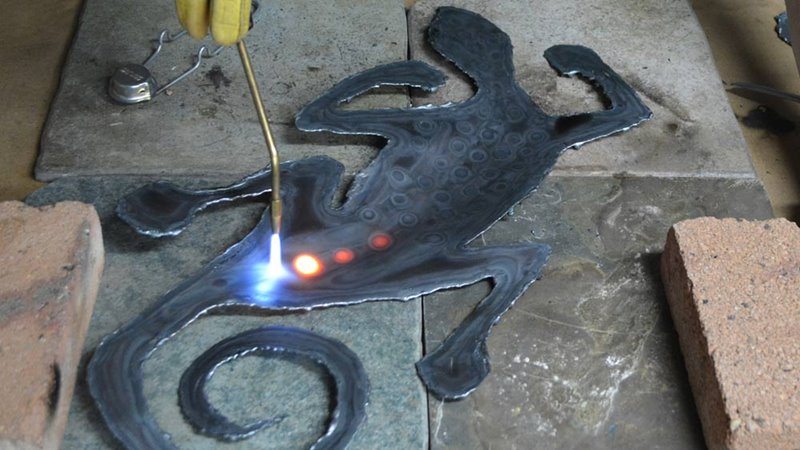
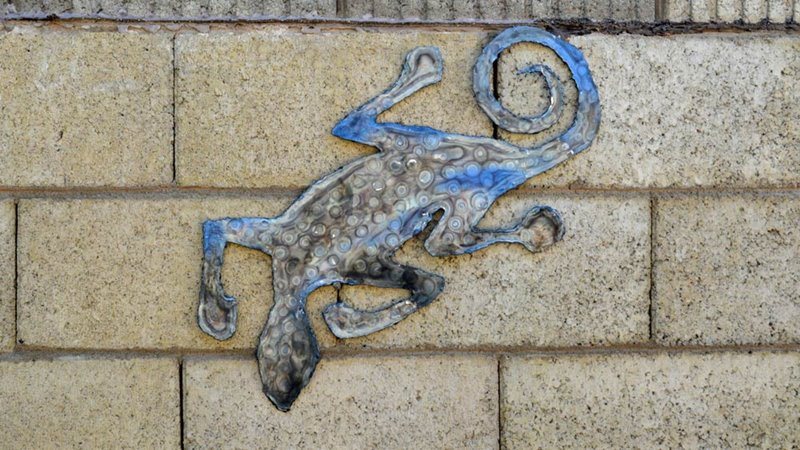
Step 4: Flame Finish
The metal has a cool, discolored pattern around the edges where I'd made the cuts. I started filling in the middle sections with lines running the length of the lizard's body. It gave it a cool finish.
I wasn't totally satisfied with the finished look, so I added some more pattern by torching a series of spots around the body. Then, it looked really cool, scaley like our little friends out in the backyard.
After it cooled a bit, I wiped it down with a damp paper towel to clean any soot. I took it out to that little "courtyard" space and stuck it on a stainless nail.
I think it looks great out there, rough and rustic.
I'm going to watch it and let it weather for a little while before I decide on final finish. I could give it a good protective coat of urethane or something to protect those cool colors, but I'm actually leaning towards letting it naturally rust. We'll see.
Tips
Safety Tips: When I have the torch ready to cut, the outer flame is blasting out about 10 inches, so I have to really be conscious about where I point it. I keep a fire extinguisher within reach and wear safety glasses and gloves. There will be sparks, my friends.
Molten, lava-like steel can drip; the extended flame certainly punches through the workpiece. I worked the piece elevated on a couple bricks and protected my work surface with old floor tiles.