This is one of the easiest beginner projects you can do if you’re new to woodworking. It’s not only simple to build but you can customize the style and size to fit any space. Here’s how to build picture ledges so you can do something similar in your own home using the Bernzomatic TS4000.
Directions
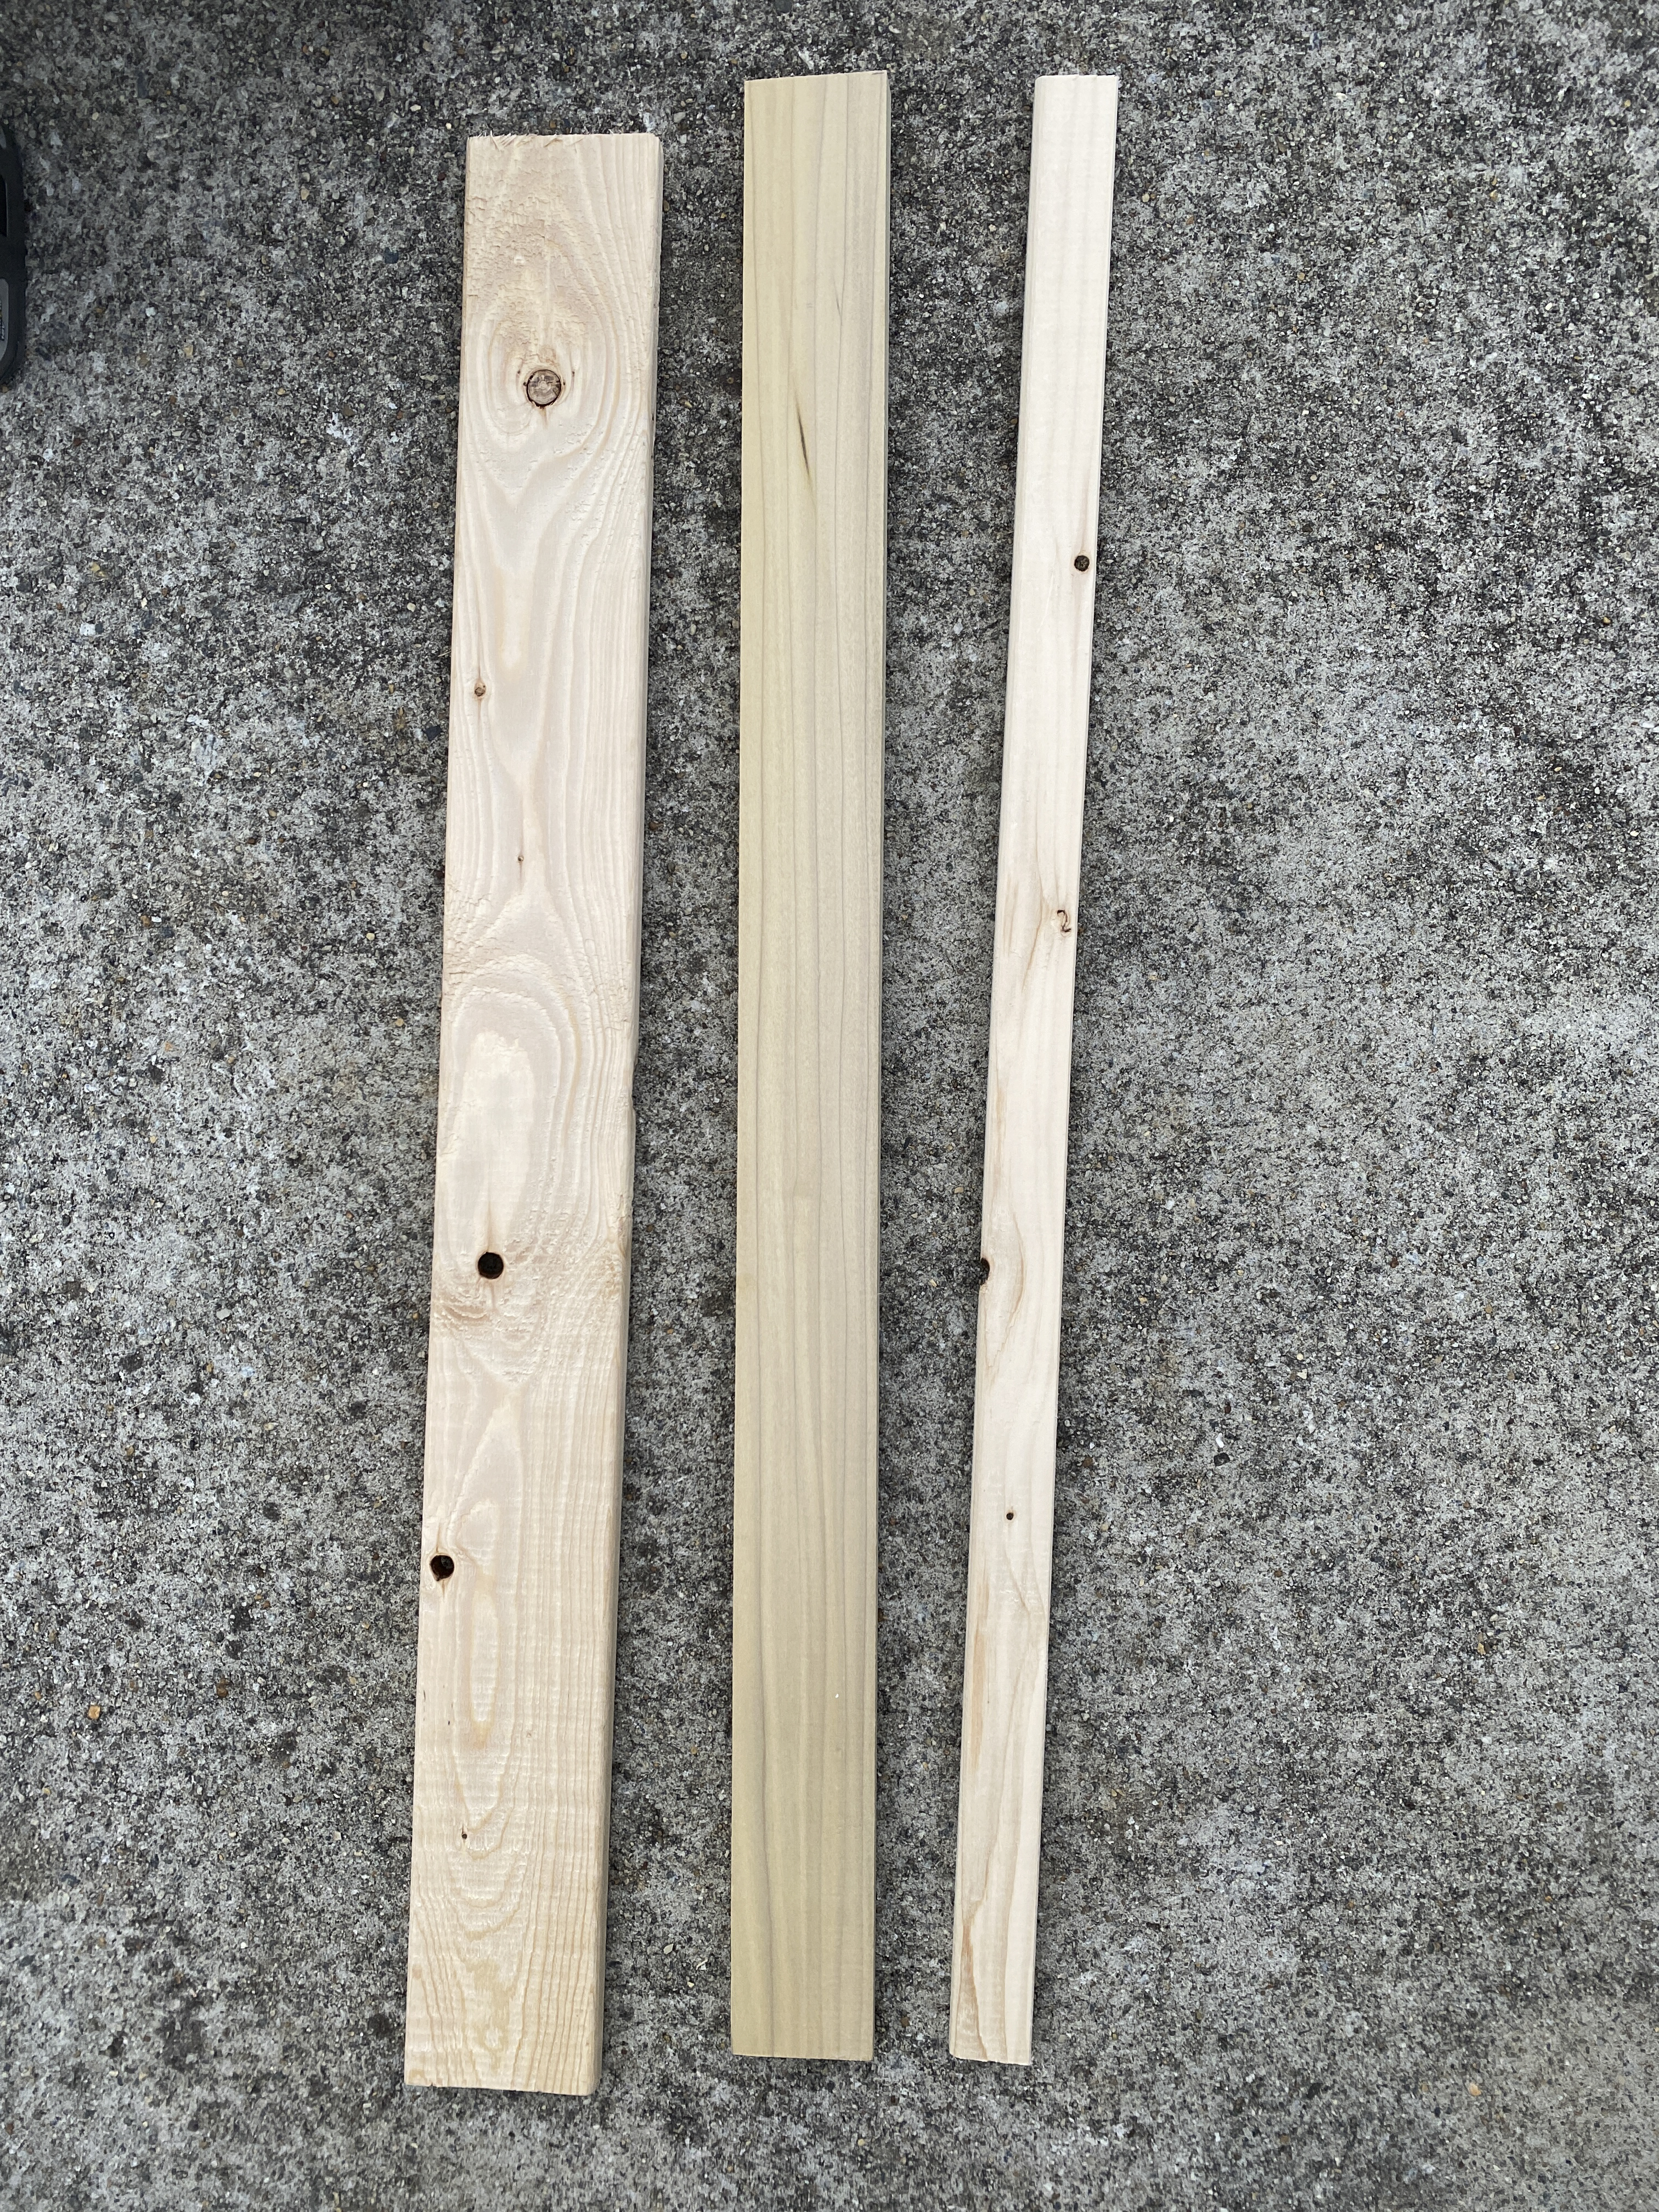
Step 1: Measure and cut your wood
Measure the approximate length of the pine boards by measuring the buffet sideboard in the breakfast area. You want to make sure your shelves are at least 24 inches so that you hit studs. You can also customize the size so that the shelves are deeper or have a higher lip in the front.
-LYA1.jpg.aspx?maxsidesize=800)
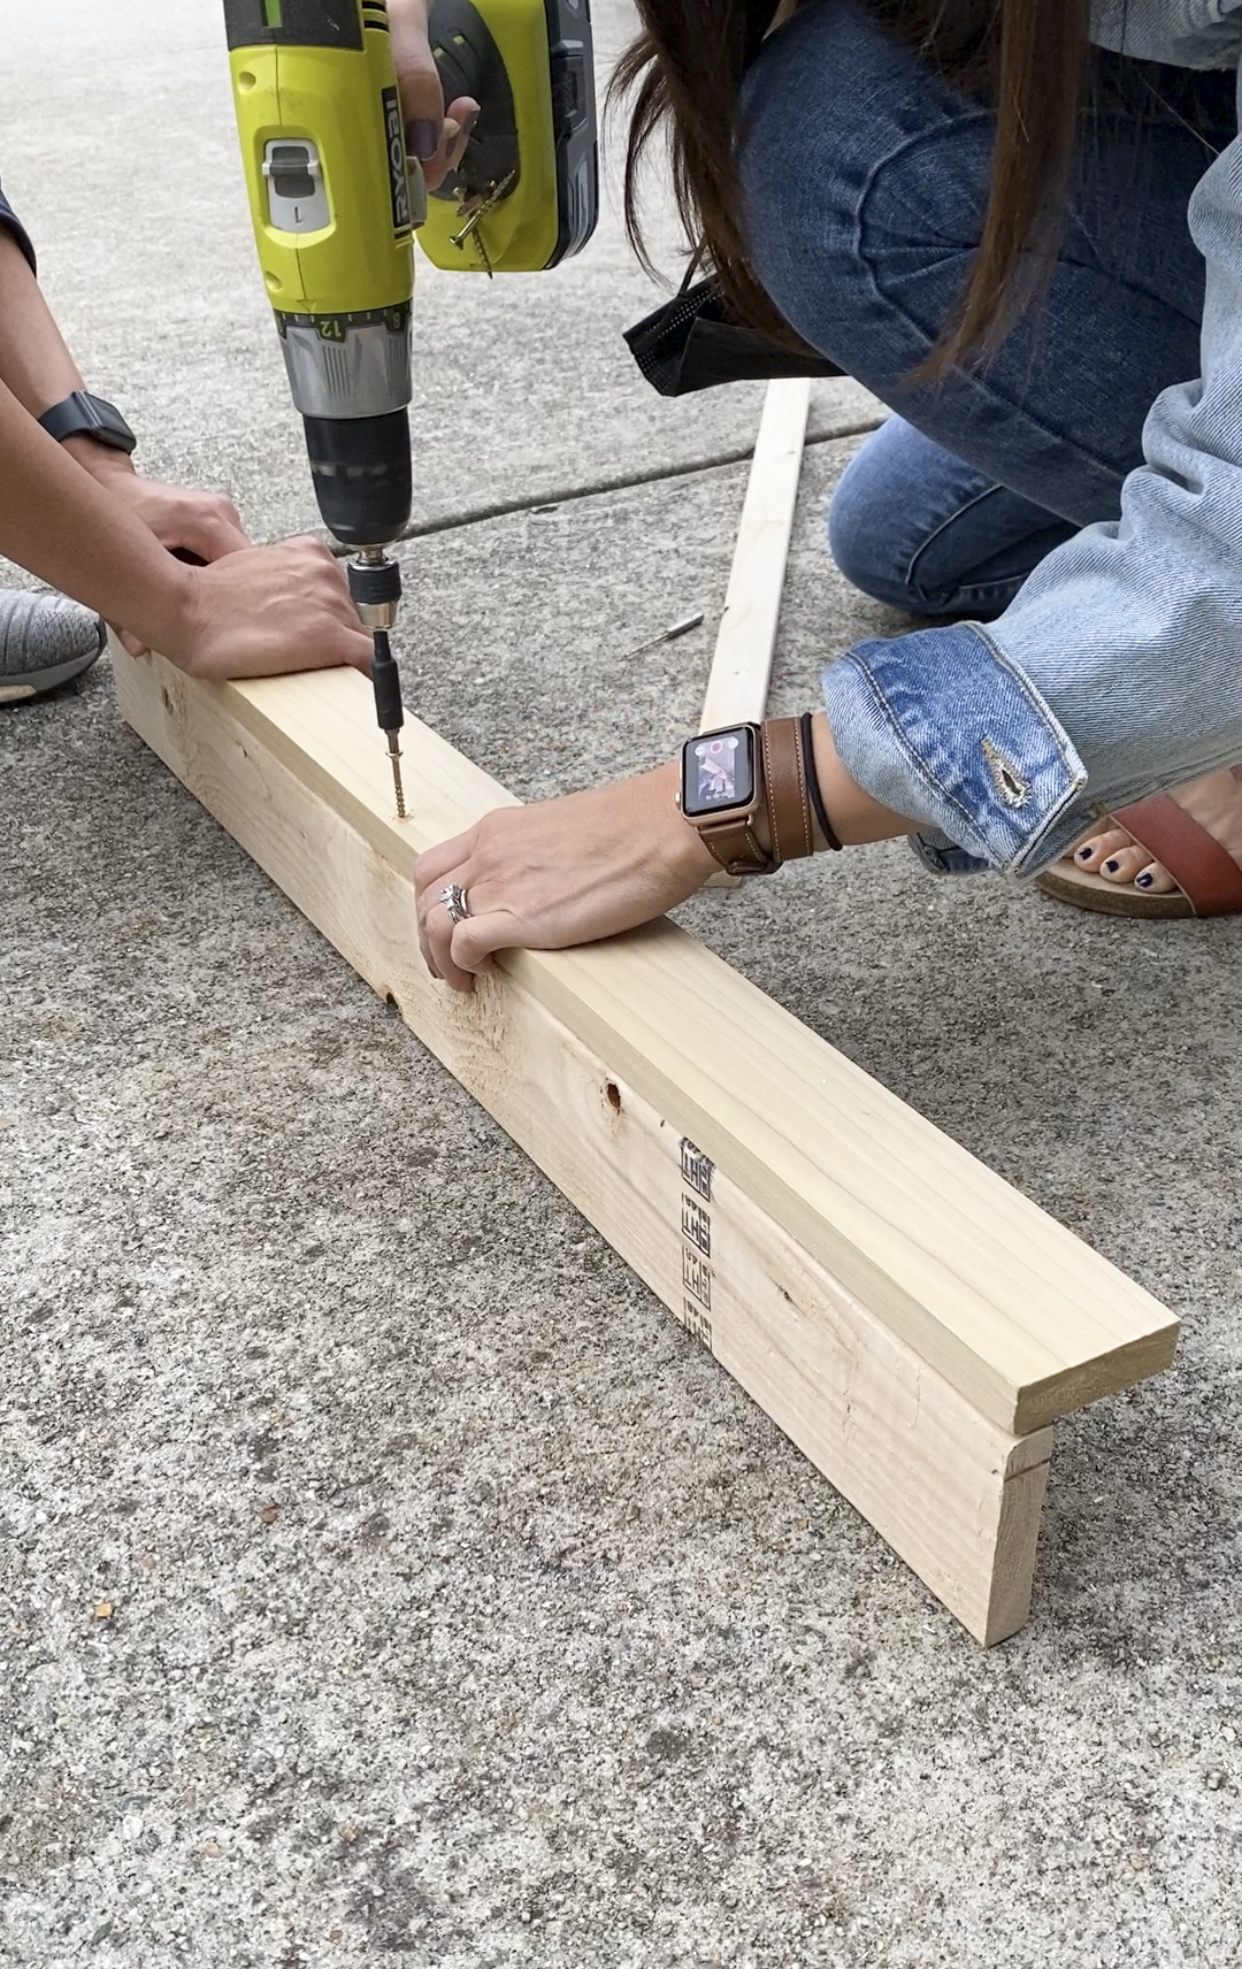
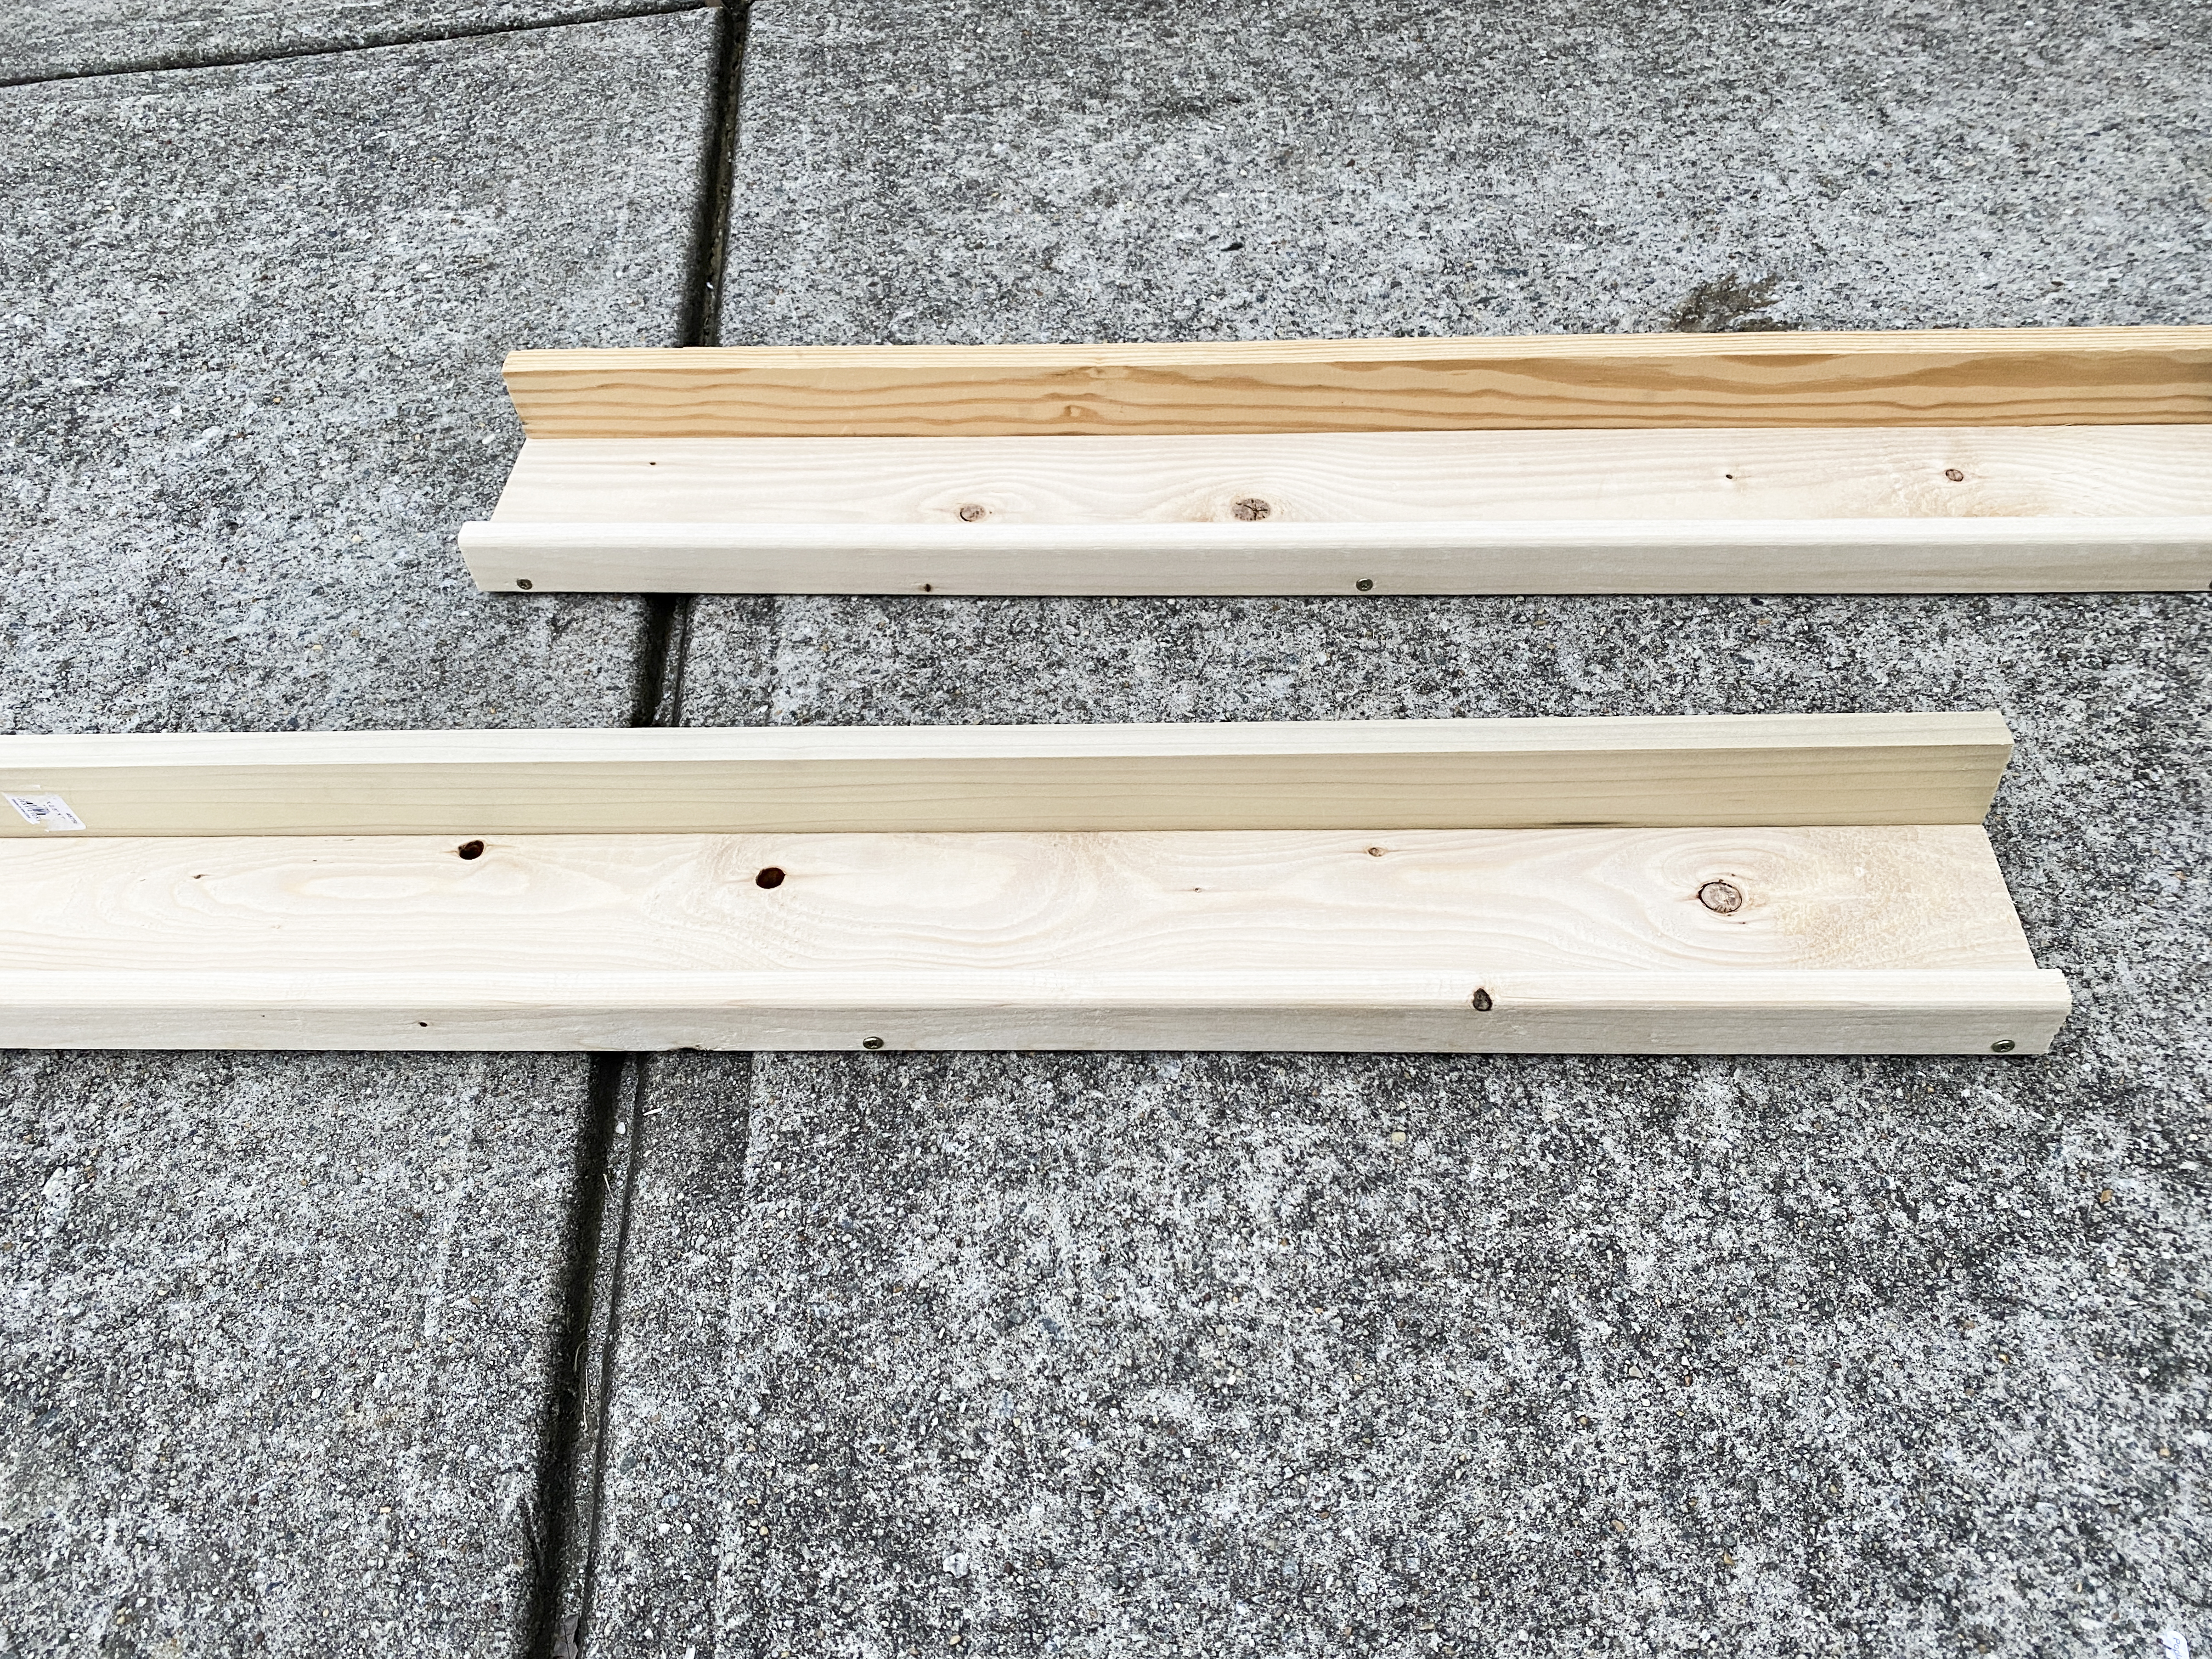
Step 2: Attach the boards using 2-inch screws
You can either use clampers or get another set of hands to hold the wood together while you screw the joints.
-LYA2.jpg.aspx?maxsidesize=800)
-LYA3.jpg.aspx?maxsidesize=800)
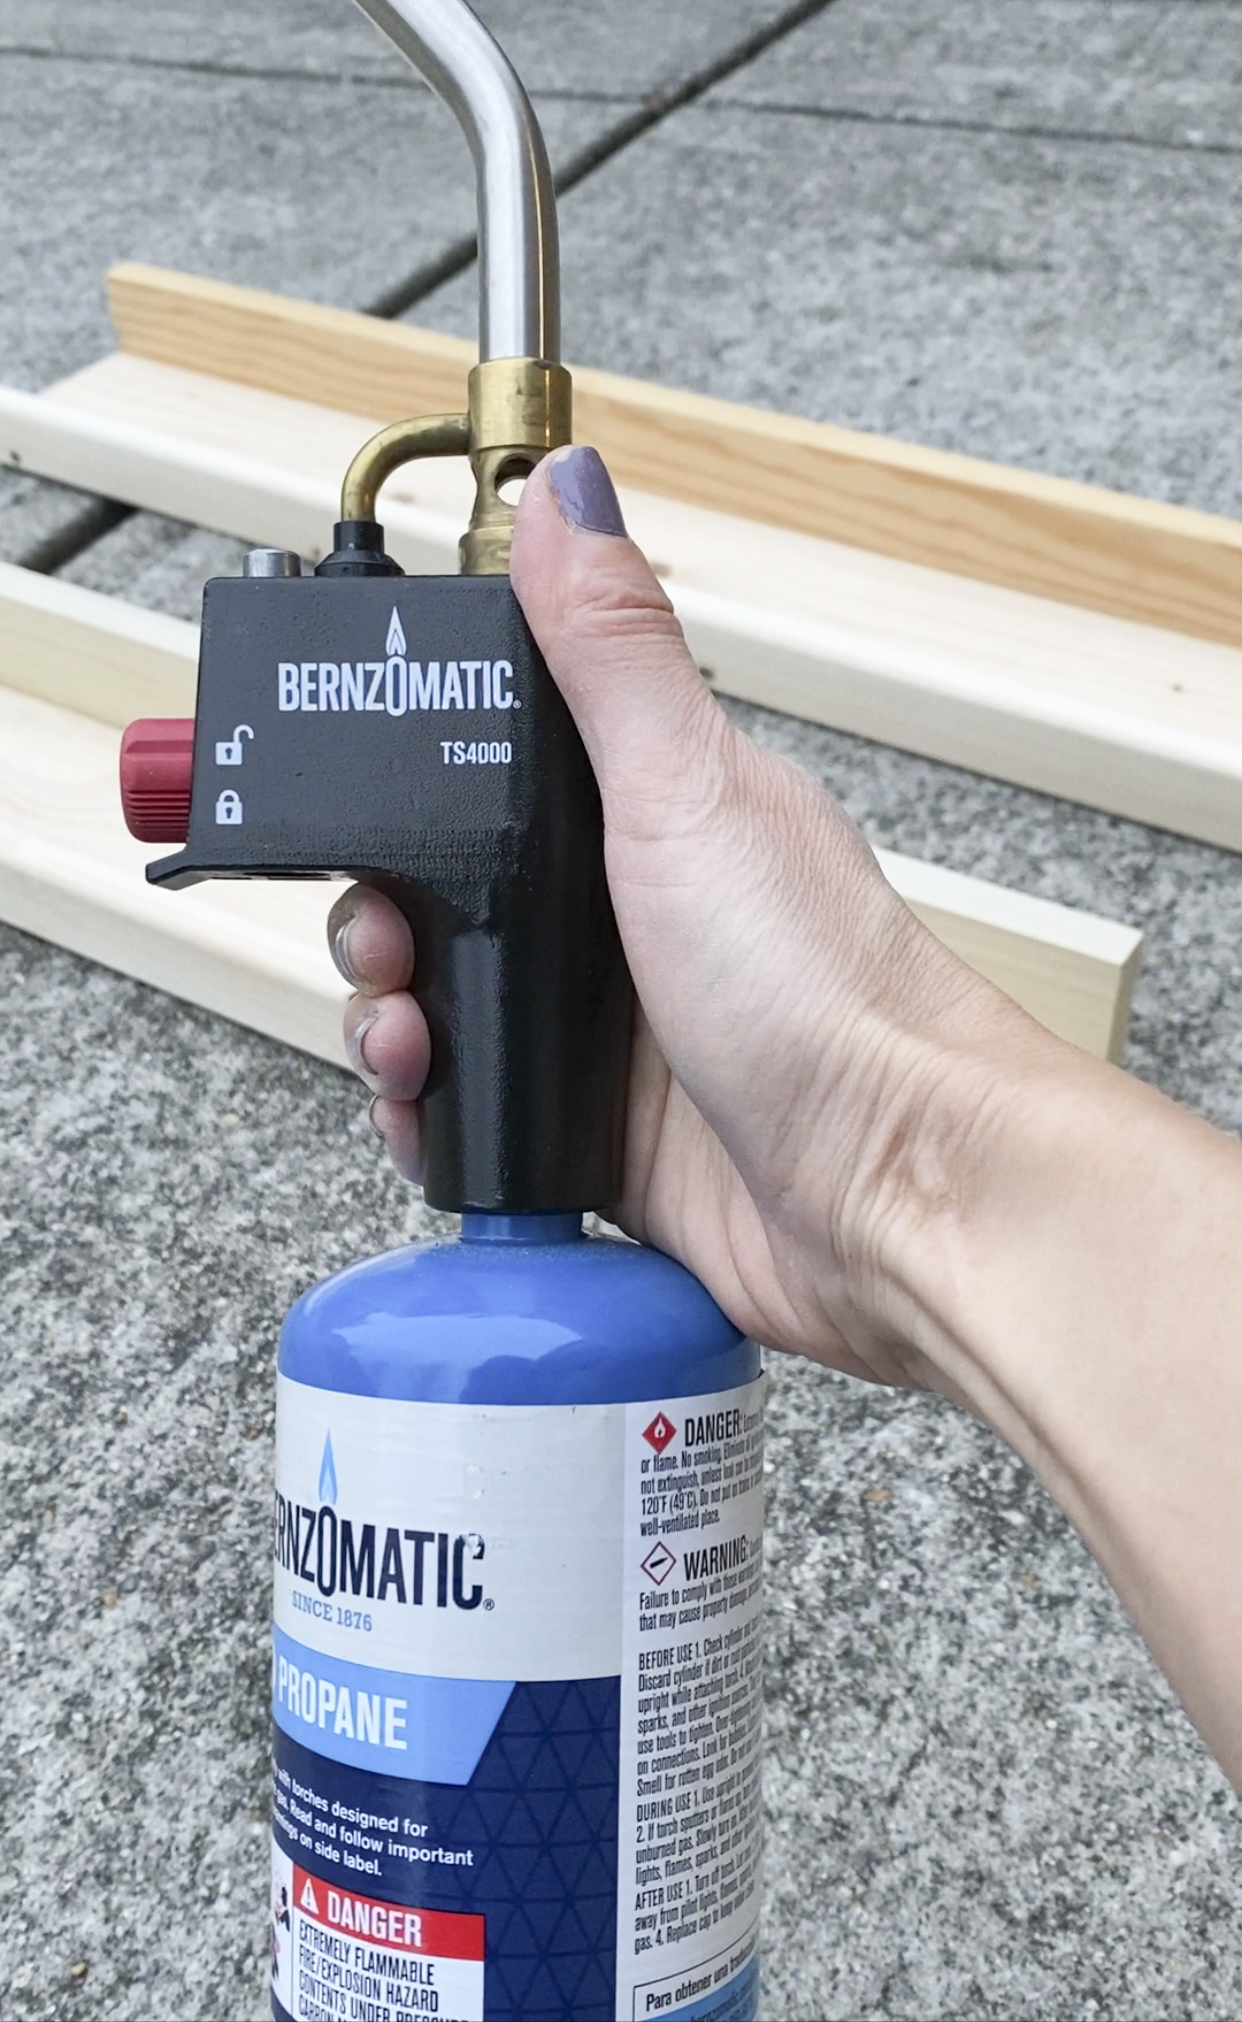
Step 3: Torch the wood using the TS4000
-LYA4.jpg.aspx?maxsidesize=800)
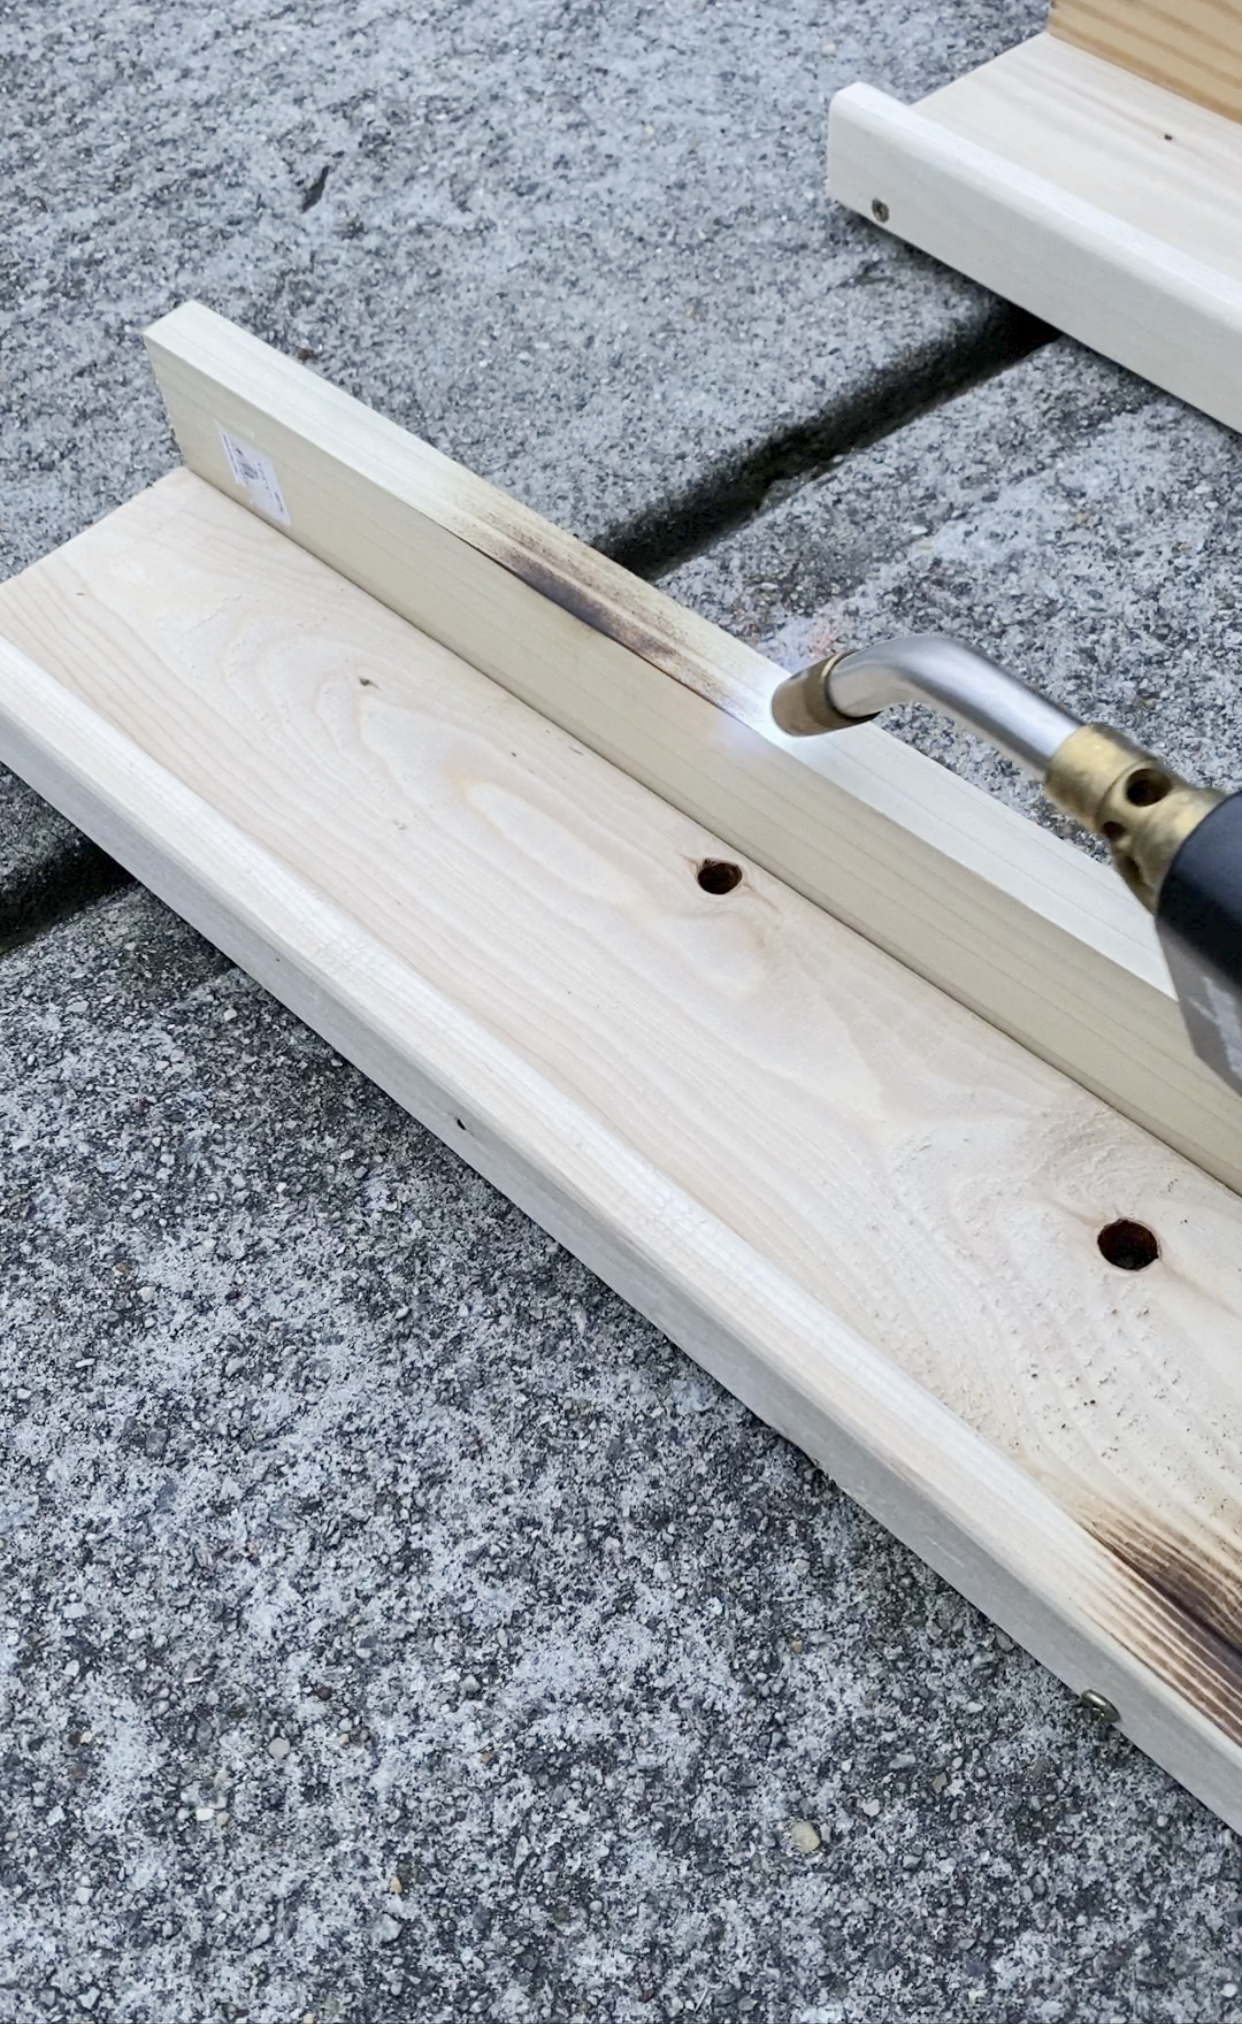-LYA5.jpg.aspx?maxsidesize=800)
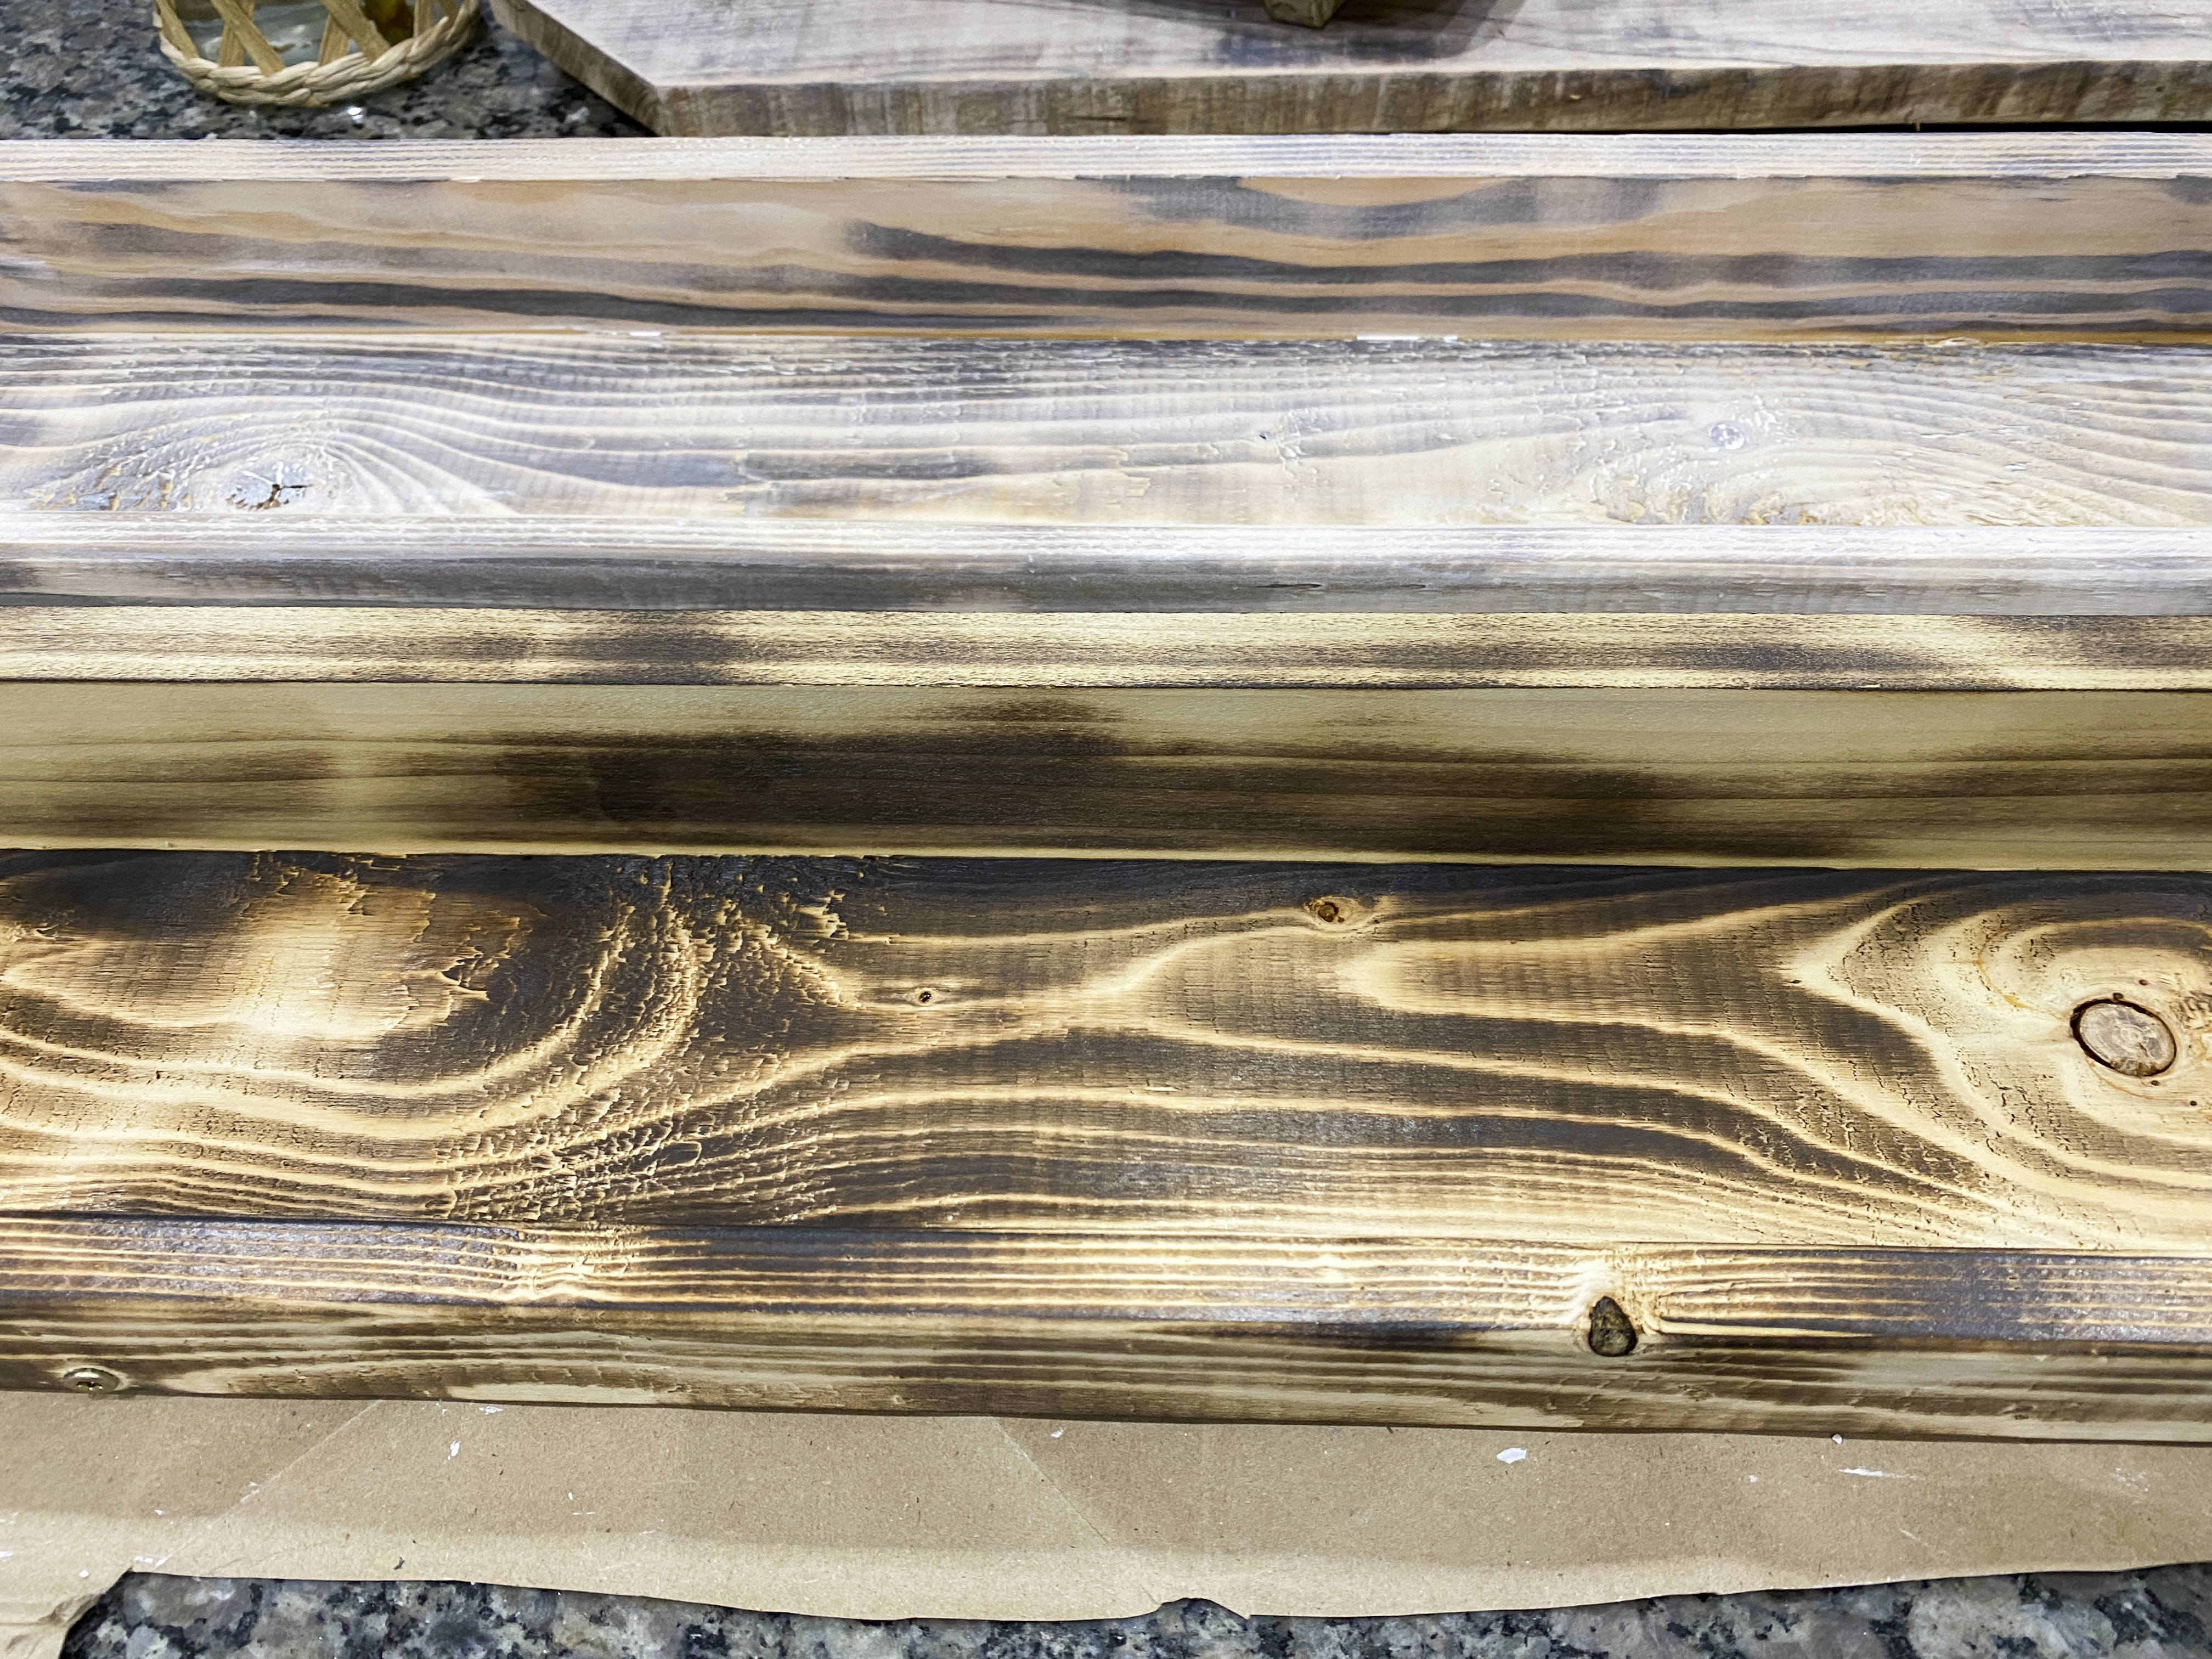
Step 4: Stain or wax the wood to achieve the look you're going for
You can use the cerusing wax and worked that into the wood with a dry cloth. After the wax, dilute some white craft paint with water into a bowl and mixed it. Using the same cloth, work the diluted paint throughout the wood and this created a nice white washed effect. Keep going until you are happy with the results. You can create so many different looks this way.
-LYA6.jpg.aspx?maxsidesize=800)
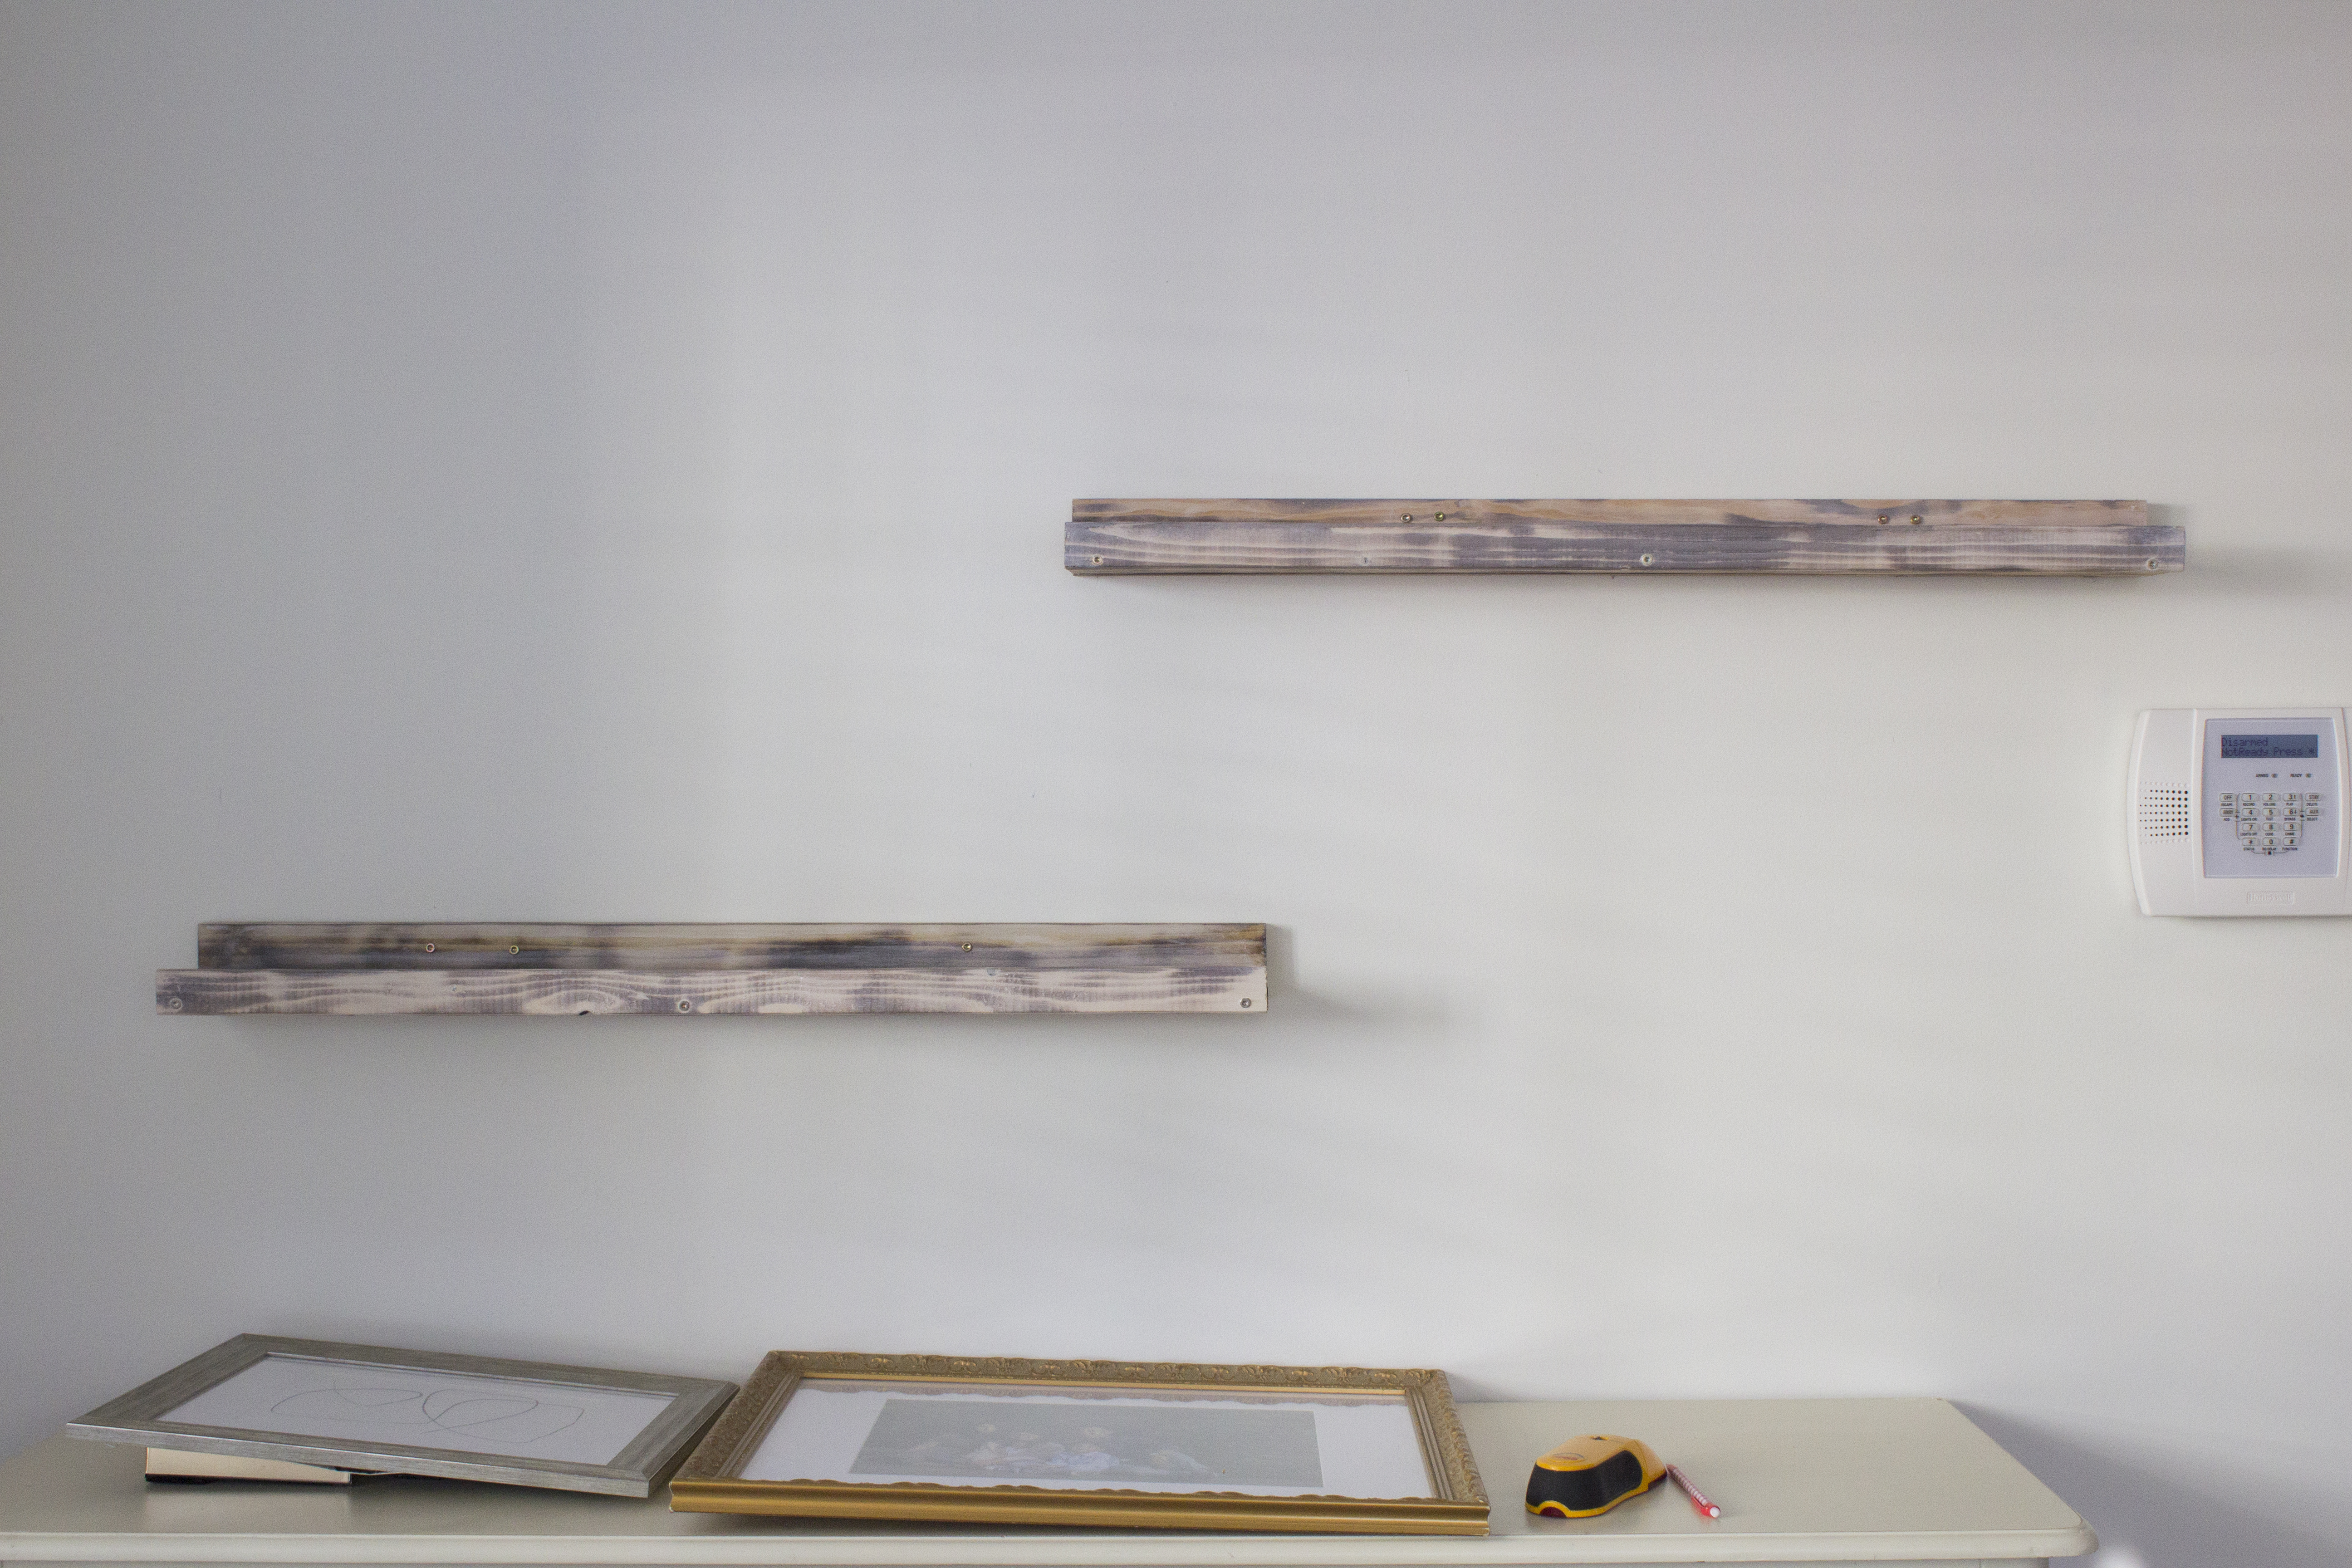
In the photo above, you can see the difference between the whitewashing technique on the top and just the torched look on the bottom.
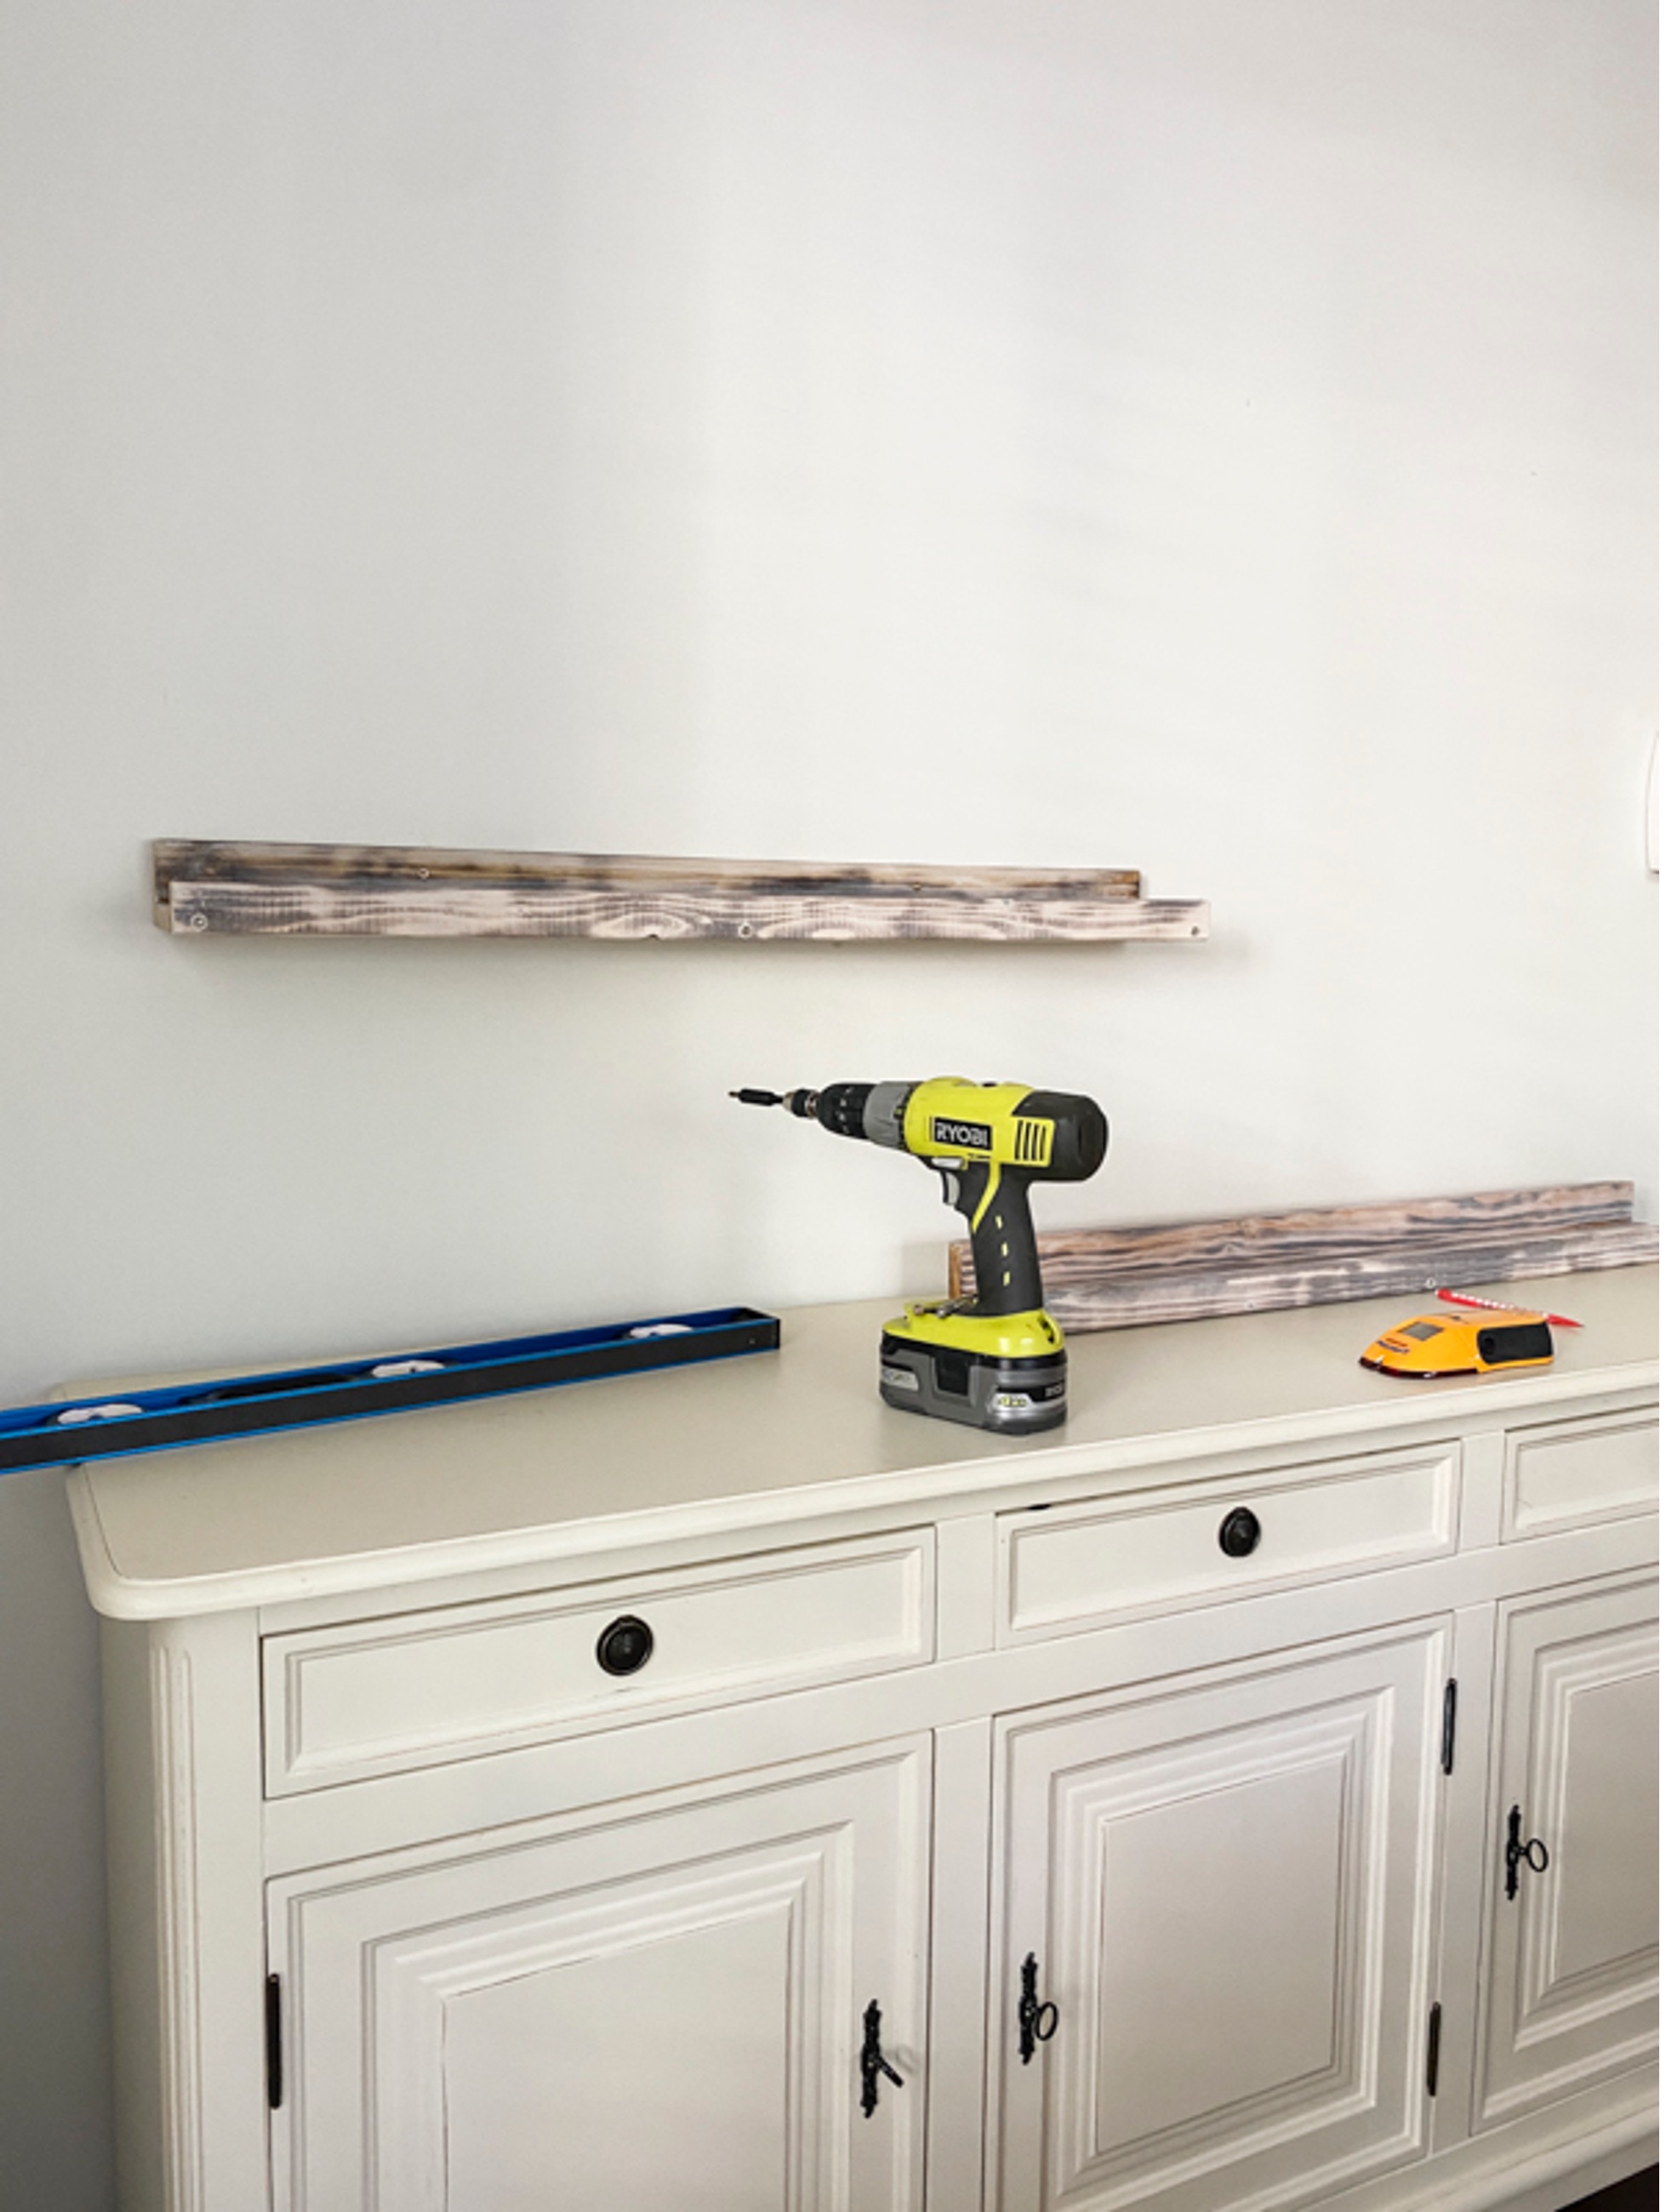
Step 5: Locate studs on the wall
-LYA7.jpg.aspx?maxsidesize=800)
Once you find the studs, make marks so you know where to screw them into the wall. Have a friend hold the shelf so you could make a pilot hole and then screw the nails into the backs of the shelves. You will need a level to make sure the shelves are totally even.
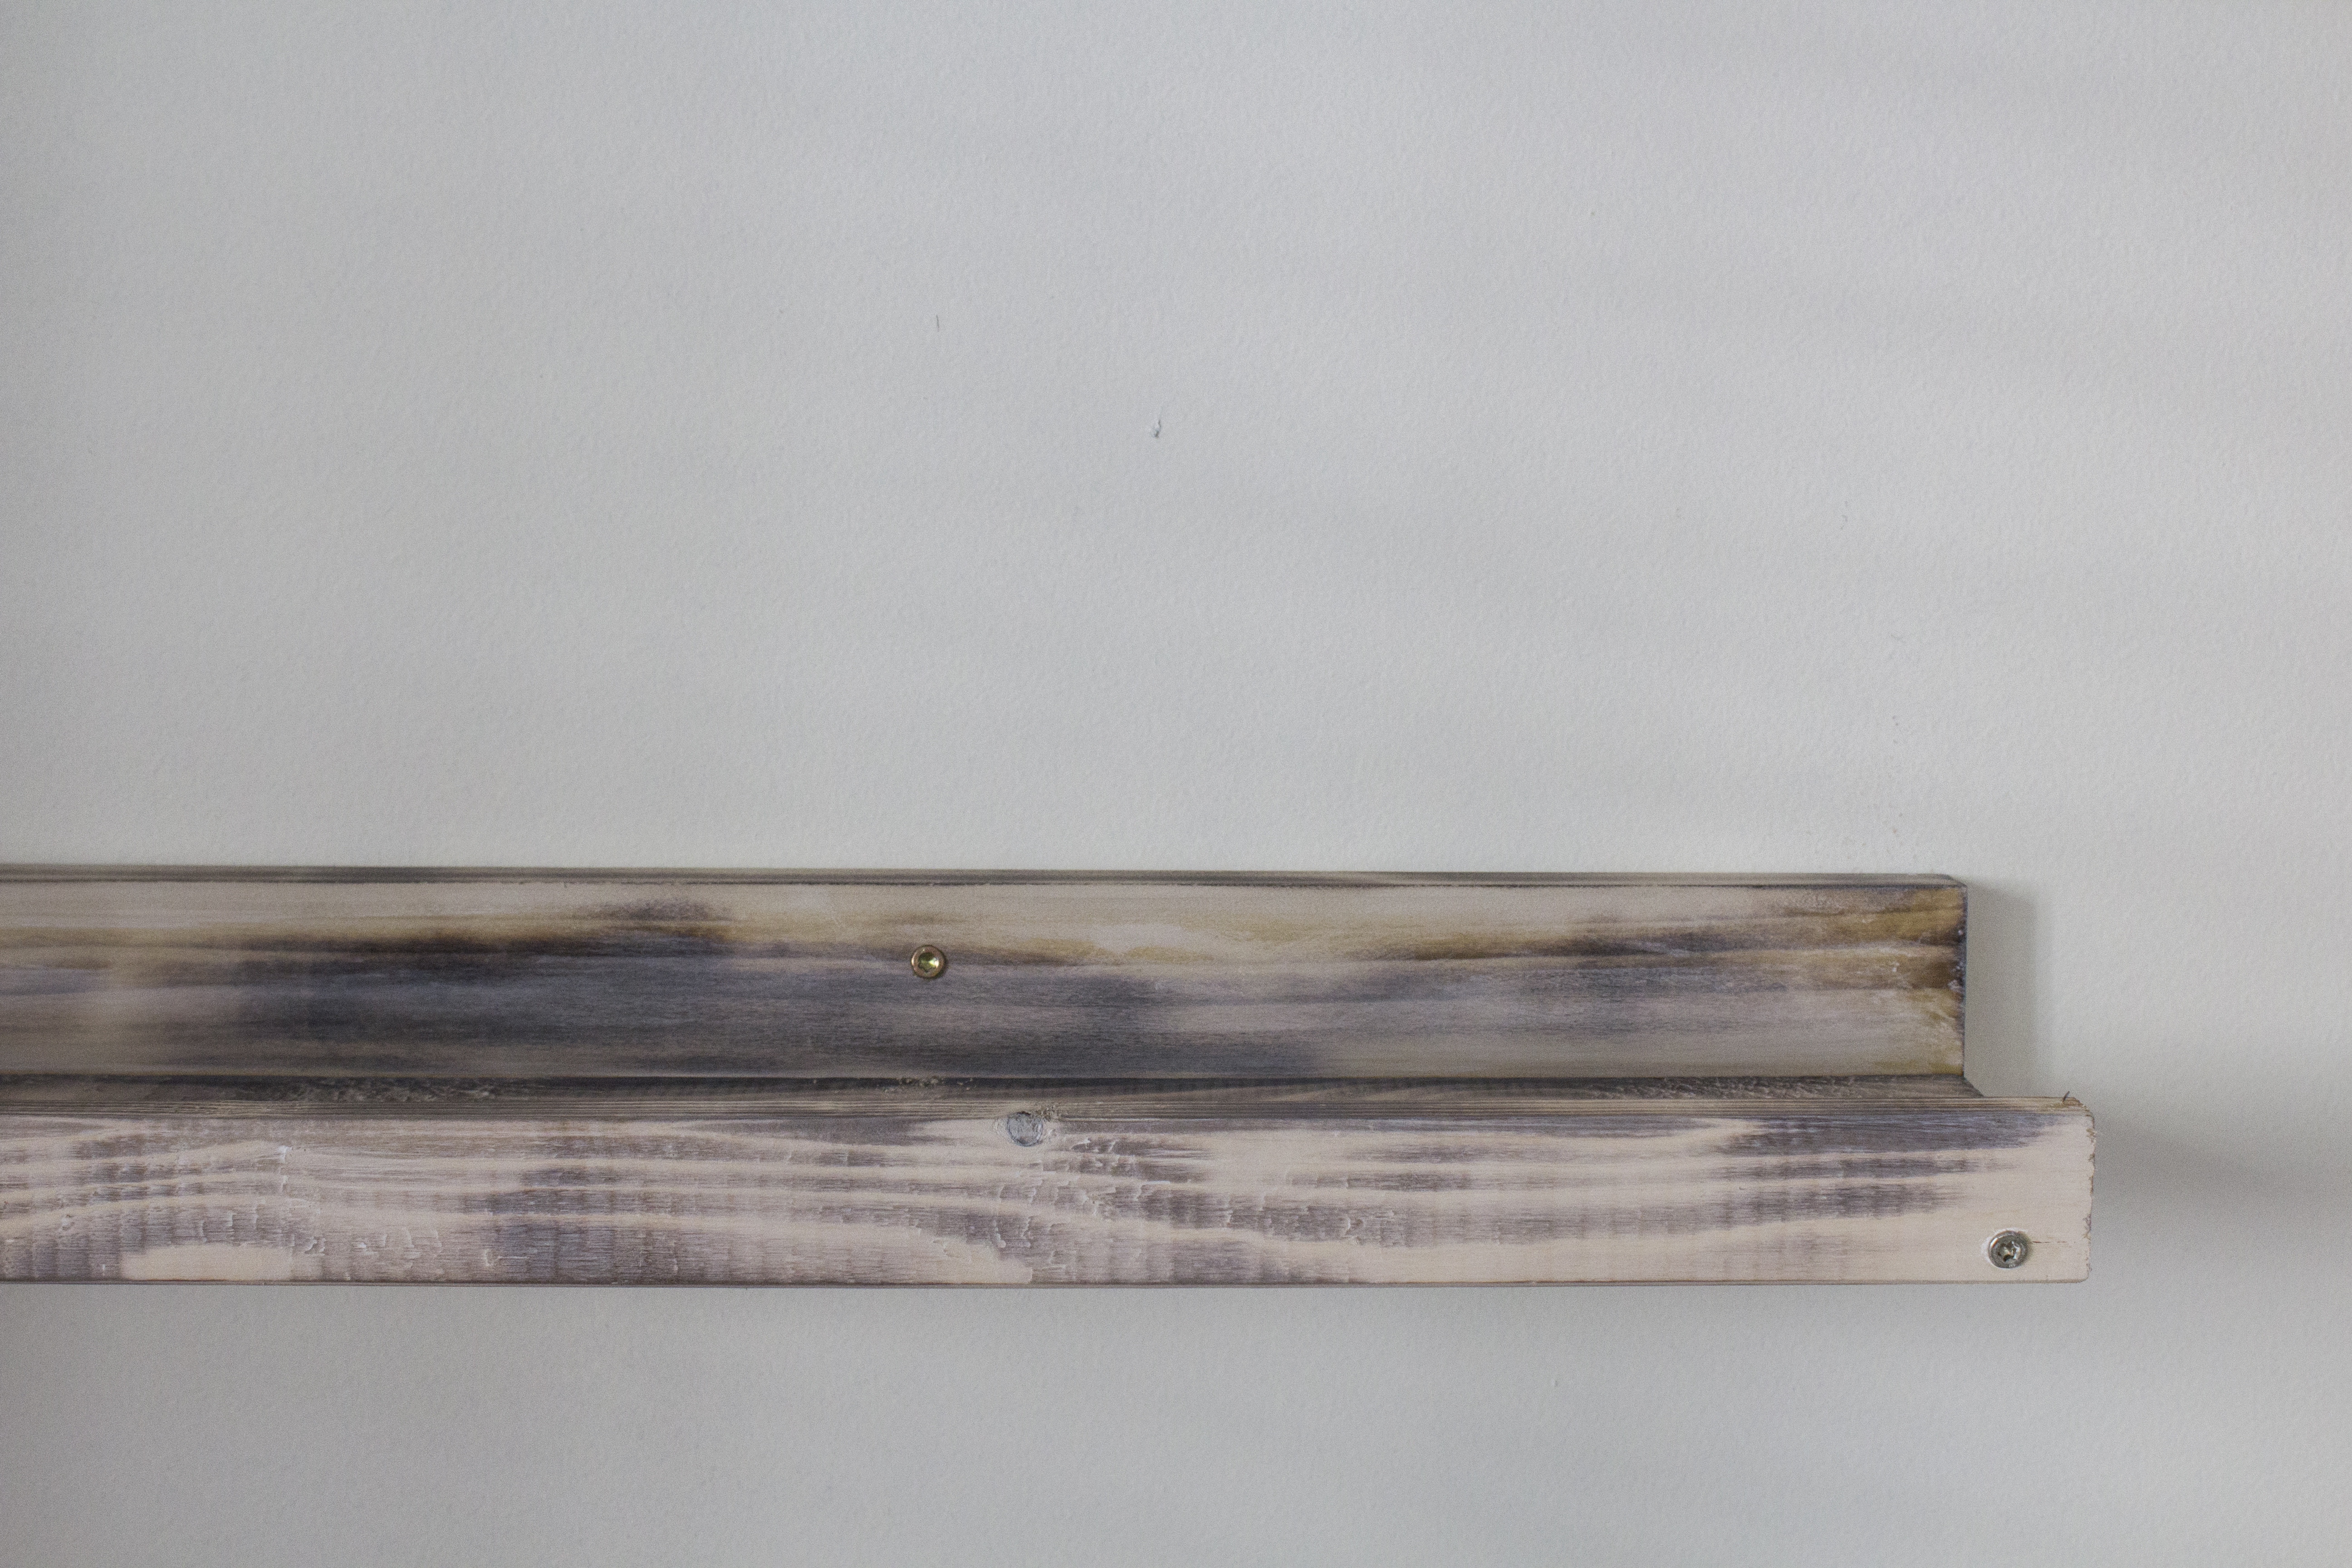-LYA8.jpg.aspx?maxsidesize=800)
Two nails into the studs should be sufficient but you can add 4 for extra security.
-LYA9.jpg.aspx?maxsidesize=800)
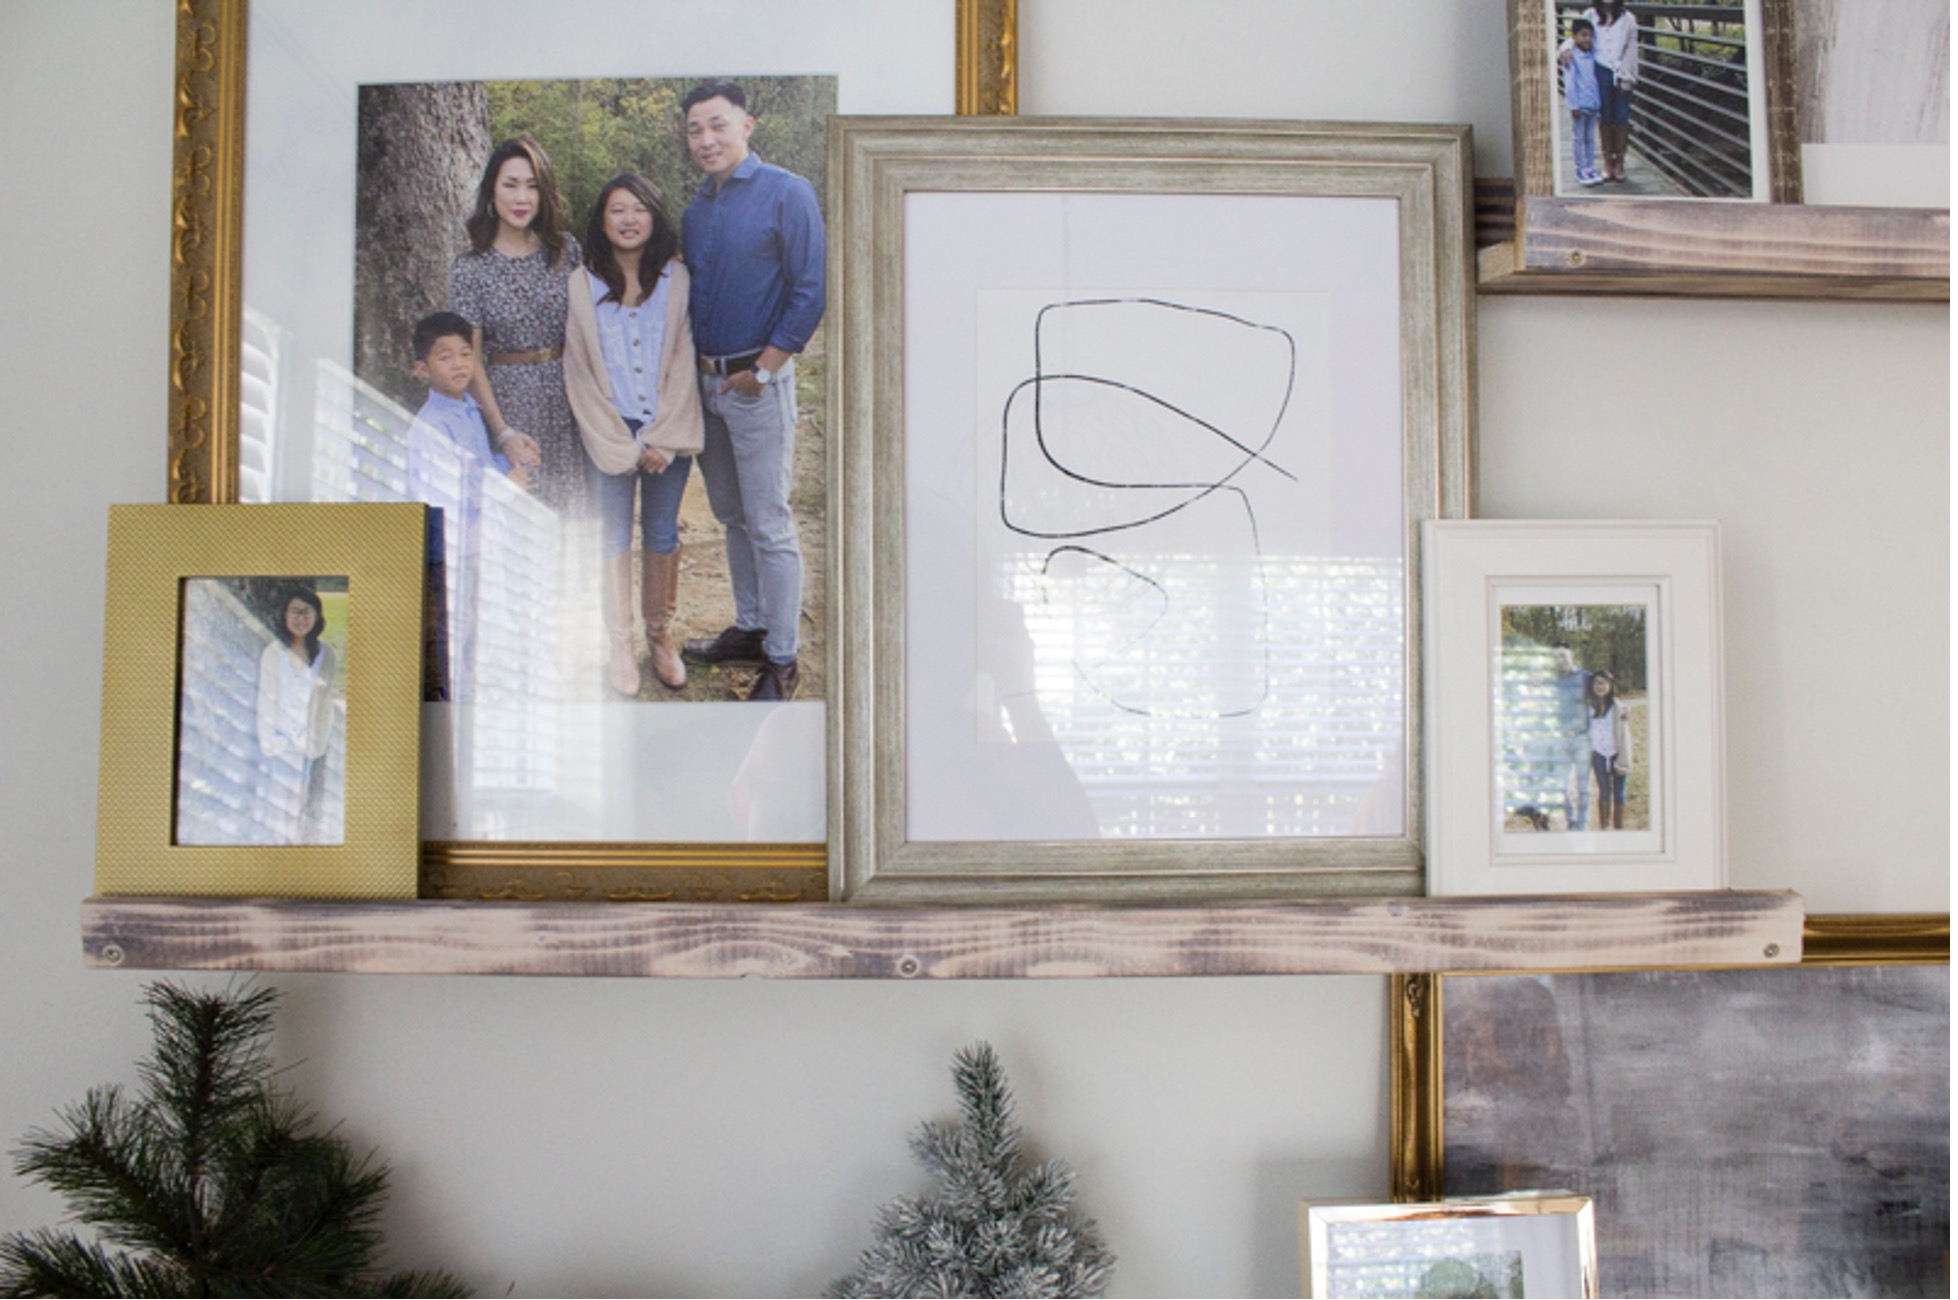
Step 6: Decorate those awesome shelves!
A bunch of their new family photos were added into an assortment of gold and neutral frames.
-LYA10.jpg.aspx?maxsidesize=800)