Our living room features a delightfully ugly, adjustable "As-Seen-on-TV" adjustable, plastic tray table. Obviously, we practice fine living around here.
We'd been looking for a replacement side table for a while, but couldn't find something that we liked. We wanted a C-Table but couldn't find the right size, style, and clearance for our couch's arm.
So, naturally, I built one, but I didn't use plastic. It's 100% fire, wood, and steel.
YOU CAN DO IT: This is really a cool metalwork project that's approachable for an average skilled DIY'er with a mid-range tool collection. You don't have to have a steel-top workbench, a giant welding helmet, monstrous acetylene torches or a mig-welder setup, just a high quality hand torch. The material is affordable and easily available at a local home-center and there are plenty of different cutting and sanding tools that can get it done.
Going Shopping
I know the lumber sections of the local home centers pretty well. Its multiple aisles with the wondrous aroma of wood, just waiting to be made into new things. Metal is different; its tightly-packed on a diminutive rack, filled with lightly-oiled steel and aluminum sticks, flat, round, square, and L-shaped.
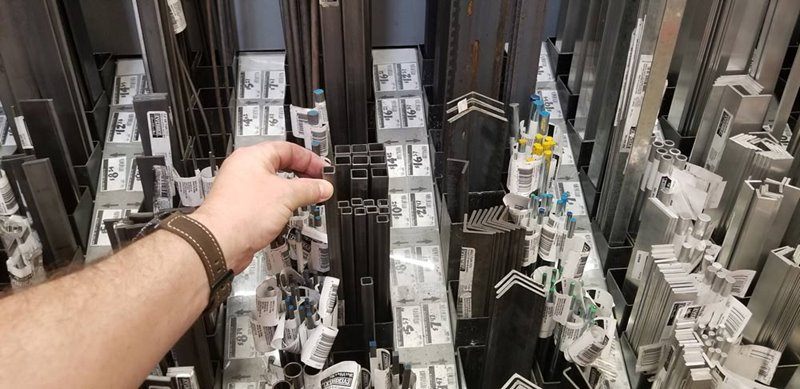
I chose a handful of 36" long, 1/2" square steel tubing and a couple pieces of flat bar stock. they're less than $6 a stick at this size.
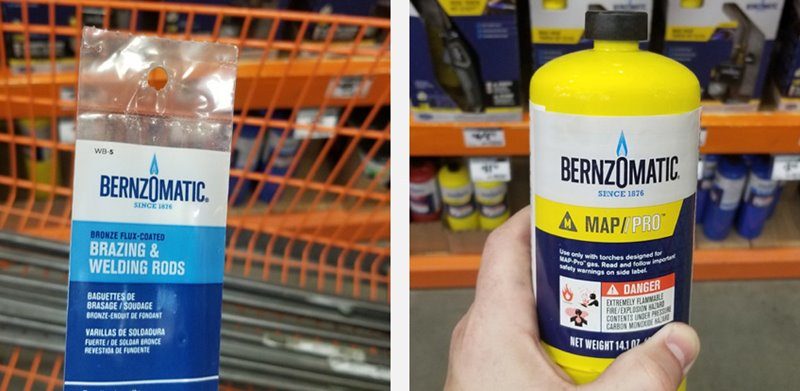
I grabbed a fresh cylinder of hot-burning MAP-Pro fuel for my torch and a couple packs of bronze brazing rods.
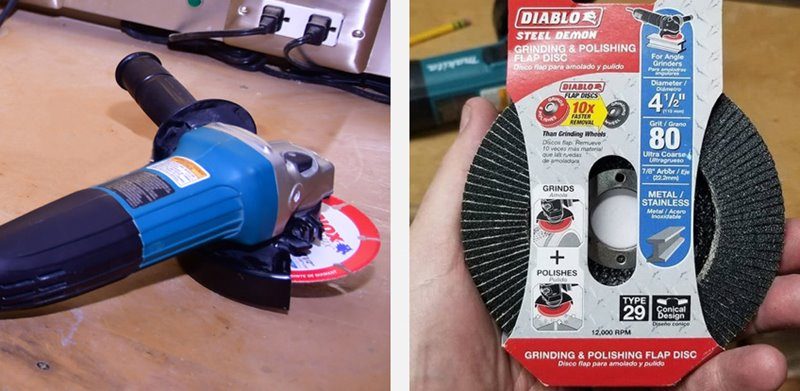
The metal can be cut by various tools like a hacksaw, jigsaw, reciprocating saw, or anything that can get fitted with a metal-cutting blade. I happen to have an angle grinder, so I picked up a metal cutting wheel. There are also endless ways to sand / clean it, like a random orbital sander, rotary tool, or even a sanding block, but I also picked up a flap disc for the grinder.
Directions
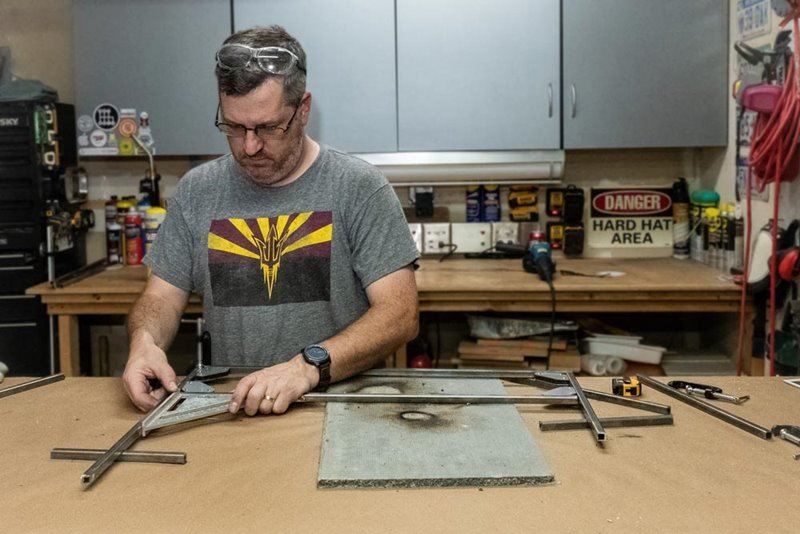
Piles of Parts
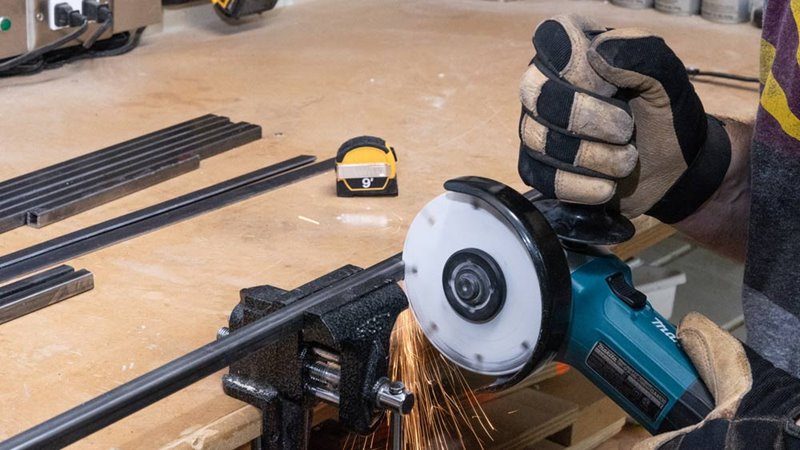
Back home in the workshop I measured and marked all the pieces I'd need to cut with a little tape measure and a pencil. I don't have a big bench vise, so I used my little clamp-on, portable one. I could have also simply used a wood clamp or c-clamp to attach it to the bench top for cutting.
After each cut, I cleaned up both ends of the steel to take off any of the oily residue and tarnish. It needs to be clean to make a good weld.

Assembling the Frame
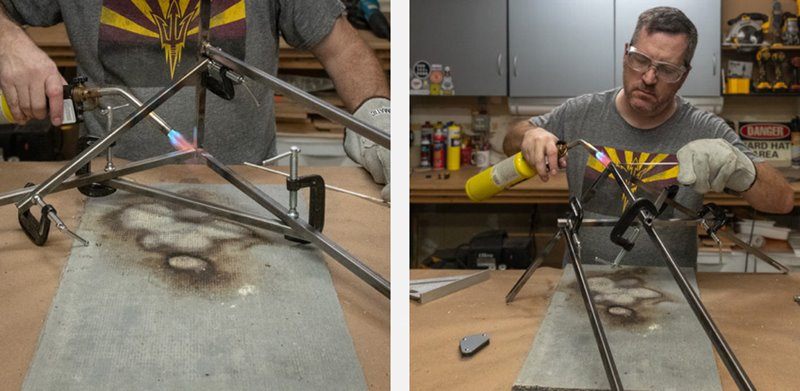
I laid out one side of the table frame on the work top, squaring up the corners and aligning the verticals to each other.
It was tricky to hold all the pieces in the right place as I moved a pile of steel twigs around. Luckily, I'd laid my hands on some cool mini-magnet welding holders that really helped keep it all from sliding around.
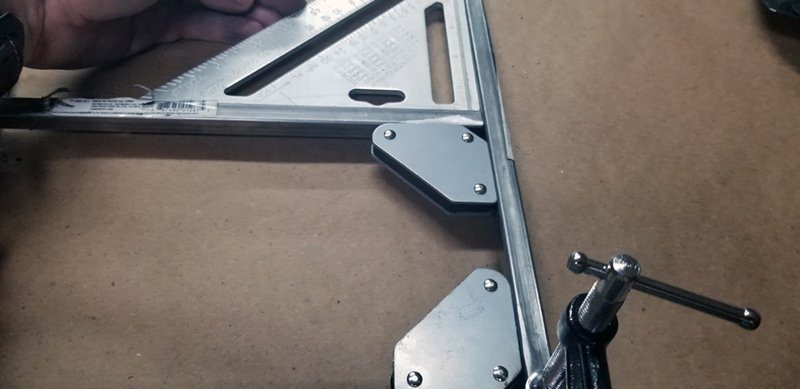
The magnets wouldn't hold up the heavy flame that I'd be using, so I clamped a piece of scrap steel across the first corner like a bridge. I could pull that corner's magnet and be sure the joint would stay tight.
Bring on the Head! Brazing Steel
Now comes the fun!
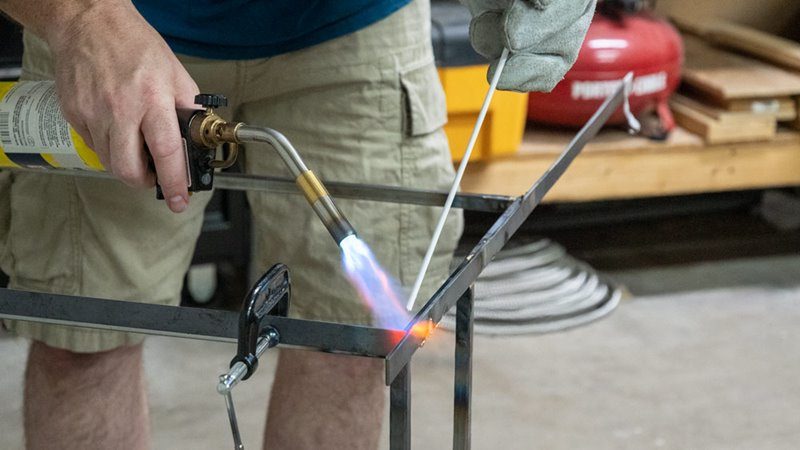
Brazing is a lot like soldering, but at a higher temperature. The Bernzomatic TS8000 can easily get there with a yellow, MAP-Pro fuel cylinder.
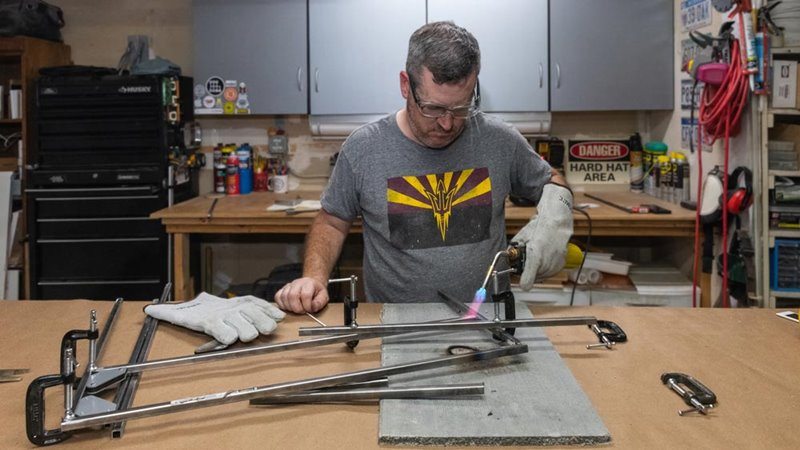
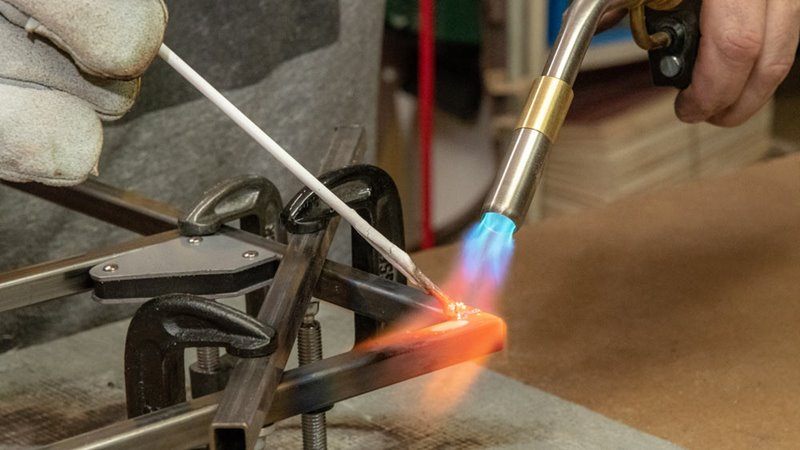
Like soldering, the metal piece gets heated first. I get it hot to the point it just starts glowing. Unlike soldering where the solder never touches the flame, I heat the brazing rod, passing it right into the flame so it's pre-heated, when it touches the red-hot steel.
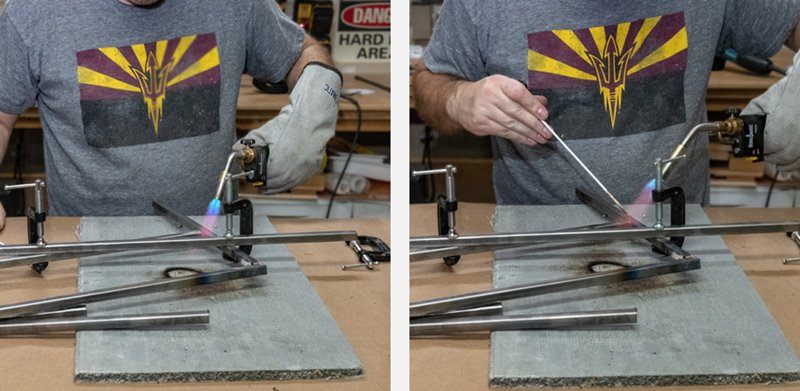
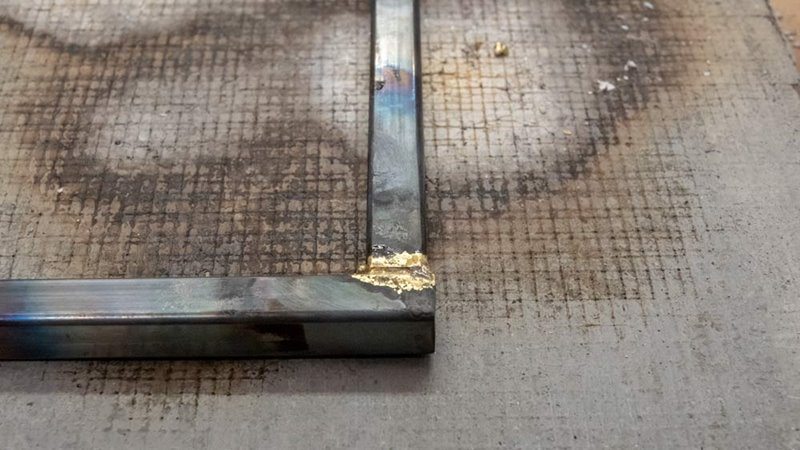
It's beautiful. The brazing rod liquefies and seeps into and around the seam. I like to "paint" it in there slowly, then I ease off the heat. It clumps up a little here and there, but it will sand down nicley later.
With the heat removed, the steel stops glowing and liquefied bronze cools quickly into a hardened, golden mass. The piece can be un-clamped within a few seconds and will still stay rigidly attached.
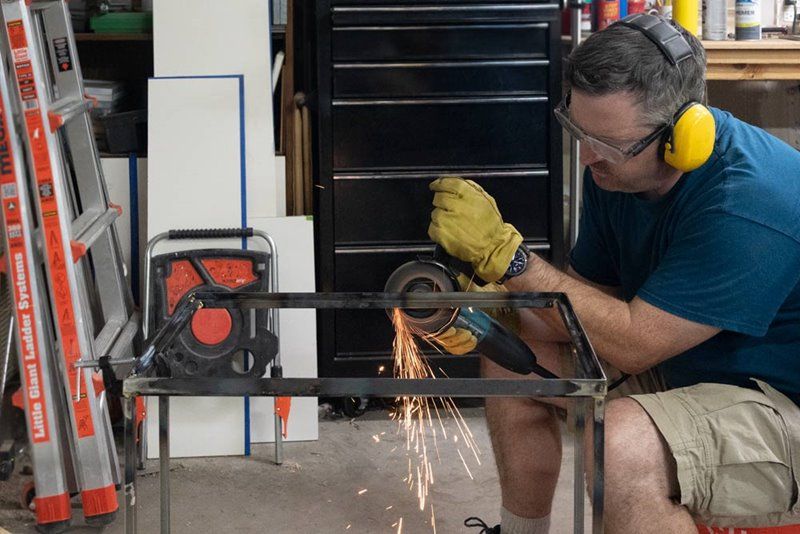
DO NOT BE FOOLED! Unless you want to live out your days without fingerprints, do not touch recently heated metal without heavy gloves. Even then, keep away from the heated area itself. The entire piece remains hot enough to seriously burn unprotected skin for quite a while. I got in the rhythm of alternating the two side pieces between my work surface and the floor below, where they'd cool under a floor fan's breeze. Take your time and work safe friends.
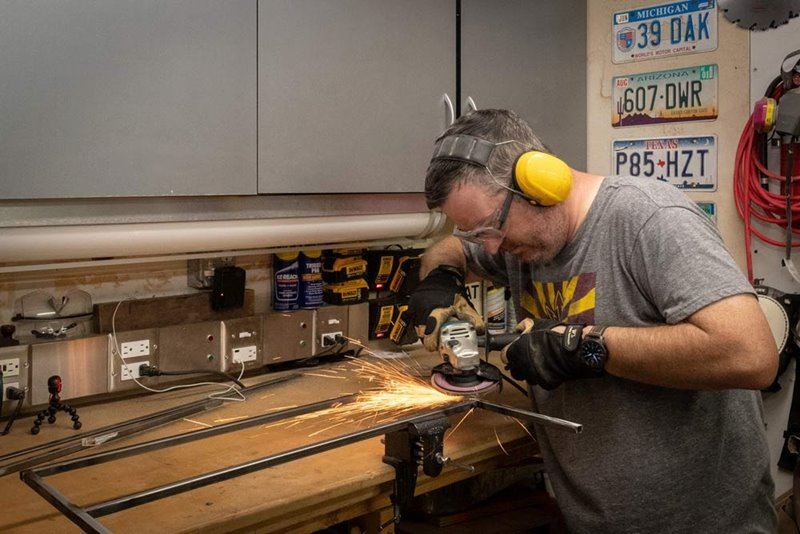
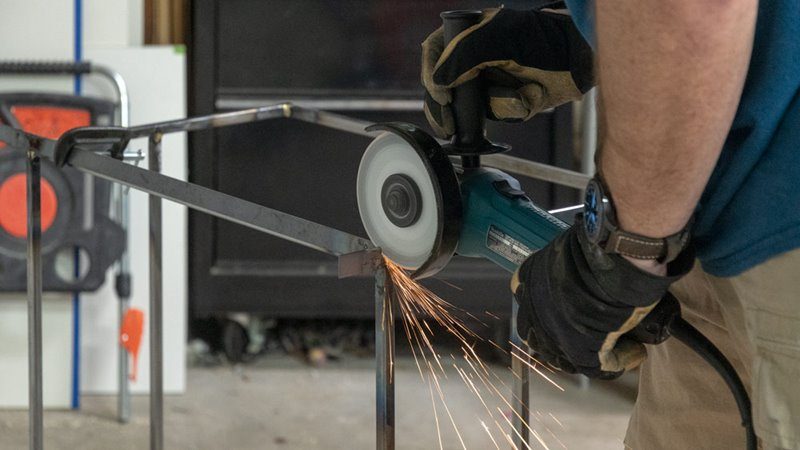
When the piece is truly cooled down, (Personally, I recommend regular, rigorous snack and beverage breaks to ensure plenty of time passes) it can be clamped for some sanding / grinding. Out came the angle grinder with the flap-sanding disk again.
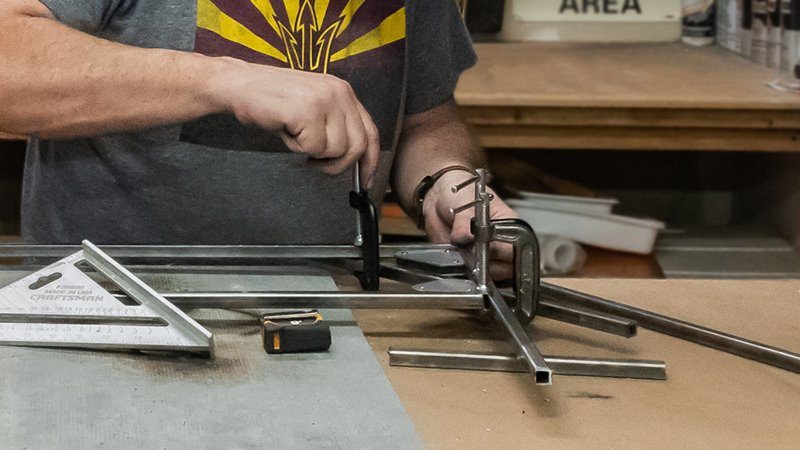
Entering the Third Dimension
Moving from two, flat side frames to a 3-D assembly calls for more clamping and temporary bracing. I'm sure the pros have some sort of special clamping system / specialty doodad to hold stuff like this together with less fumbling, but the c-clamp and cross brace method did the trick for me just fine.
Back to brazing.
I attached a total of 4 equal-length, horizontal strut pieces. Since I prefer my workshop surfaces to be taller than usual, I had to move to the floor once the table started getting too tall to work on comfortably on the bench.

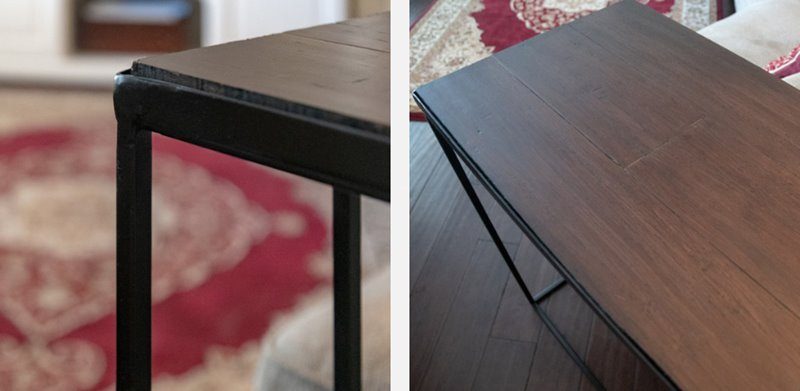
Adding a Steel Edge Frame
I'd be dropping a wooden tabletop onto the frame. Since the wood wouldn't have finished edges I wrapped the top with flat steel stock. I ran the pieces long to get them brazed on tightly.
The metal-cutting blade returned to trim the excess off. I used my grinder more on this project than I've ever used it.
The Final Finish
An obliging 5 gallon bucket made a perfect perch as I began to clean up all my sloppiness where bronze had dribbled or built up. I even rounded the sharp steel corner joints over a little. I quickly ran it across all the surfaces, cleaning the frame up for paint.
I scrambled outside to the front yard and gave it a quick toot of gray primer. A few minutes later, a couple coats of quality, black spray-paint finished the frame.
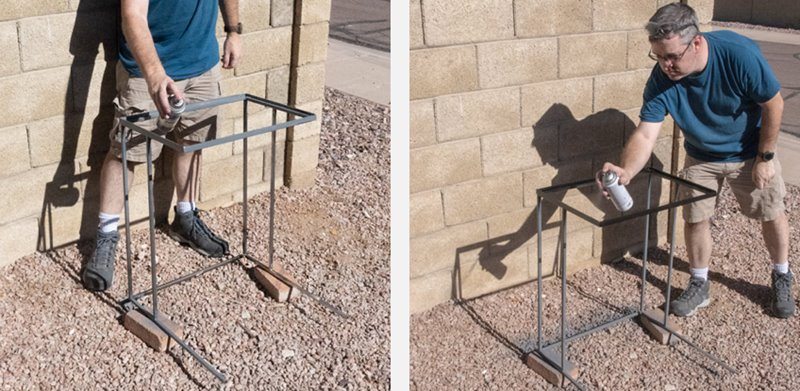
I'd thought of using some kind of bronze or hammered metal spray-paint finish, but I decided on the crisp black. Sitting out in the sun, it looked beautiful, like a store-bought piece (but perfectly sized for our needs).
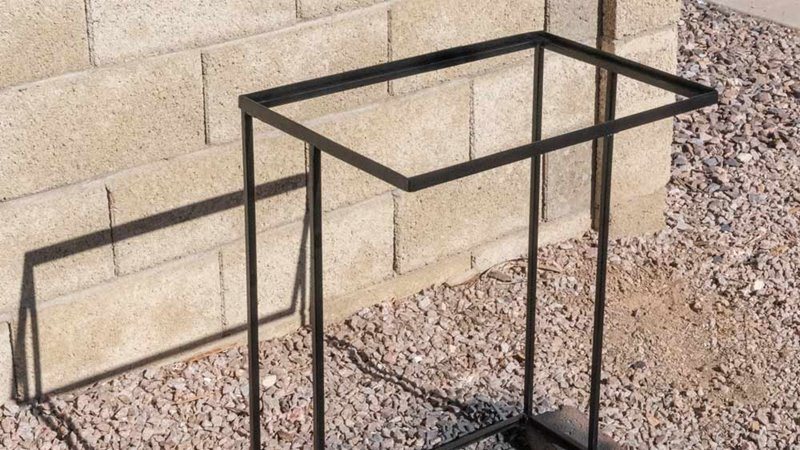
It took a short time under the blazing Arizona sun to dry a coat of primer and two coats of paint. There are some benefits to the desert in summer time.
Our living room floor is tough, but not immune to scratches. A series of tiny, felt furniture pads fixed that up right quick.

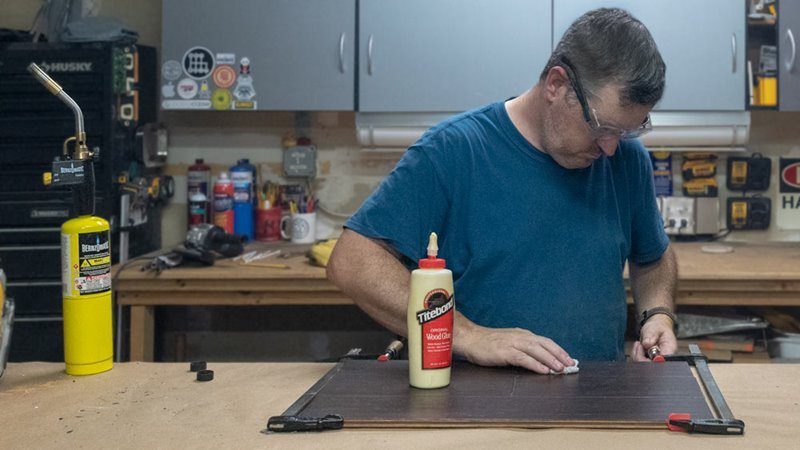
Building the Table Top
Longtime readers may recall when I remodeled the livingroom a few years ago. It featured a beautiful, antiqued bamboo plank floor. It's a good looking and tough board with a distressed finish.
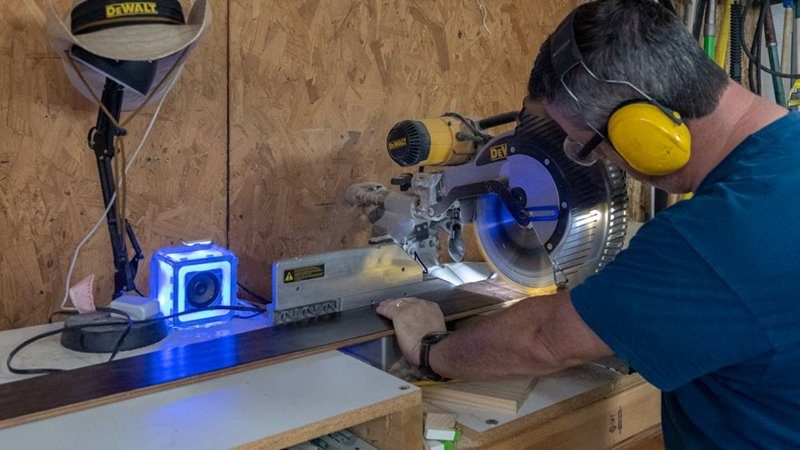
I started slicing some of the leftover bamboo planks into the proper length with the monster miter saw. Again a wooden table top can be cut with almost any kind of saw, but I love the miter-beast. The top can also be a host of other materials: metal, laminate, tile, or whatever endless possibility.
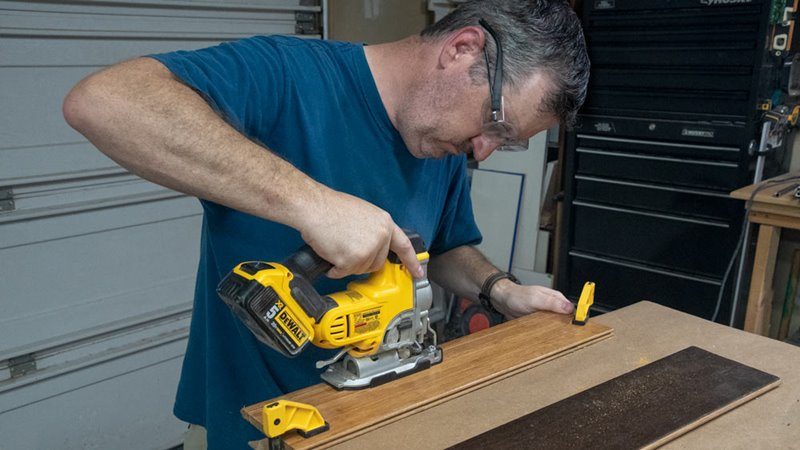
There was a little wave in one of the long edges of the top frame so I scribed a line along one of the planks and ripped it with a jigsaw.
Rather than three long strips I intentionally left one of the tongue-and-groove joints smack-dab in the center. It would mirror the floor's appearance.
The Finished Product
The top slab pops down onto the recessed lip formed by the frame and the edge wrap. I'd painted the revealed wooden edge black to hide it.
This design was be custom sized to slip nicely over the height of our couch. It's high enough to slip the edge of an arm underneath for comfortable slouching, while keeping frosty beverages within easy quick-draw range.
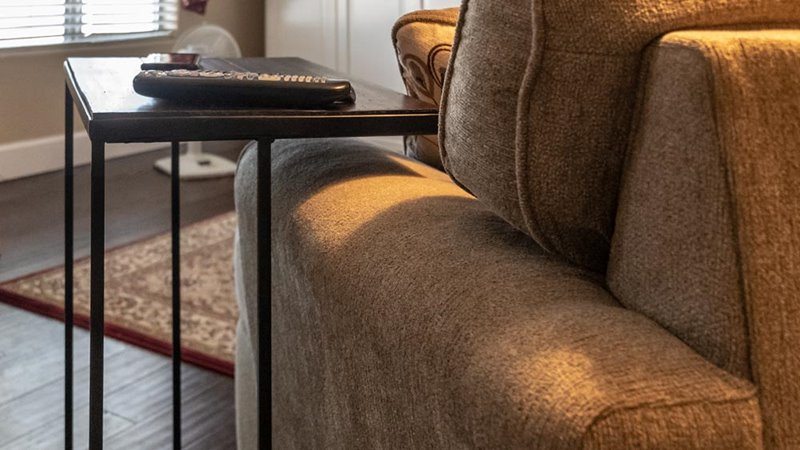
We're pleased with how it turned out. It's understated and crisp, unlike the white, plastic adjustable tubing mess that's been dominating the room for the past couple years.
That's it. It looks much more difficult than it is. It's all simple 90 degree cuts and getting the hang of brazing. I'm super pleased how it turned out.