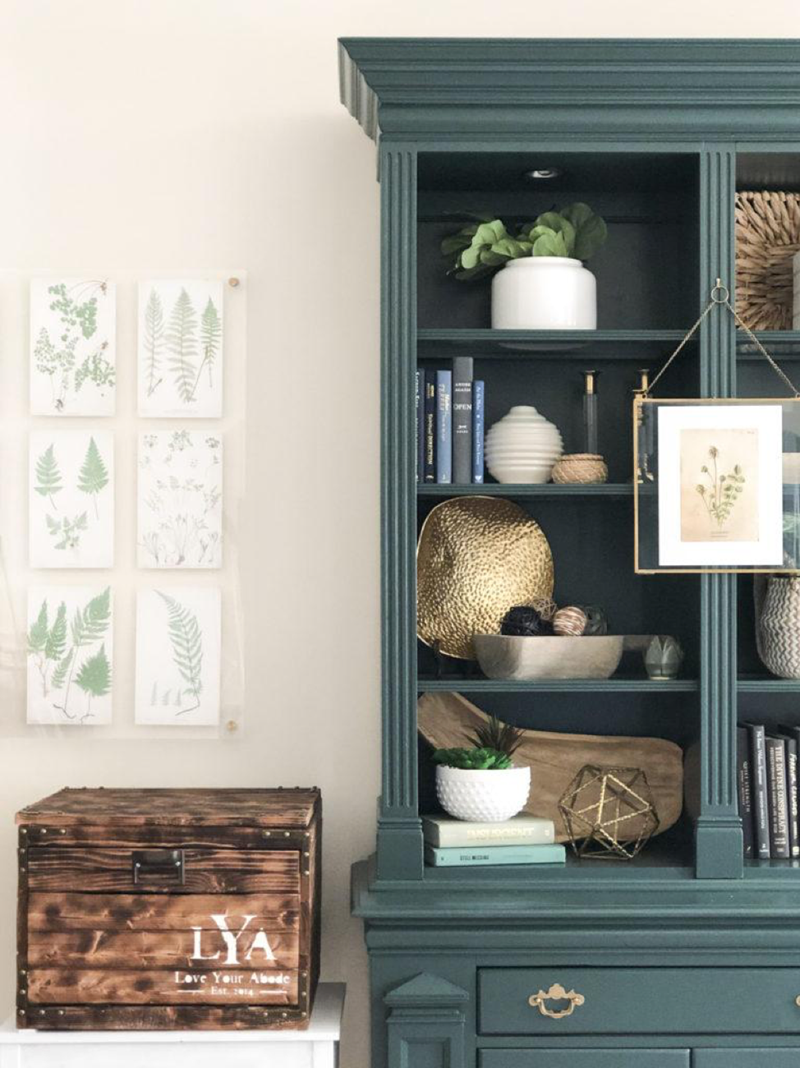
Where is your printer? Chances are it's sitting in your office or another space in your home taking up necessary space with its boxy features. Since it’s a functional machine in the home but so unpleasant to look at, check out this alternative solution!
Directions
Step 1: Measure your printer and build the frame.
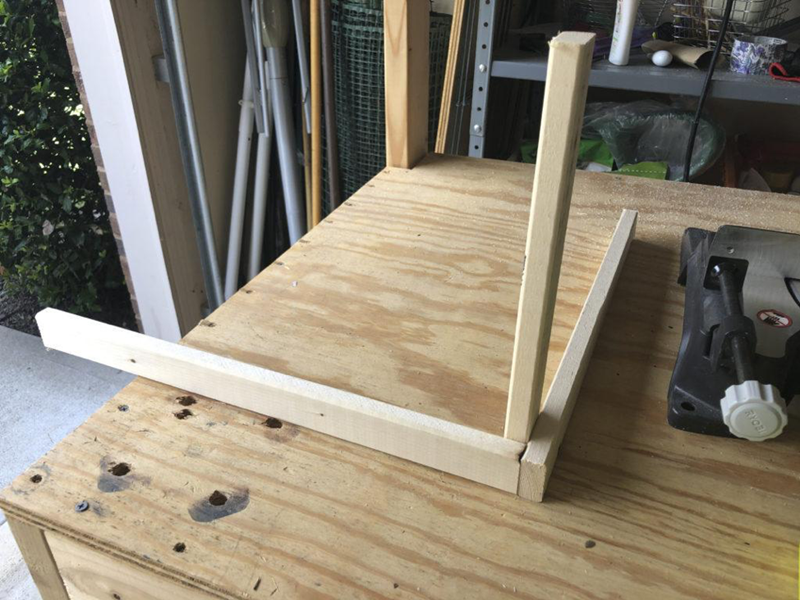
Cut your 1 x 2 furring strip boards after measuring your printer. You want to account a few inches around the perimeter so that your printer has plenty of space. It's better to build too big rather than too small. Attach the corners of the 1 x 2s and 4 posts with screws to ensure a solid frame. You want to create a cube around the body of the printer with the vertical posts on the inside part of the top and bottom squares. Remember to create a cube tall enough to fit the width of your slats!

Step 2: Build the side and back panels with your 1 x 4s or whatever size board you use.
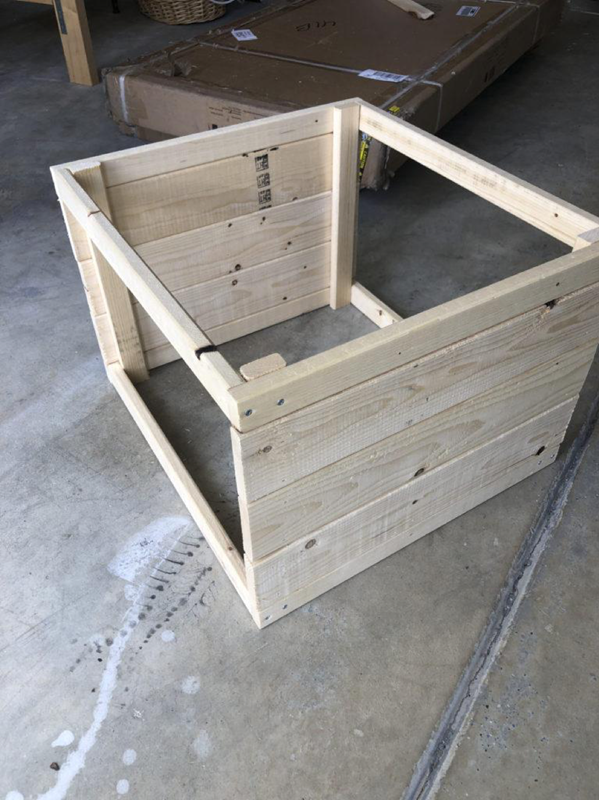
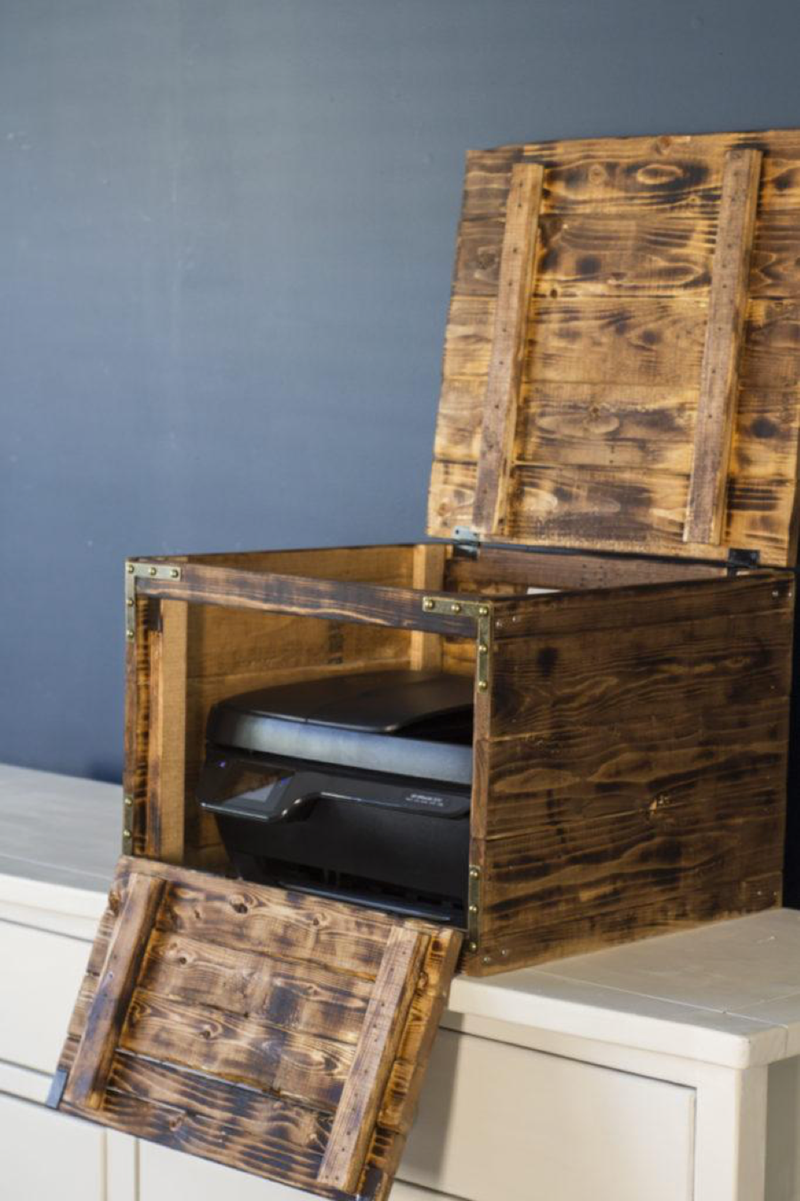
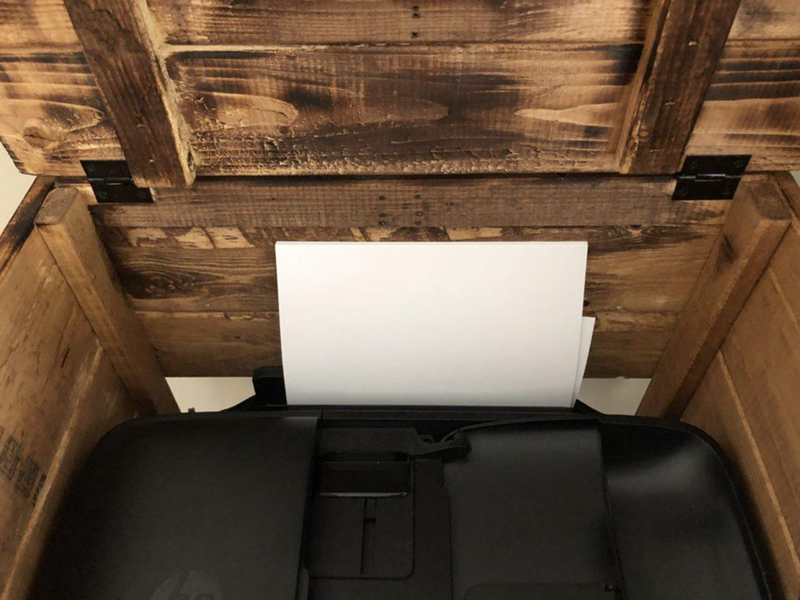
After cutting your 1 x 4s to length, nail them to the vertical posts using finishing nails to create the sides of the printer box. Notice that the 1 x 4s are flush with the sides of the top and bottom squares. You can leave the bottom open since the box will be sitting on a solid surface, if preferred. Also, if there is a paper jam, it's much easier to lift the box rather than taking out the whole printer.
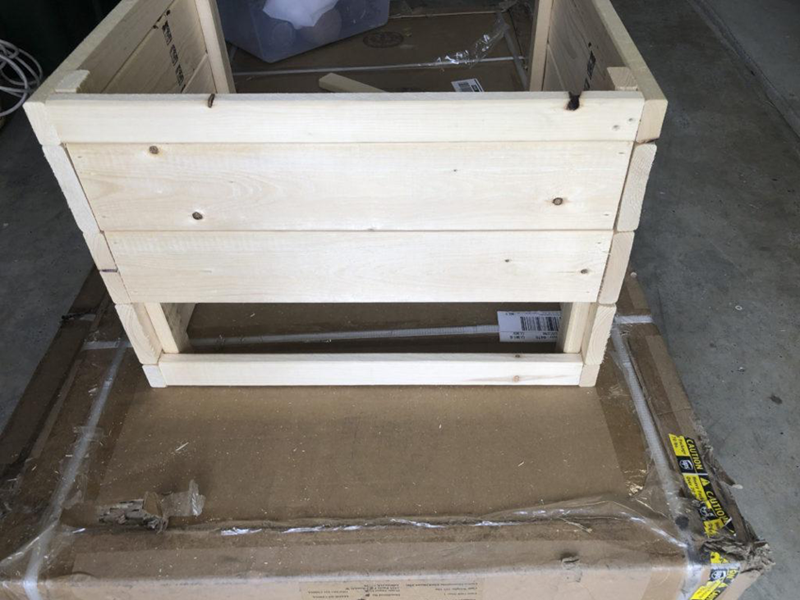
You can also leave one board missing on the back so that there's room for your printer cord and for ventilation.
Step 3: Build the top and front panels with 1 x 4s and using 1 x 2s for reinforcement.
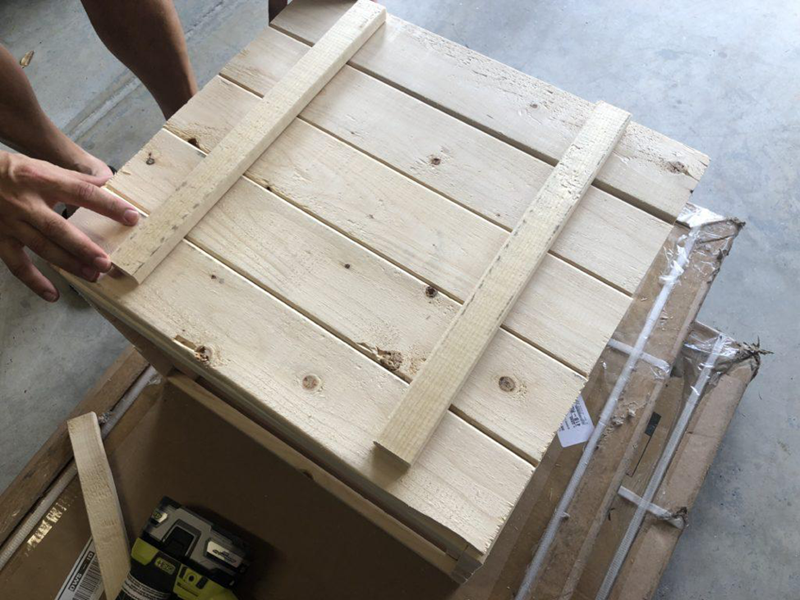
Since the front and top panels of the printer box will function like a door, you need attach the 1 x 4s to a couple of 1 x 2 to create one piece.
Remember to leave a gap from the end of the 1 x 2s and the edge of the panel so you have space for the hinges and so it will sit flush with the frame when closed. Also, leave a slight gap between the edges of the slats of the front panel and frame so it can easily open and close.
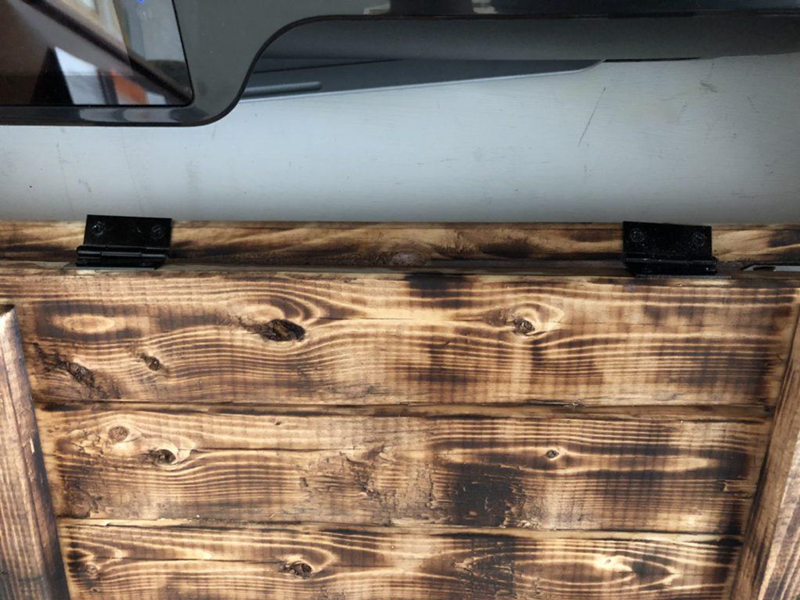
Step 4: Time to torch!!
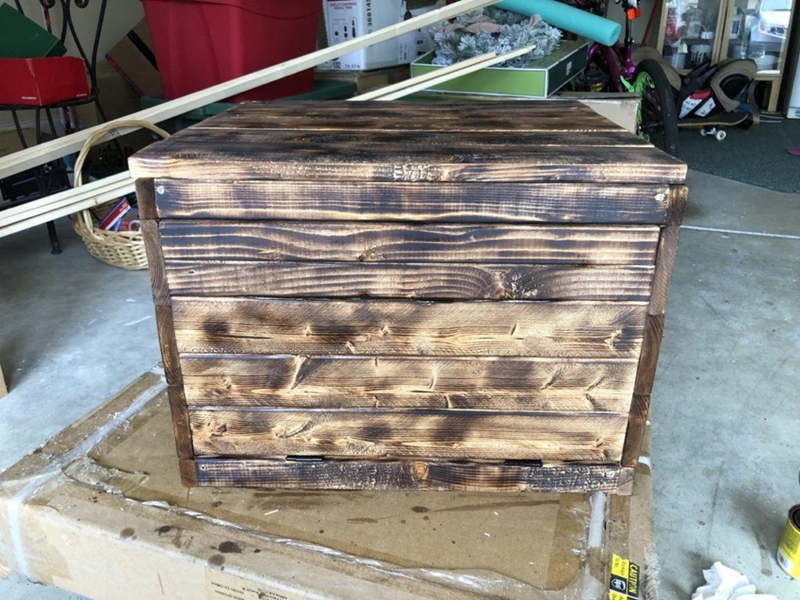
Once the box is built, you can start torching. You'll also want to torch the interior of the box since it can be seen when opening from the top and front. The Bernzomatic TS3500 multi-purpose torch is super easy to use and it really created some beautiful aged grains. Practice with it to play with different types of results.
Step 5: Time to stain and sand.
Use a dark color for the stain called English Chestnut from Varathane. Using a brush, apply the stain on the surface of the printer box. Take a cloth and wipe away the excess. The wood should absorb the stain beautifully. Make sure to wait the appropriate time on the instructions for the second coat. After the stain is dried completely, take some sandpaper and soften up the edges and remove any potential splinters and rough areas.
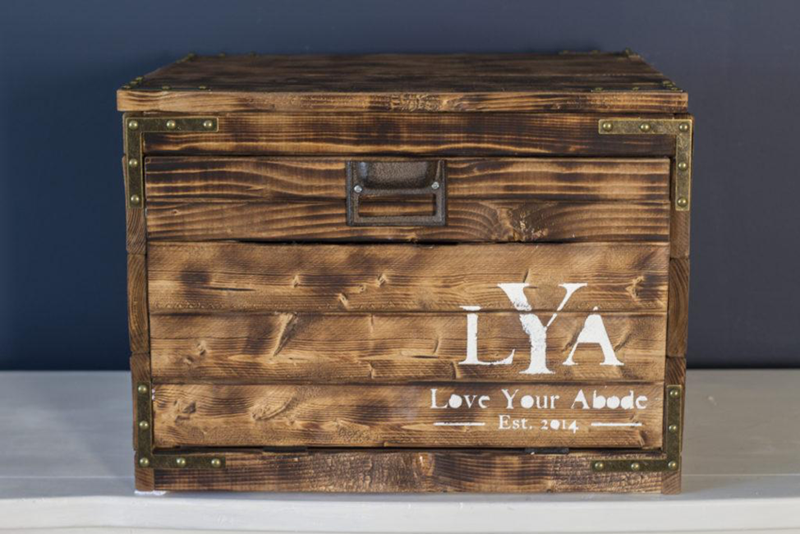
Step 6: Optional: Add campaign corners, pull and stencil.
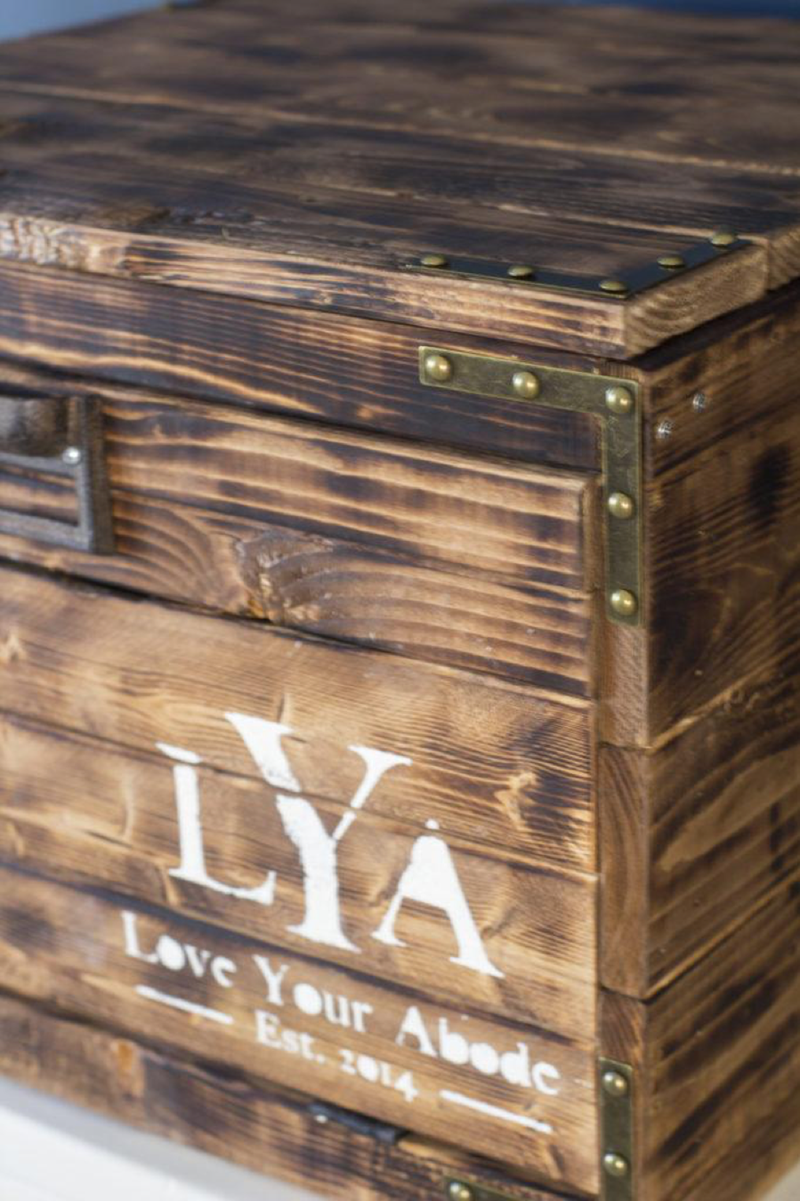
This step is optional, but it adds lovely detail. The campaign corners can be found in a craft store and you can use a Cricut machine for the stencil. The pull is from Hobby Lobby.