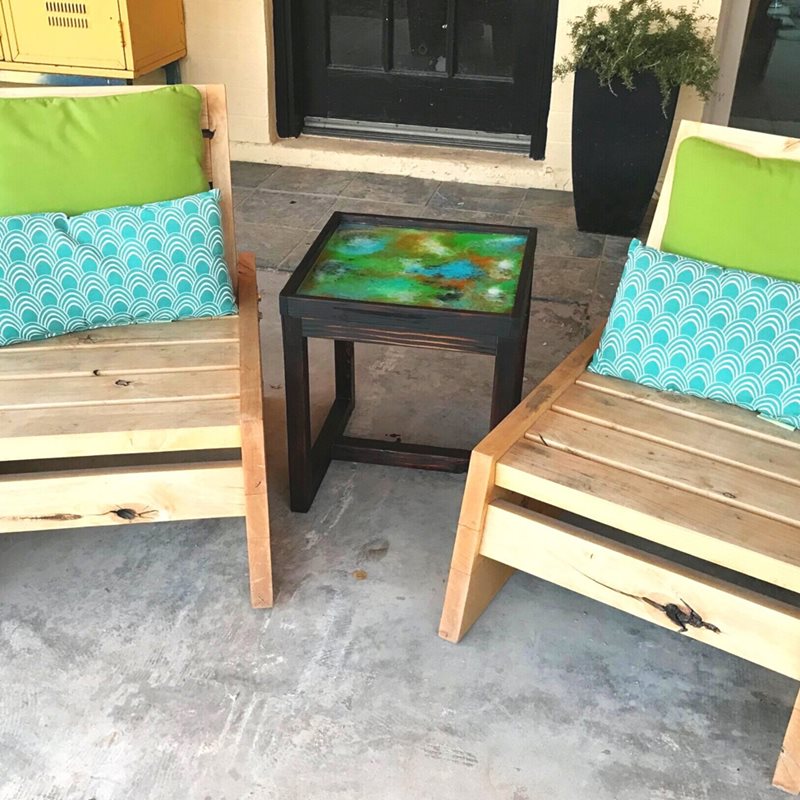
This project is a Shou Sugi Ban table, taken a little farther by adding an epoxy resin tabletop. It starts with building a simple side table and can be elevated with the steps below. All you need is a few boards of new wood or scrap wood.
Directions
Step 1
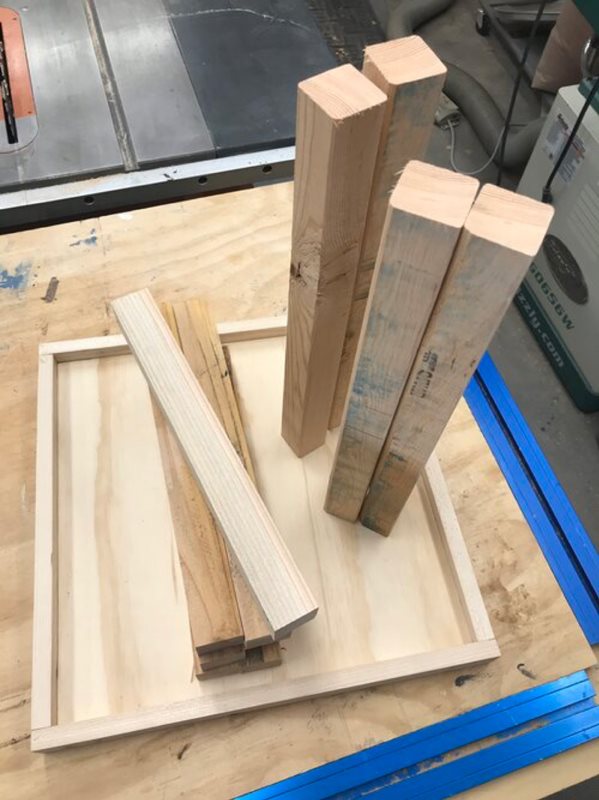
The first step is to get the plywood cut. You should start there in order to ensure the base is flush with the top. Build the top first, double check your measurements and then cut the base pieces.
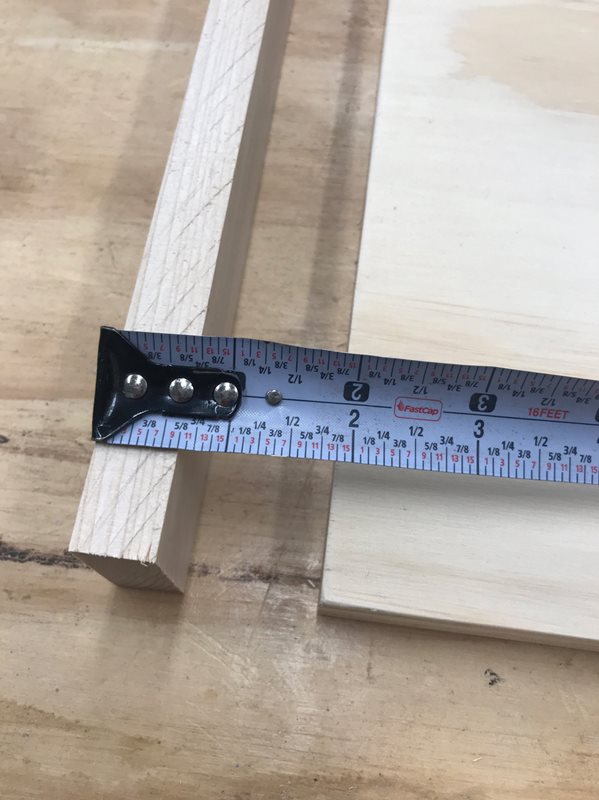
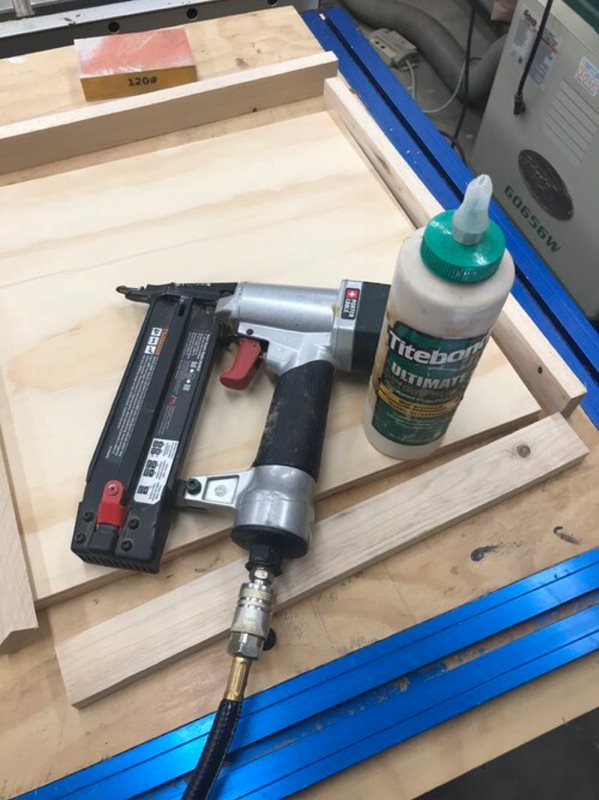
Use 1 1/4” 18 GA brad nails and wood glue to attach the trim to the plywood top piece. Be sure to use wood glue for this step and spread it out over the edges of the plywood, because it will help a create a seal so the epoxy won’t leak later in the project. Also, the lip that this creates will give you a nice mess free surface when pouring the epoxy.
Step 2
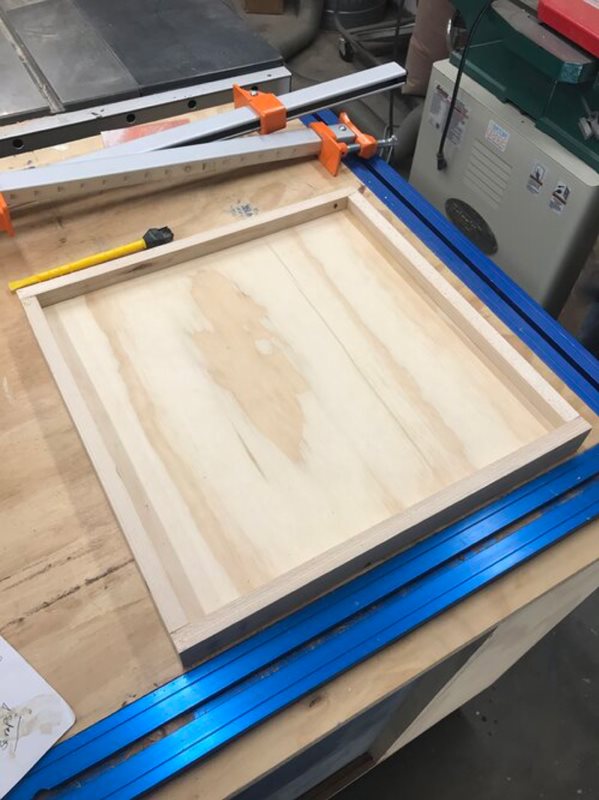
Remeasure to make sure your base measurements will work with your finished top. Cut your pieces to size and drill 1 1/2” pocket holes on each end of the bases pieces (not the legs). Then assemble using 2 1/2” pocket hole screws and wood glue.

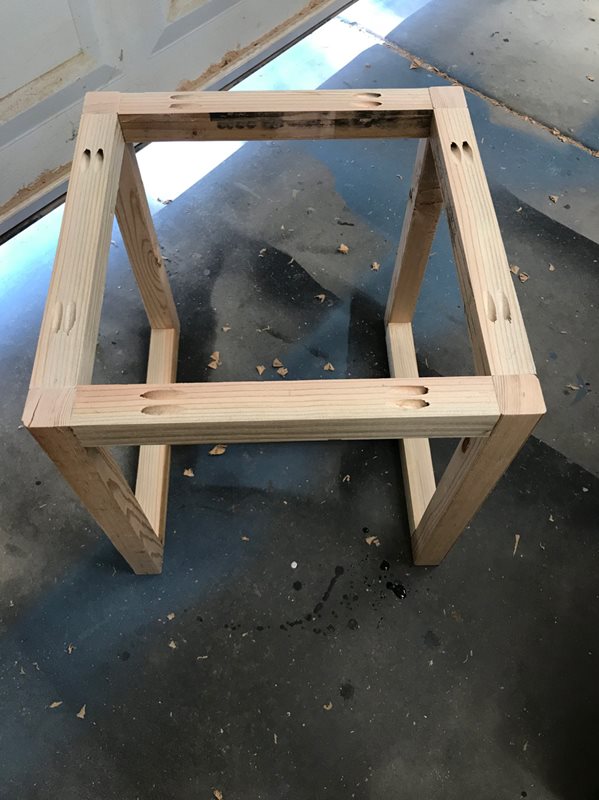
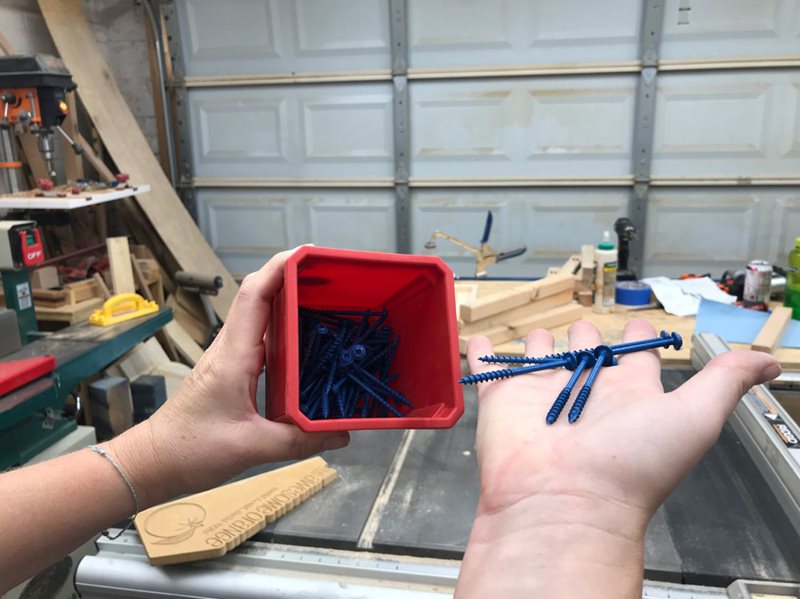
Use the blue coated pocket hole screws because they are rated for outdoors and that is where the table will be. Also, note that you should face the pocket holes either up or down during assembly so that when the table is upright you won’t see any pocket holes.
Step 3
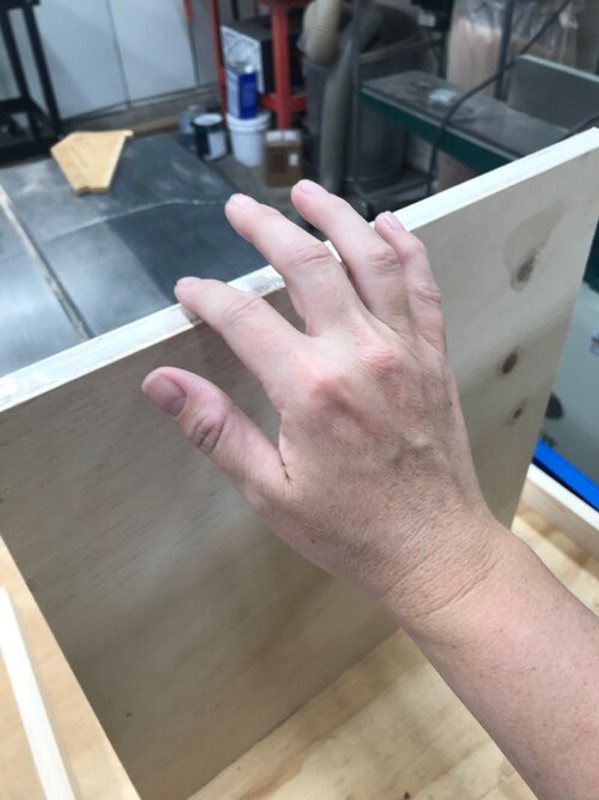
Attach base to top using 2” wood screws. Would recommend using exterior rated ones for the table if you are going to have it outside.
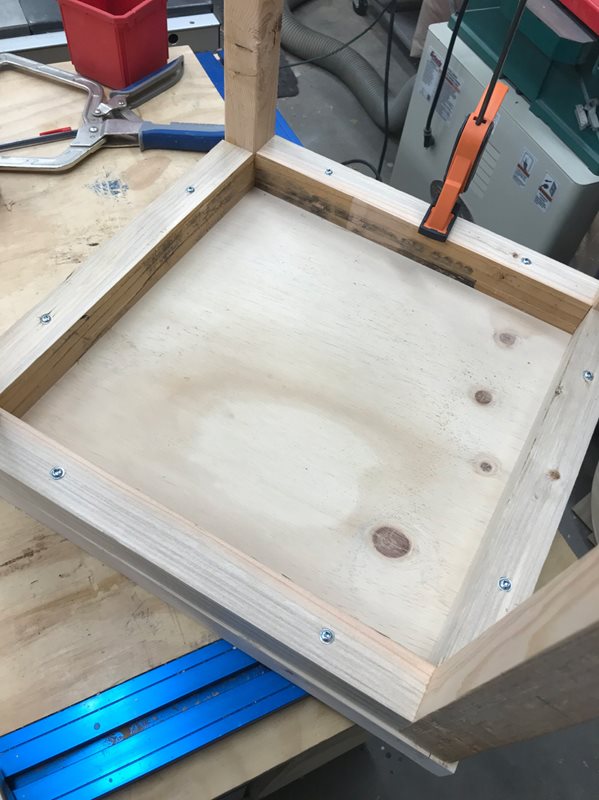
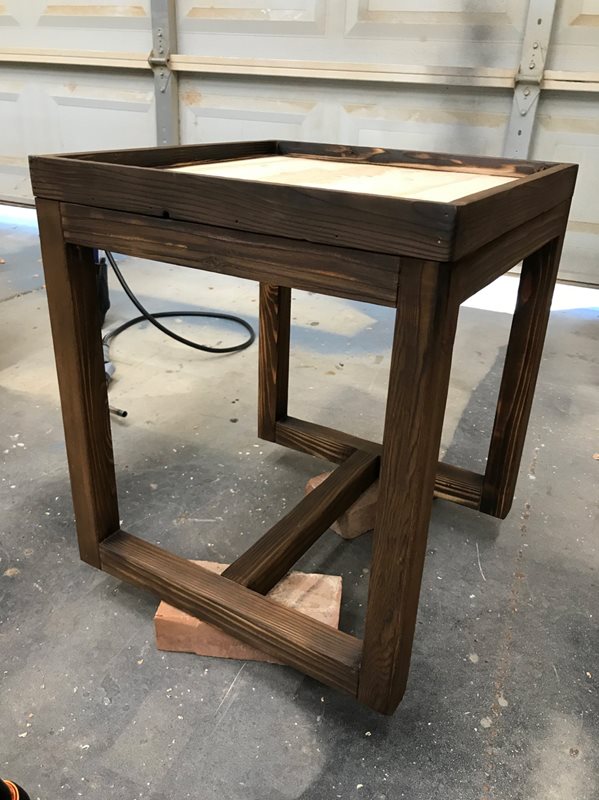
Once the base is assembled, lightly sand it and get rid of any sharp corners.
Step 4
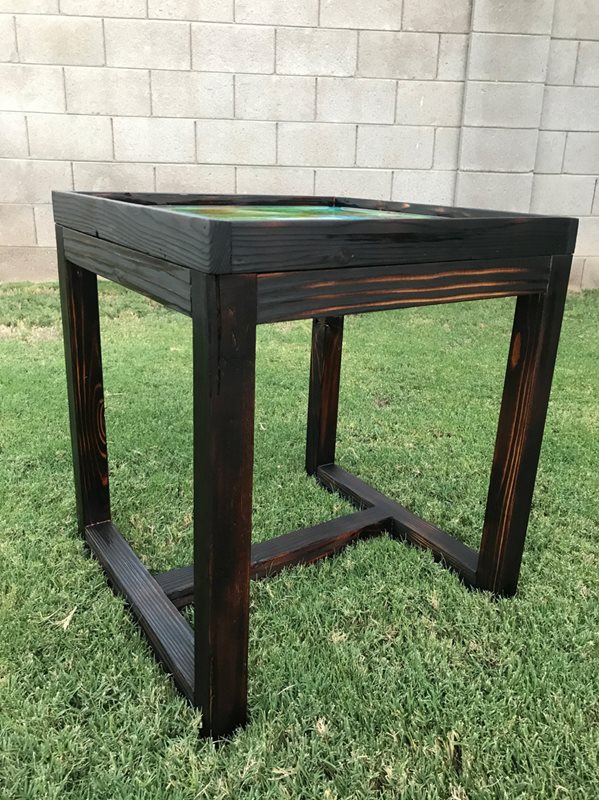
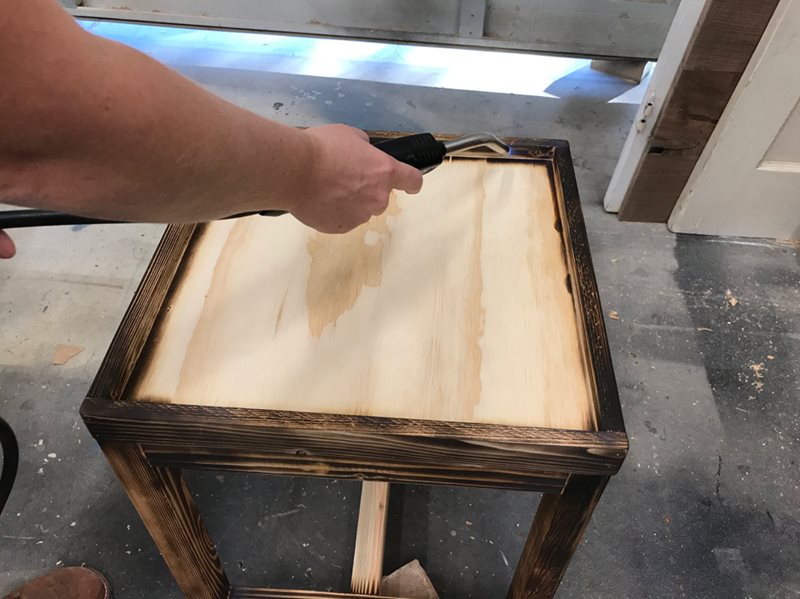
Shou Sugi Ban the base using the Bernzomatic 8250HT.

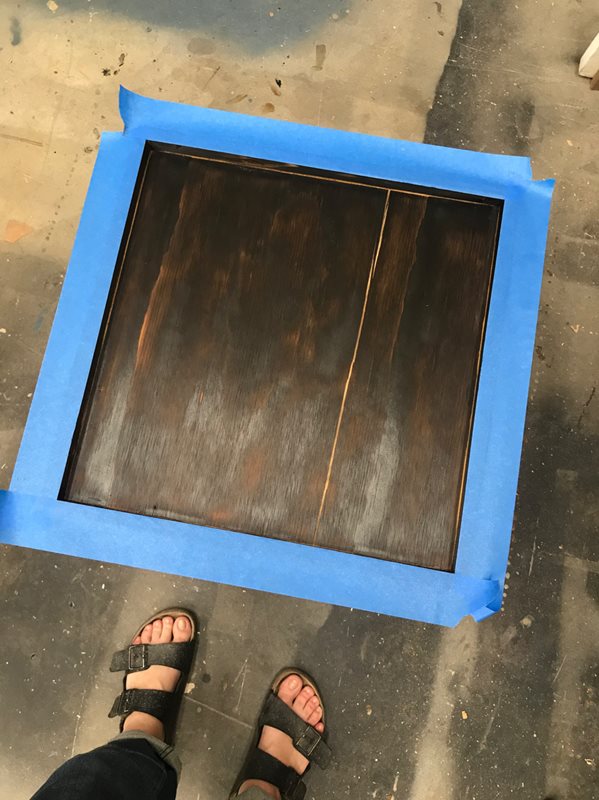
Step 5
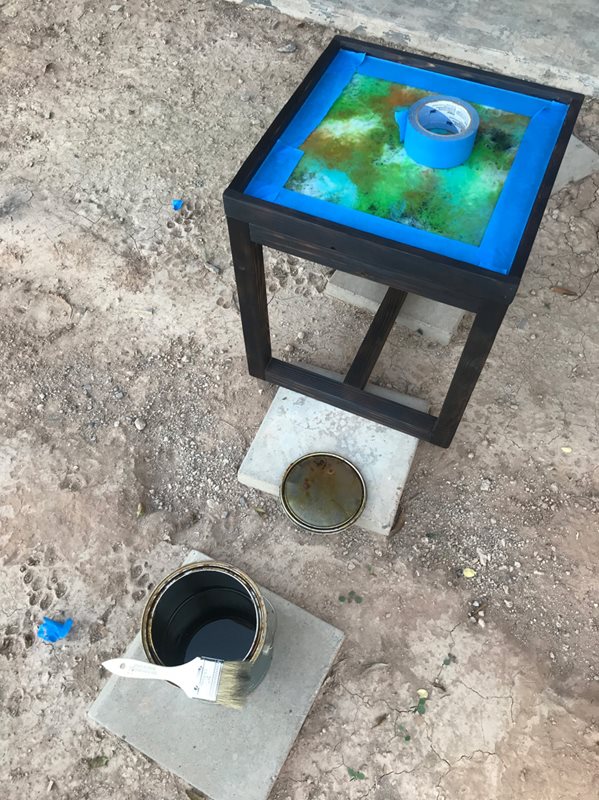
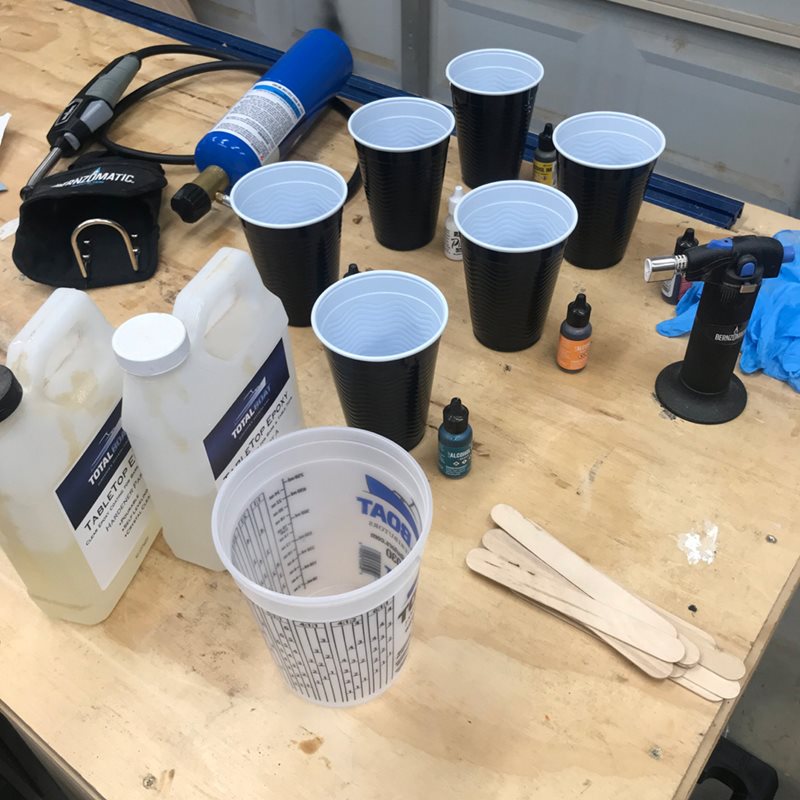
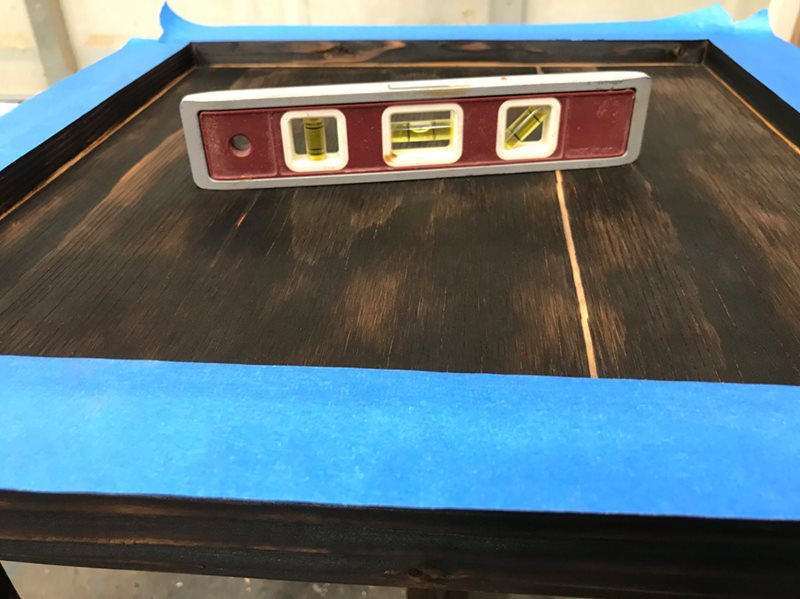
For the epoxy top, start by taping off the top trim edges because you don’t want to accidentally drip epoxy on them. Then mix up the epoxy to cover the base and to mix with the colors. Make sure that the base is level so that the epoxy would also be level.
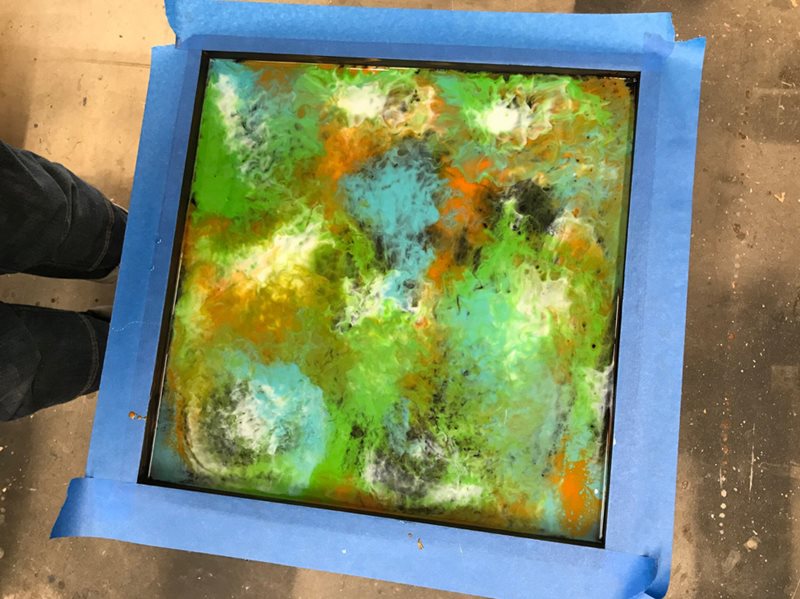
Steps for the epoxy pour:
- Have your base painted a color that you don’t mind showing through.
- Pour a base layer of clear epoxy and spread evenly to the corners. Having this base layer will allow the colors you add to flow and mix better.
- Pop all the air bubbles with a Bernzomatic ST2200T torch.
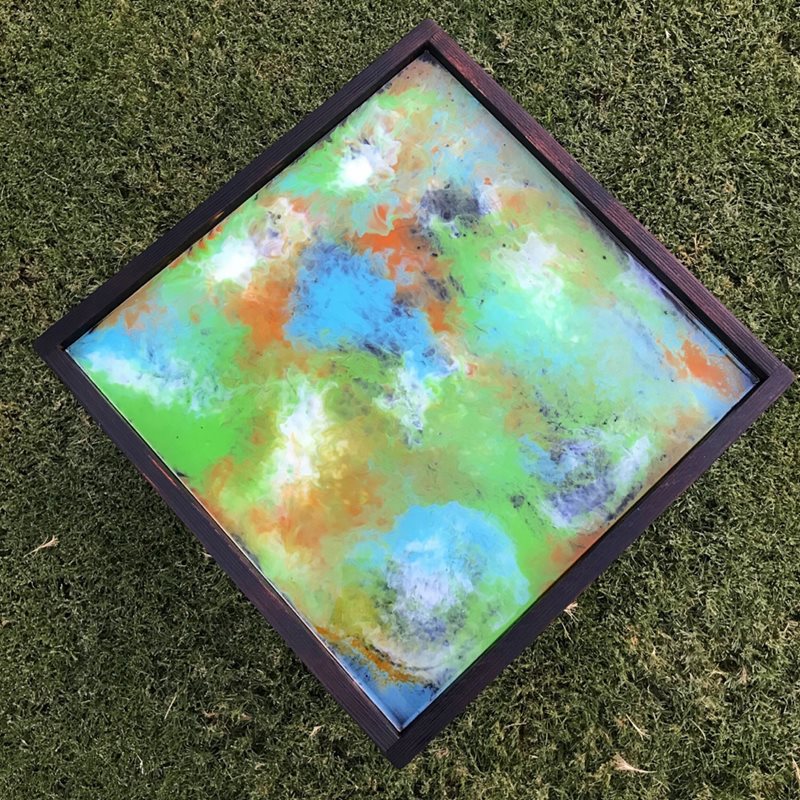
- Pour a color or two randomly on the table and use a hair dryer on hot and high to move the epoxy. Be sure to move it in all different directions to not get thin spots in the epoxy.
- Repeat until you get desired look.
- In spots where the colors aren’t mixing, add clear epoxy, which helps break up colors and add depth.
- Let it cure overnight and add a top coat of clear epoxy the next day. Do this so that if the top gets scratched down the road, it won’t affect the color design. Remember to pop the bubbles using the torch after every pour to get a nice glassy finish!
Step 6
Add a coat of clear epoxy on the base. You can also add a coat of oil to finish it so that none of the char comes off.