I took a chance with this copper pipe coat rack design. And I’m glad I did. Somewhere between woodworking and plumbing and design, it was touch and go there for a few minutes.
Directions
I cut the 1/2-inch copper on the miter saw. Its exact and certainly leans on my forte of wood-cutting. The blade—unlike a traditional pipe cutter a plumber would use—leaves burs that I like to sand down with the stationary sander.
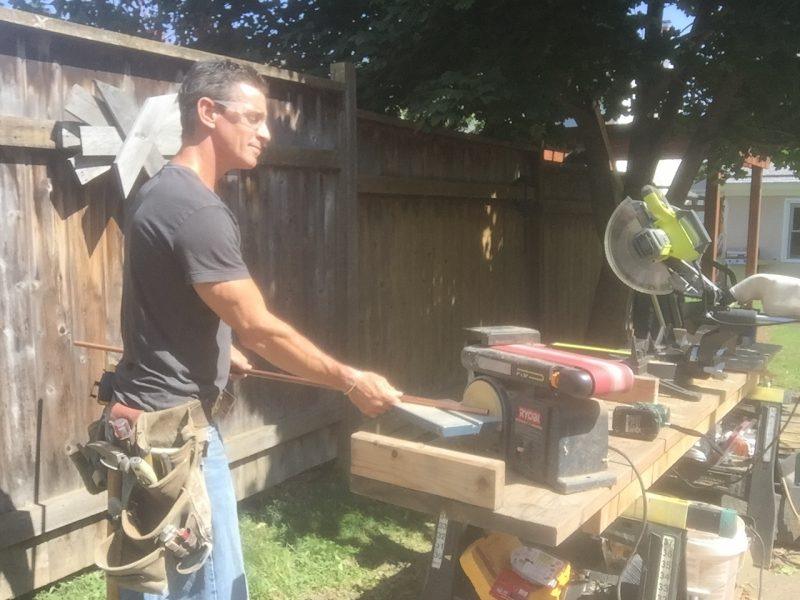
Tuning up pipe burs on the bench sander.
It’s possible the miter saw deforms the pipe ever so slightly (red-ink copper is thicker-walled and holds up slightly better than blue-ink, less expensive, copper). I mention that because I struggled getting a few pipes and fitting to seat without a rasslin’ match.
Since reamers exist to re-round pipes, it may not be entirely my unconventional pipe cutting style or the saw. Just an FYI.
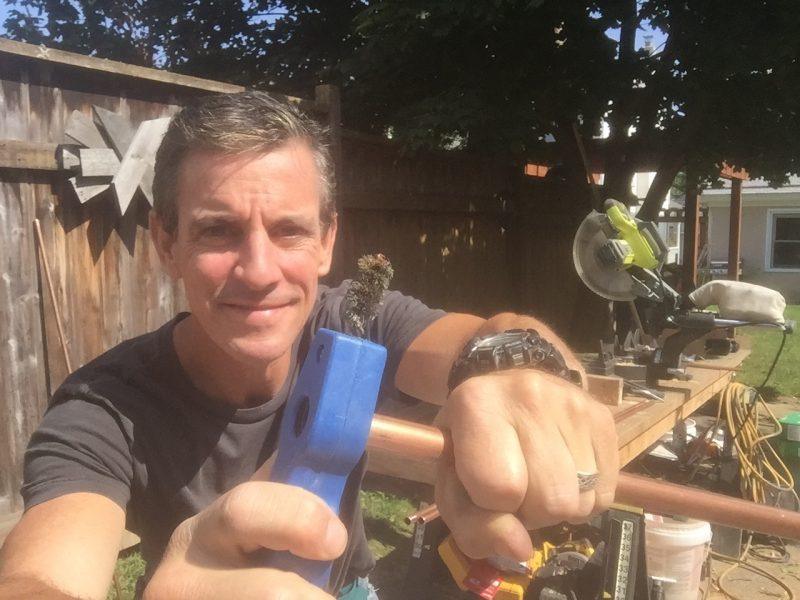
I love the Bernzomatic pipe-prep tool.
Good solders start with clean, abraded surfaces. It’s a little forearm workout too. Bernzomatic’s 4-in-1 Pipe Fitting Brush is great to have on hand.
It’s a pain, but taking the time—it’s only a few minutes, really—to peel the stickers gives a cleaner finish later. Otherwise the paper burns, the glue boils. It’s yucky. I use the tool I use on nearly every job for something for this, my Hyde multi-tool. Get one. Or five.
Take the time to peel the stickers.
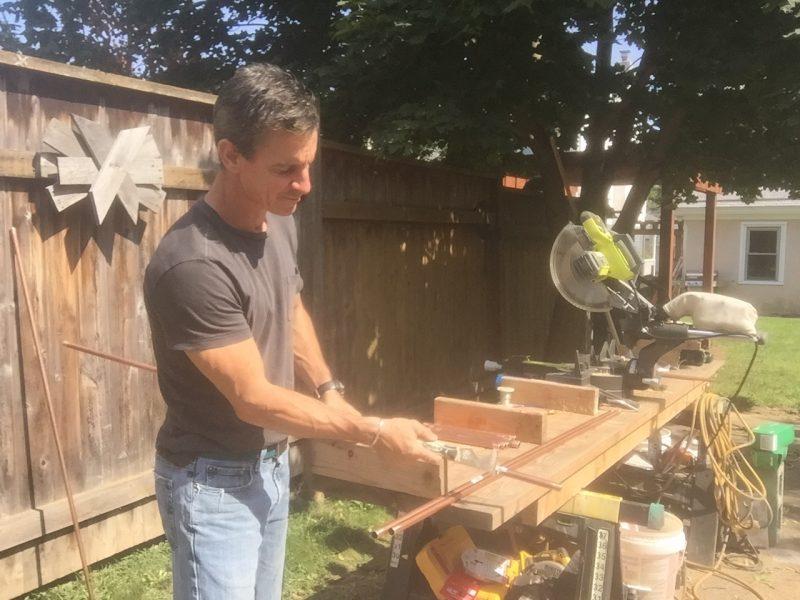
The main pipes are 5-feet long to start. The legs and crown pieces are 10-inches. The feet and center hangers are 3-inches. When we cut the main pipes below for the Tee, we’ll cut them 30-inches long. OK, more stuff.
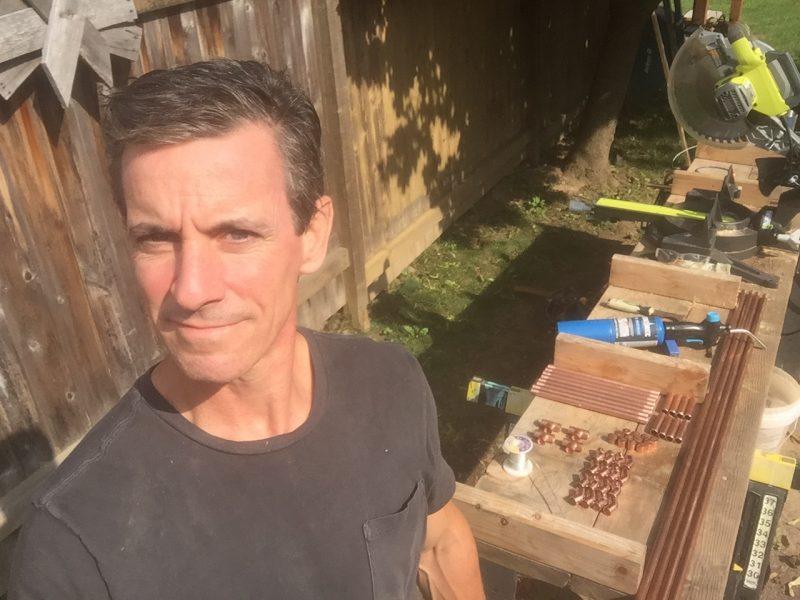
I’m not really this neat. However, these are the pieces and parts.
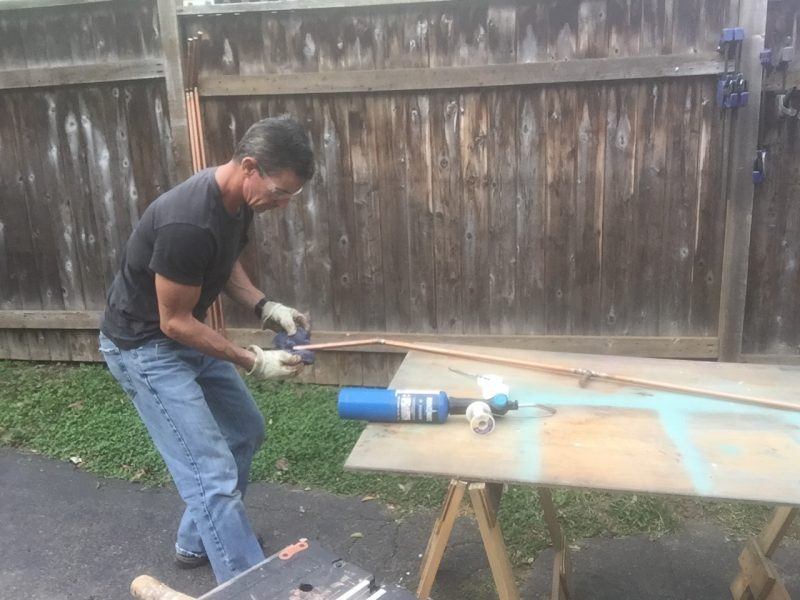
Couple things going on here. First, checking to be sure the pipe assembly was straight (I ended up using some cedar shims to keep it in line). Also, I press the “hat hook” flat to the table so its parallel with the “foot” before putting it up on the blocks.

When joining the center pipes I kept them up off the table and made sure they were as straight as possible.
The reason for the blocks is so I can have full access to heat and solder the fitting. I used Bernzomatic’s TS3500, which I love for this kind of project. It lights easily and dependably and the flame is easy to control. A total go-to for DIY projects. I recommend it.
It also reminds me that if you’ve never used a torch and you’re nervous about how it works—full disclosure, I was—it works 100% like a gas grill. If you can light a grill, you can use a torch. It even uses the same fuel in this case: Propane.
All the solders are pretty much visible on the on this piece, so I made sure to give them a wipe with a water-soaked rag as soon as the solder sucked into the fitting. This minimized drips and pooling for a cleaner look.
I wiped down my solders asap with a damp rag.
For the copper pipe coat rack to sit flat on the floor, check to make sure the feet are in-plane with each other. To do this, I used a wide board to make 3-points of contact (the other leg is below the table). To get the first two in-plane with each other, I lined them up with the edge of table.
Details, details.
DIY Hint: Use a table whenever possible. They make all DIY life easier. This is just plywood and some sawhorses.
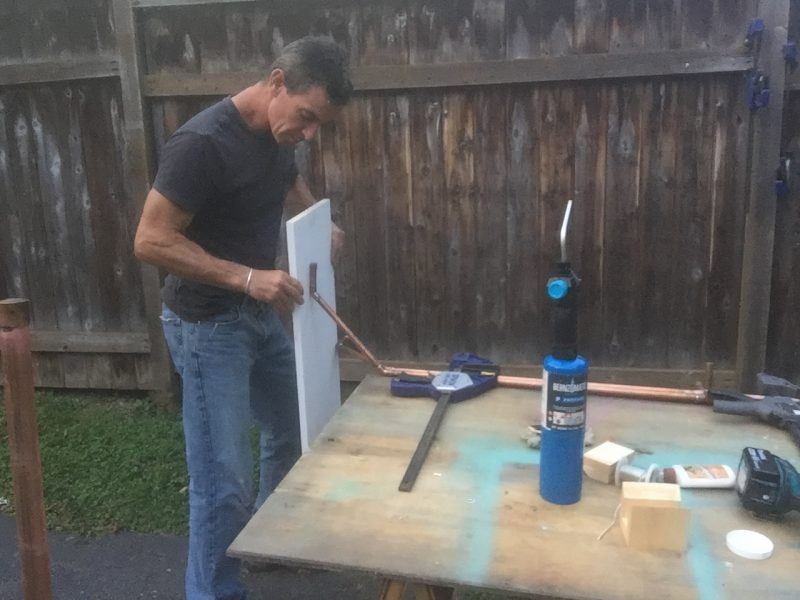
Here, I’m soldering the leg assemblies together at the Tee. Since they’re already soldered straight, I can stuff a piece of my favorite insulation (effectively fireproof) between the legs and the table. Also, be careful not to melt the plastic parts of the clamps. Keeping them centered between the solders—I placed solders at the feet, hook, and crown—keeps them cool enough.

I used my favorite insulation to protect the table. Pretty much fireproof.
Join two assemblies at a time 90-degrees to each other.
By the way, not only do these leather gloves make me feel like a ranch hand, they were great for this project. I’m not saying to grab a hold of heated pipes, but they made handling newly soldered pipes easier. I kind of wore them by accident because I had them from another project. Happy accident.
The top solder was easiest to get with the unit standing up, not that I could see much.
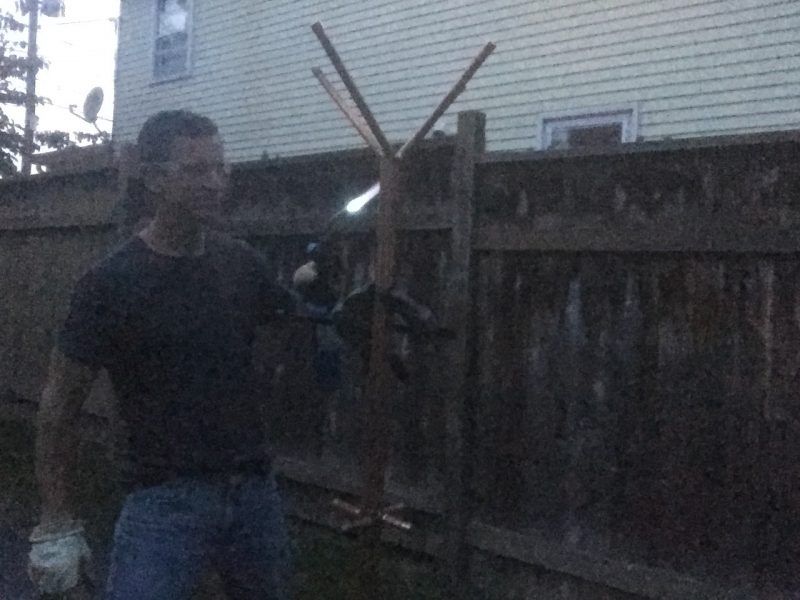
I soldered the crown together with the unit standing up. Also, in the dark.
So, I’ll admit that I had a few hiccups on this one. I had originally intended to trap the legs together in a wood box. When that didn’t work, I had to pivot. It occurred to me that a solder might hold. It did, but it required heating up a lot of copper so the solder would liquefy.
It ended up working great. I scratched the opposing surfaces and added flux, just like any other fitting and the solder sucked right in. I wouldn’t use this as a javelin or Spartan Spear, but the solders feel solid and I love the clean look and subtle spiral effect of the hat hooks.
You could also add spray paint if you wanted a less raw look. I’m tempted. But, at the same time, there’s sometimes wisdom in letting a sleeping dog lie.
Good luck with your DIY. Copper pipe coat rack: Hooked up!