May means that the unofficial start of summer is near! I don’t know about you, but when I think about the summer I am reminded of warmer weather, tank tops, and most importantly, grilling season! To help kick off the start of BBQ season, I partnered with my amazing friends at Bernzomatic to create a mobile kitchen island and grill cart! Best part, I have the FREE plans for you right here!
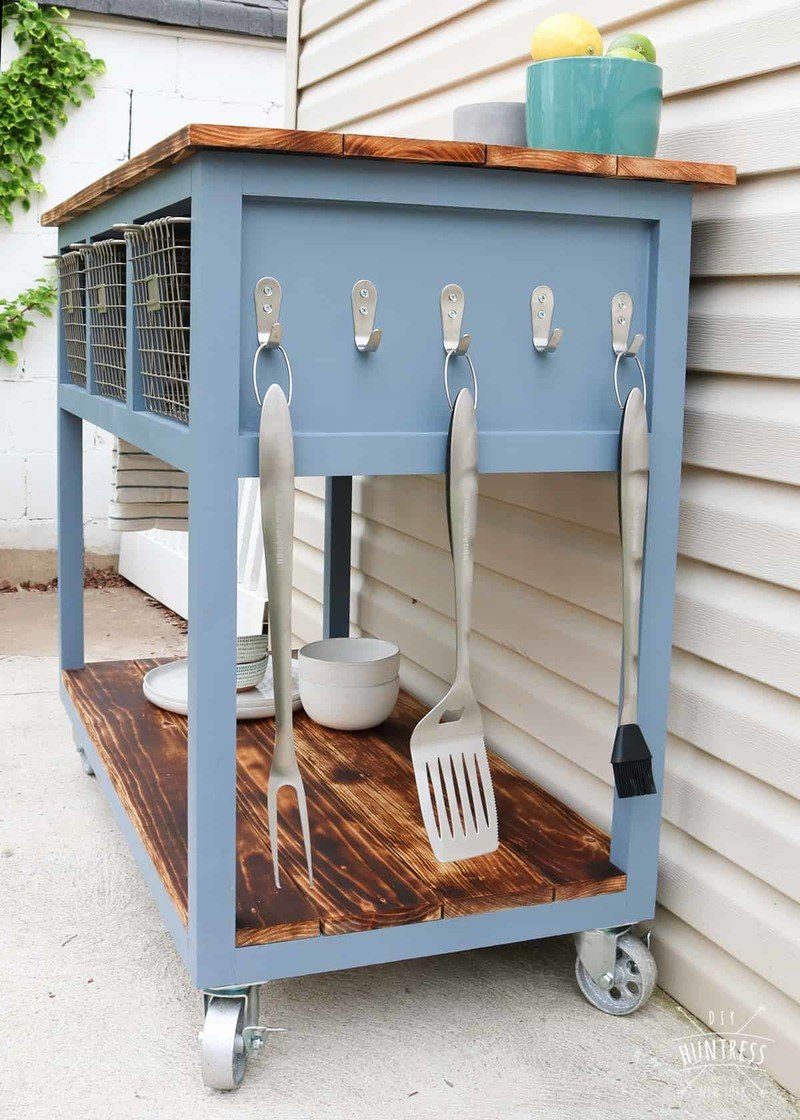
One of the things I love about this project is that it is multi-functional! It can be used as a grill cart in the summer, and then stored in the kitchen as a mobile island in the winter! Even better, Memorial Day means that Father’s Day is around the corner, and this bad boy would totally double as a mean Dad’s Day gift (you’re welcome)!
Directions
Cut List
2 x 2’s
- (4) Legs @ 31”
- (6) Long Frames @ 39”
- (6) Short Frames @ 17”
- (6) Basket Slats @ 17”
- (4) Supports @ 17”
- (2) Basket Dividers @ 8 ½”
- (4) Spacers @ 3″ (for castors)
Plywood
- (2) Side Panels @ 8 ½ x 17”*
- (1) Back Panel @ 8 ½ x 39”*
(*If you do not have a pocket hole jig, please see the “Panel” section of this build before cutting your plywood panels)
1 x 6’s
- (4) Top Shelves @ 44” Long
- (4) Bottom Shelves @ 42” Long*
(*Optional: rip/cut ¼” off the width of each bottom shelf board with table saw to avoid having an overhang on the bottom shelf)
Part I: The Frame
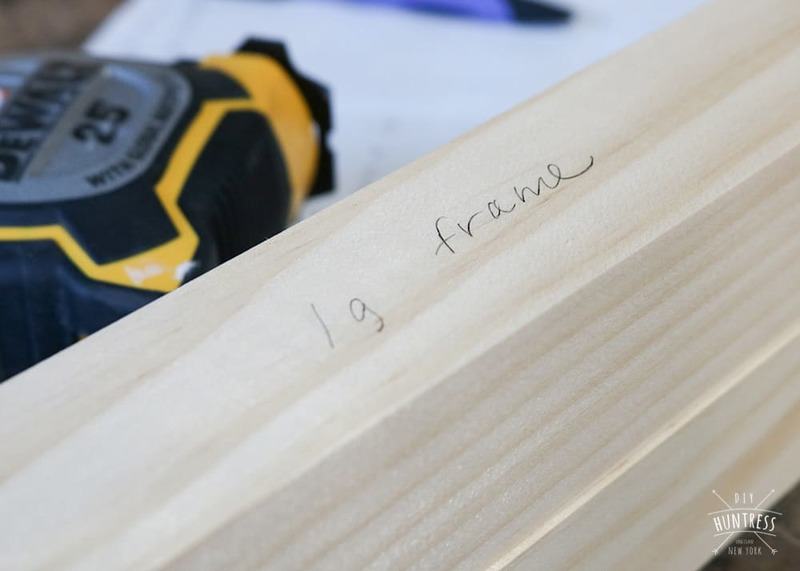
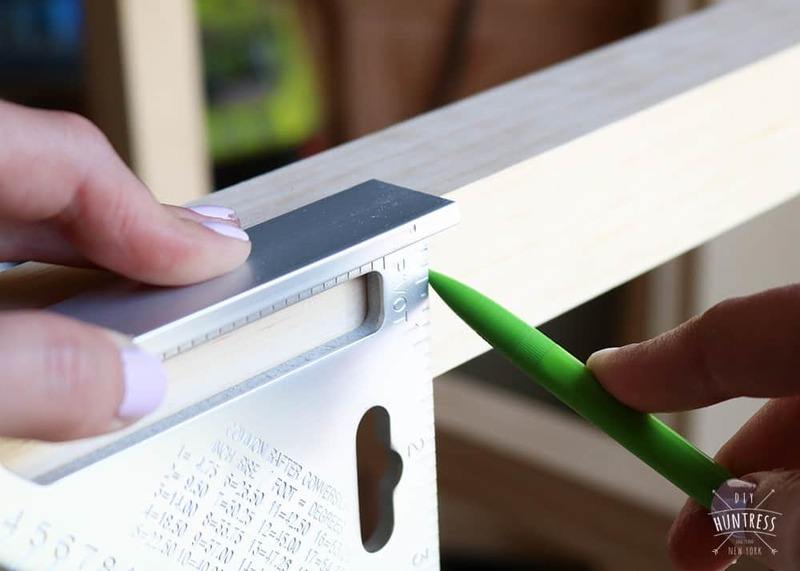
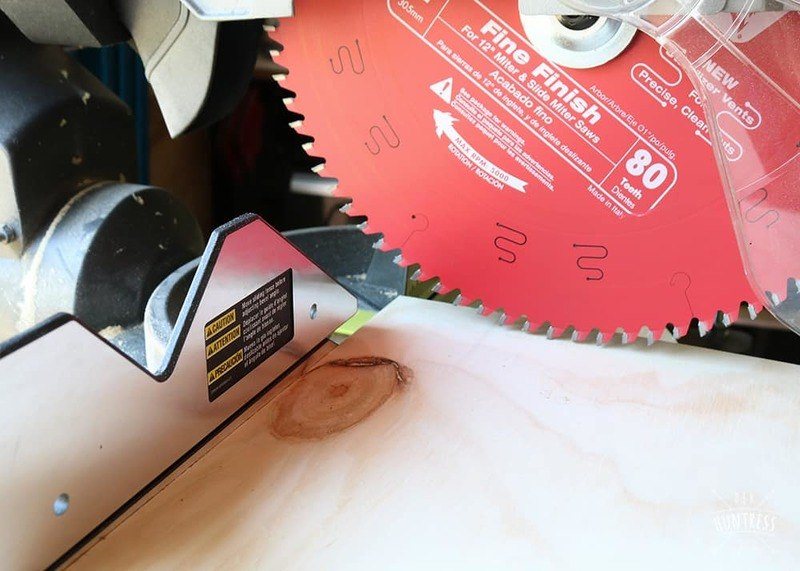
1. Cut your 2×2’s into the dimensions listed in the cut list. Make sure to label each piece so that nothing gets misplaced!
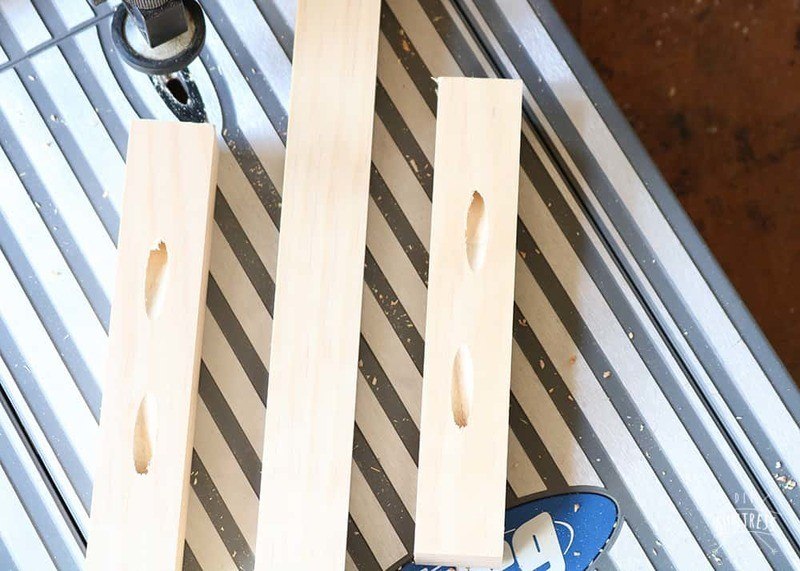
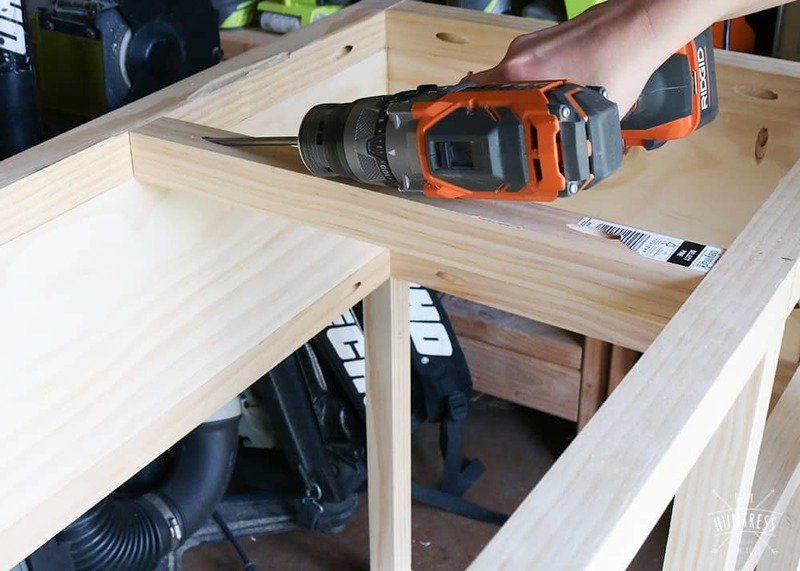
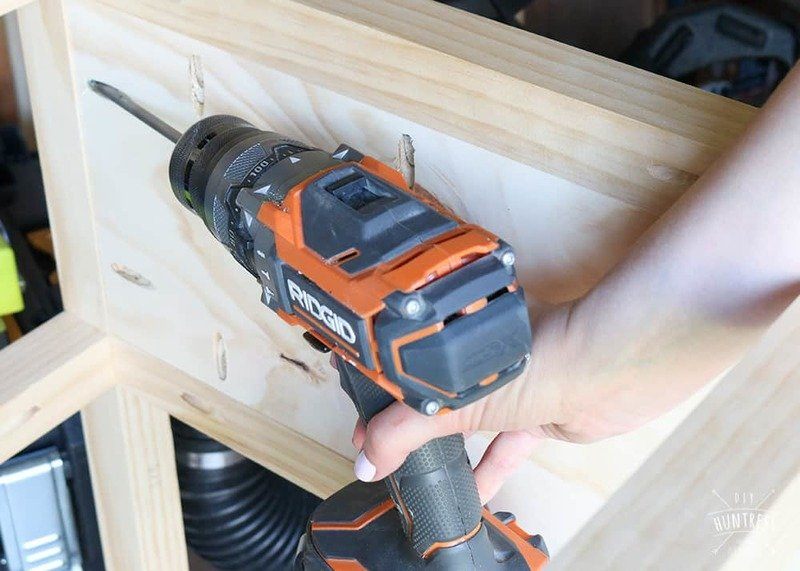
2. Drill pocket holes in the ends of every single 2 x 2 board (with the exception of the legs – don’t drill any holes in the legs). If you do not have a pocket hole jig, you can skip this step and just use wood screws to join your pieces together in the next few steps.
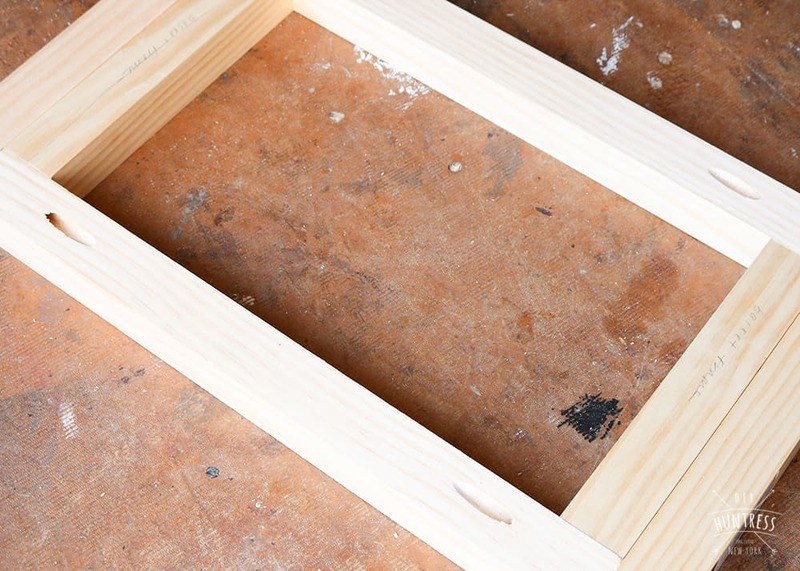
3. Begin assembling your side frames by attaching 2 small frame pieces to 2 leg pieces at a time. Your small frame pieces will attach to the very top and very bottom of your legs to create a giant rectangle. All four corners of your panel should look like this:

4. Once both of your side frames are assembled, and you have two large rectangles, add the last 2 short frames to the inside of the rectangles to create the shelf. You can use the 8 ½” basket divider pieces here to help with spacing.
5. Once your side panels are complete, it’s time to add the long frame pieces. Just line them up to the short frame pieces and attach them directly to the legs. This will create the entire frame for your mobile cart.
6. When your frame is complete, you will essentially just have a giant box! So, now it’s time to add the basket dividers. Use a square to measure where they belong. My baskets were just shy of 12″ wide, So I added my shelf frames by measuring 12″ inward from the legs and then screwed them into the frame with pocket hole screws.
7. Once your shelf dividers have been installed, you can go ahead and install the shelf support pieces to the bottom and top of the piece (2 on top, and 2 on the bottom) with screws and wood glue.
8. At this point, you can install your (6) basket slats as well! I installed mine in between each shelf space at 11″ apart (that just means I didn’t line them up with the basket frame pieces, I just installed them ½” in from each so that the basket doesn’t fall through the opening). It looks like this when it’s finished later (I installed mine last, but they can be installed now):
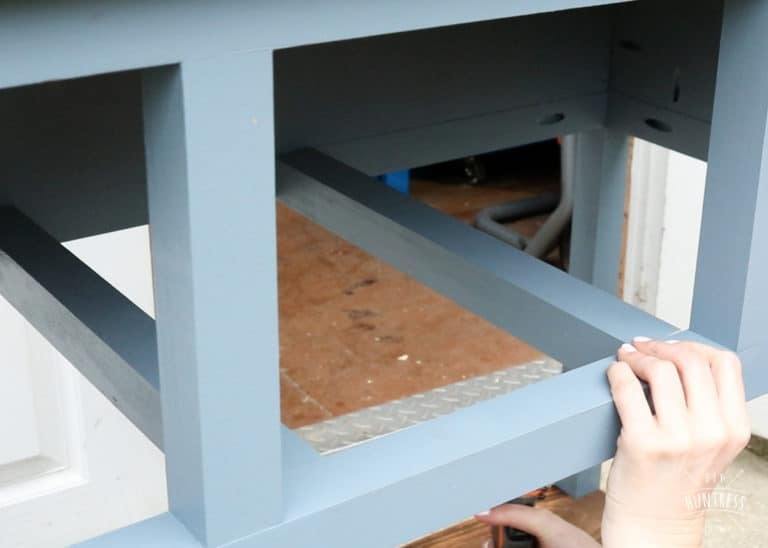
9. Keep your (4) wood spacers for last. You won’t attach those until later. But, for now, do a happy dance, because your cart’s frame is complete!
The Panels
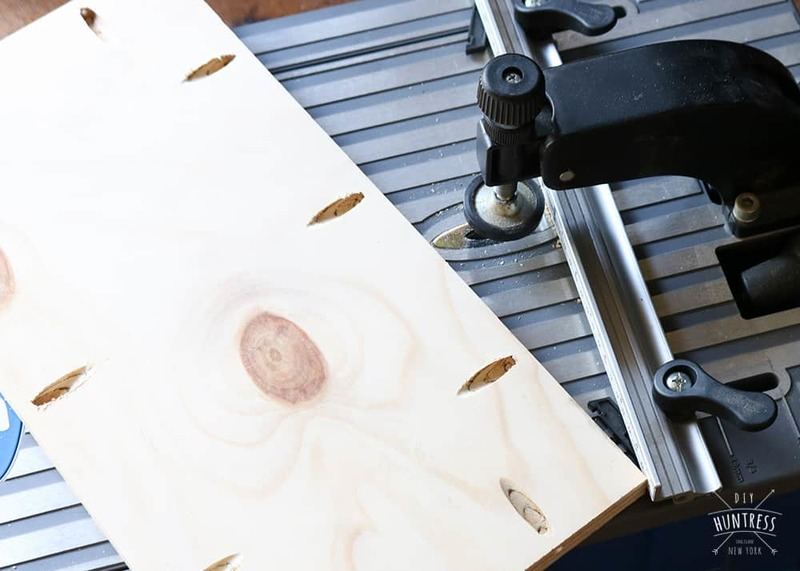
1. Use a circular saw or table saw to rip your plywood to the dimensions in the cut list above (if you don’t have a table saw, you can also ask your local hardware store to cut these pieces for you). Once that’s done, use your pocket hole jig to drill pocket holes in your panels*.
*If you don’t have a pocket hole jig, you can cut grooves into your upper frame pieces prior to assembling, or attach the plywood to the inside of your cart using wood glue and brad nails. If you do either of these, please make sure to cut your plywood panels a bit taller and/or longer to account for the added square footage.
2. Attach your plywood panels to your cart. The panels will be installed on the upper portion only.
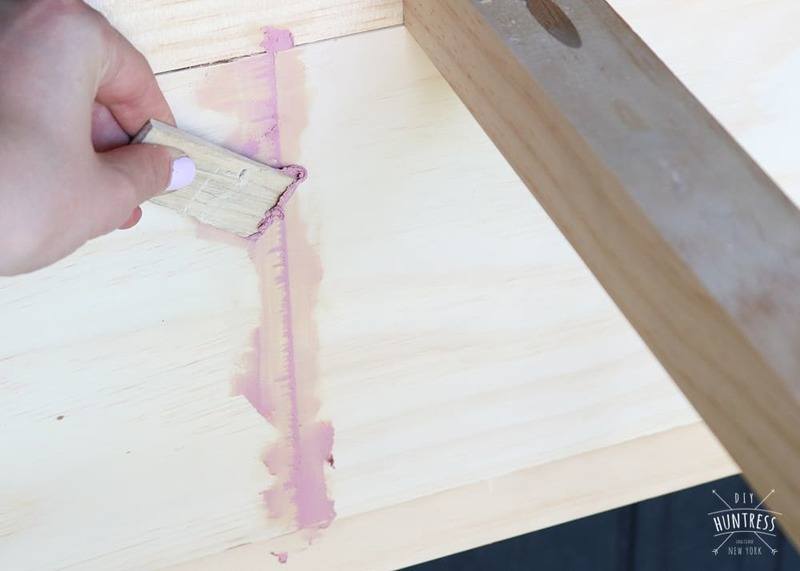
3. Use wood putty to hide any unwanted pocket holes or imperfections in the wood.
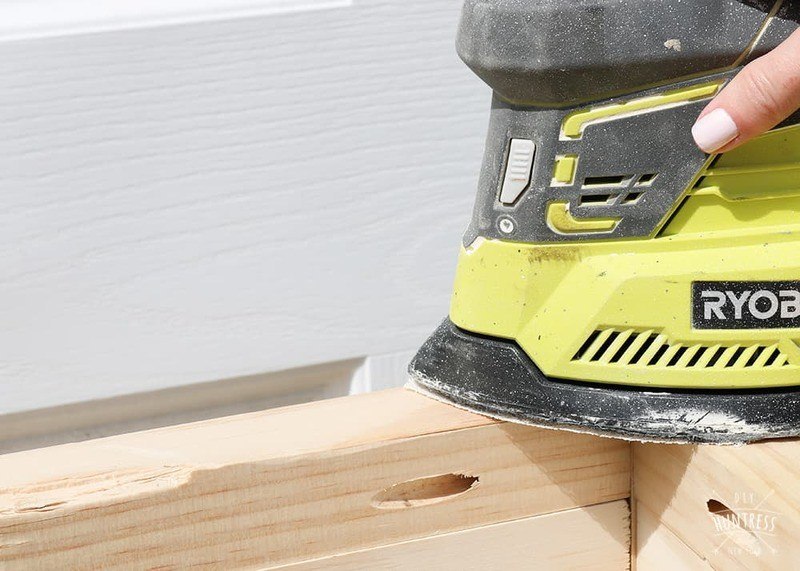
4. At this point, give the entire piece a good sanding!
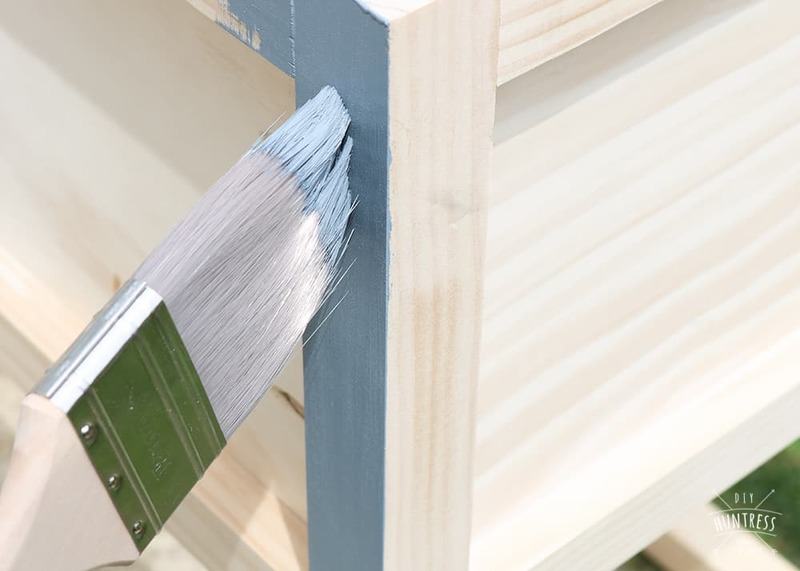
5. And, if you’re choosing to paint the cart’s frame, you can do for it here following the sanding!
… don’t forget to paint the spacer pieces we left out earlier!
The Shelves
1. Cut your 1 x 6″ shelf pieces as per the cut list above. Your 4 bottom shelf pieces will be shorter than the top pieces because you will want them to be flush with the frame of the cart. You may also want to rip these pieces down by ¼” of an inch to help keep them from spilling over the sides of the cart.
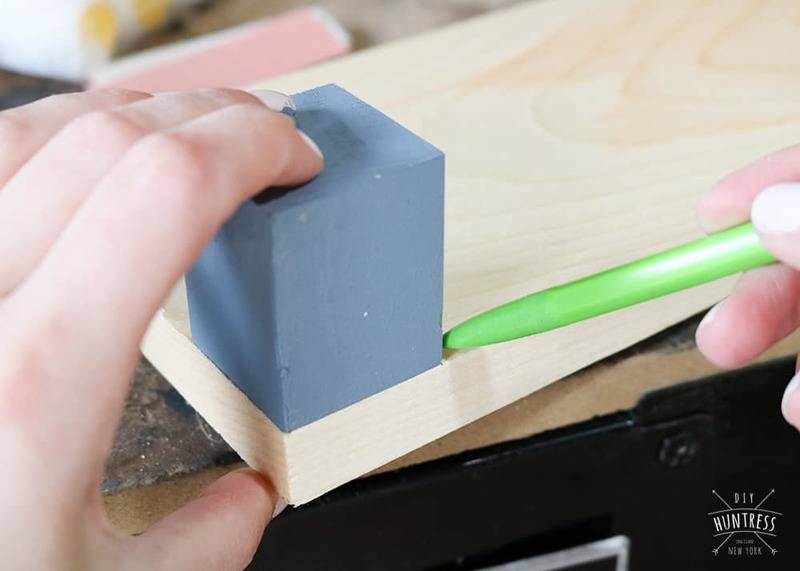
2. Because your bottom shelves will be fit to size, you will need to cut out small notches in your front and back pieces to hug the legs. You can do this by using your spacers to trace how thick the legs are and then cut the notches out using a jig saw or bandsaw.
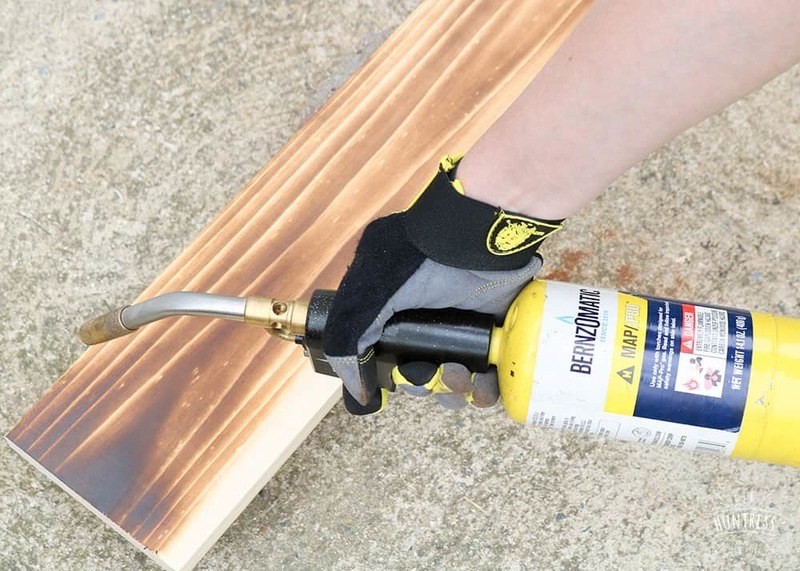
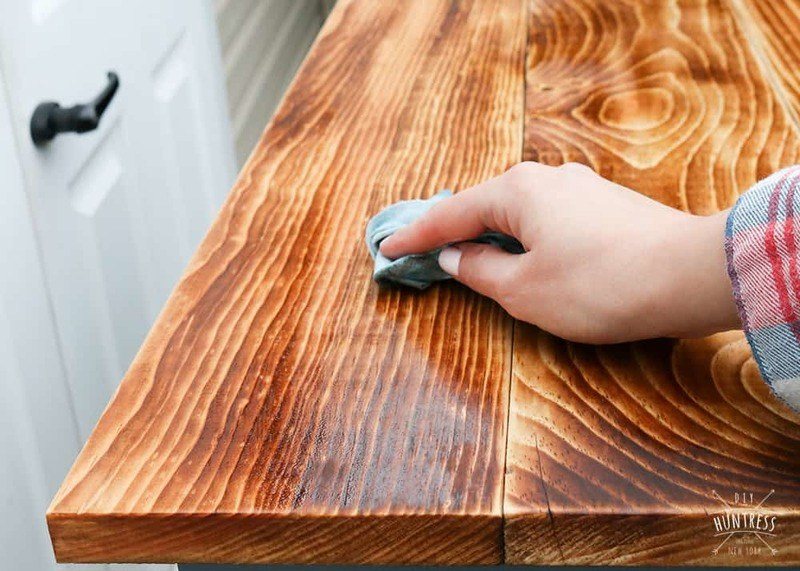
3. Once your pieces are cut, use your Bernzomatic TS4000 to torch the pieces. Make sure to torch both sides to prevent cupping!
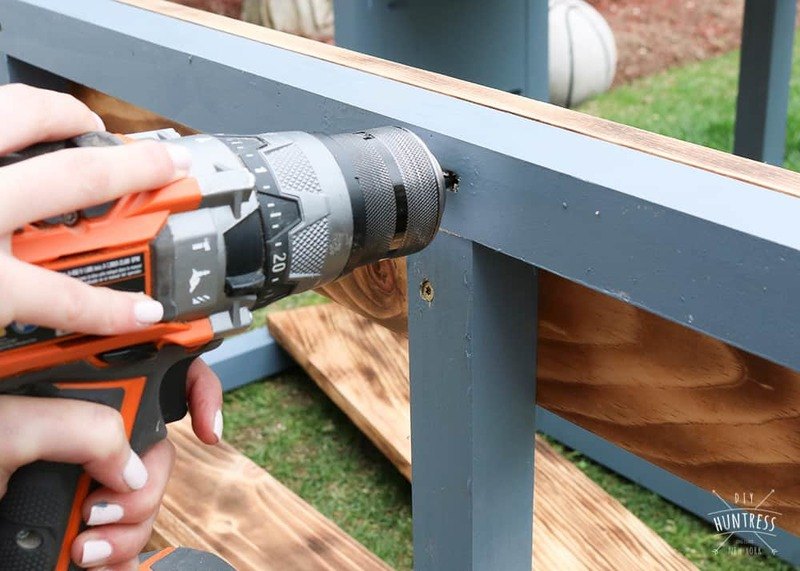
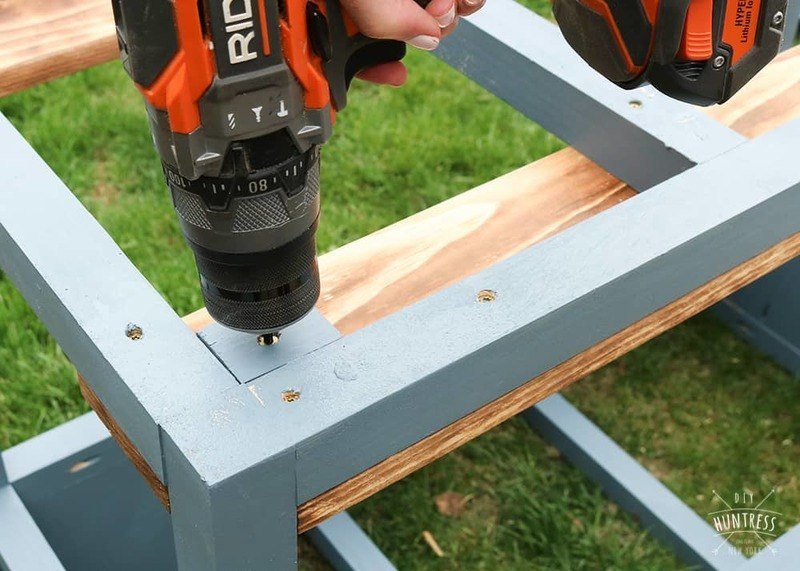
4. After torching, attach your boards by screwing them into the 2×2 supports with 2 ½” wood screws. You can hide the screws by attaching the boards from underneath.
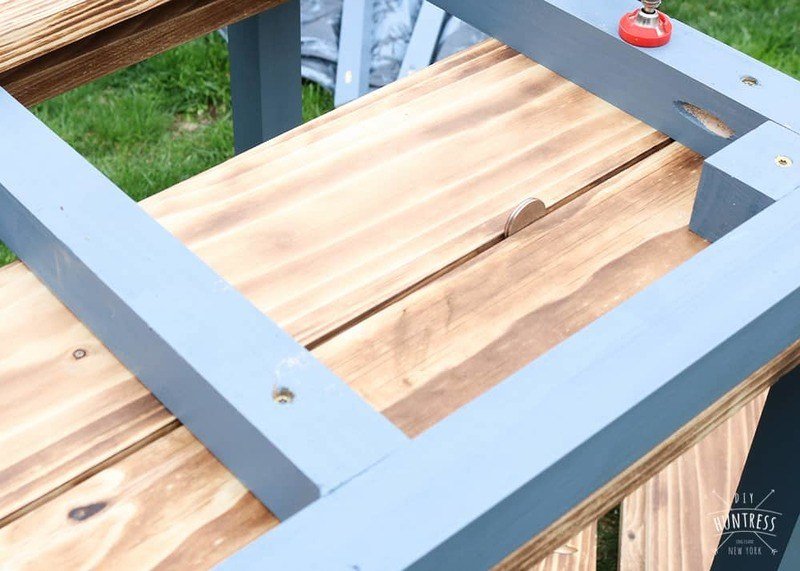
I used quarters to help space out my bottom pieces (since I trimmed them all down by ¼” each). This spacing allows for easier clean up if crumbs fall to the bottom of the cart!
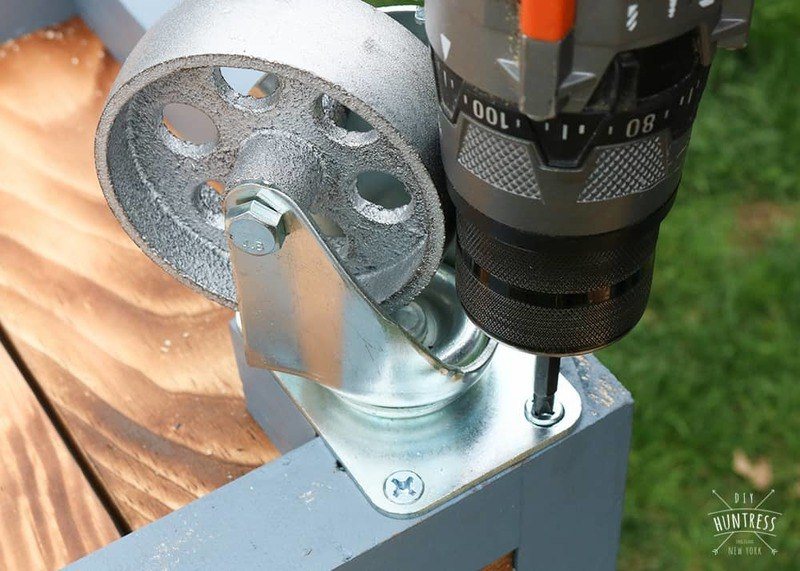
5. Next, attach your spacers to the bottom corners of the cart. These are here to help attach your castors!
6. Once your top and bottom are attached, flip the cart back over and attach your castors.
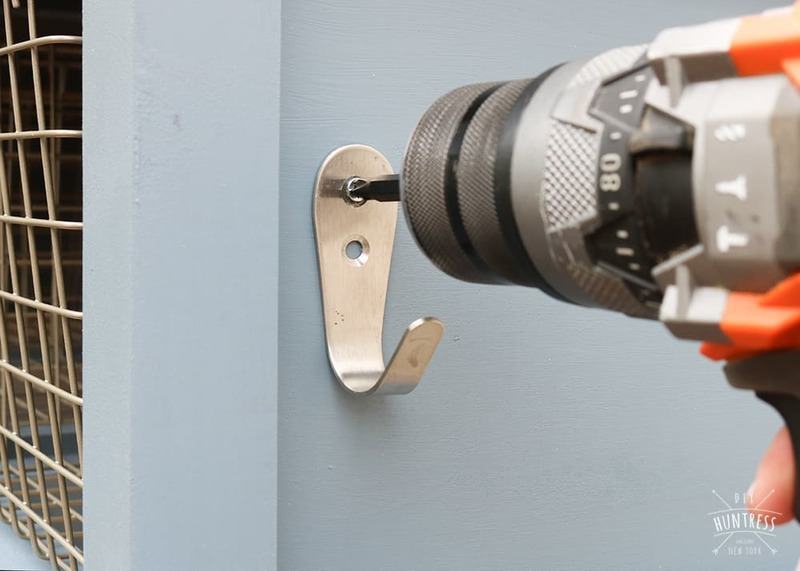
7. Now, go ahead and flip your cart over and attach the rest of your accessories (i.e., towel rack and hooks).
8. Last, use mineral oil to seal your shelves. Using mineral oil helps to make the surface food-safe!
Now, celebrate your build with an epic Memorial Day Weekend Party!
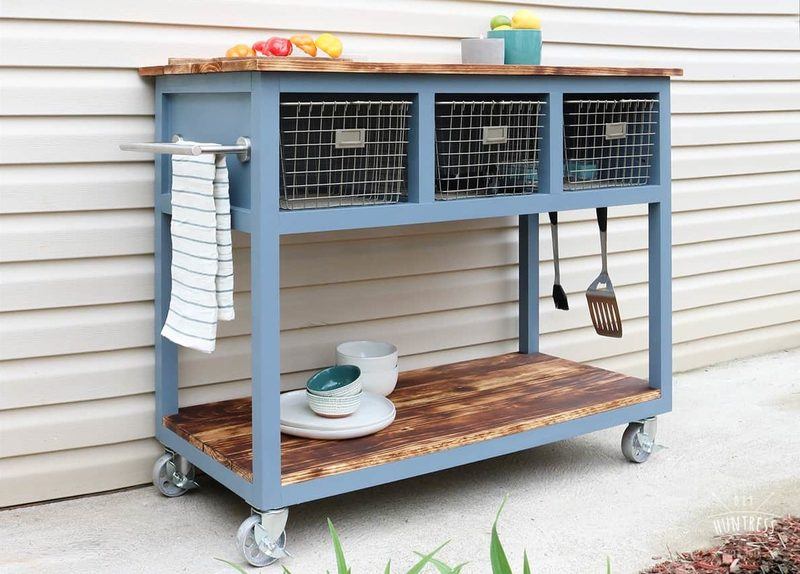
One of my favorite things about this cooking cart is that it has storage to house other grilling essentials, such as my citronella candles for keeping unwanted guests away, my Bernzomatic Utility Lighter, and Bernzomatic Detail Torch (which, we use for roasting)!
What do you think? Have I convinced you that you need your very own mobile kitchen island/grill cart?