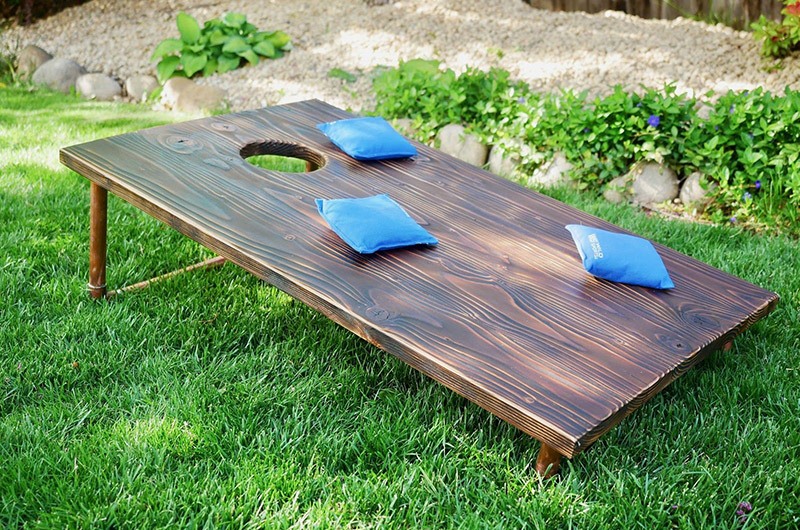
Summer is right around the corner and that means the family is migrating out of the house and into the backyard. That's why we figured since we're out here anyway, let's find ways to entertain company. We thought a Corn Hole set would be a fun activity that even the kids could enjoy.
We had an incredible opportunity to partner with Bernzomatic to create the perfect backyard Corn Hole set that not only would be tons of fun to make, but would also be so unique that it would almost become a centerpiece and a conversation starter when we have company over.
Directions
Cut
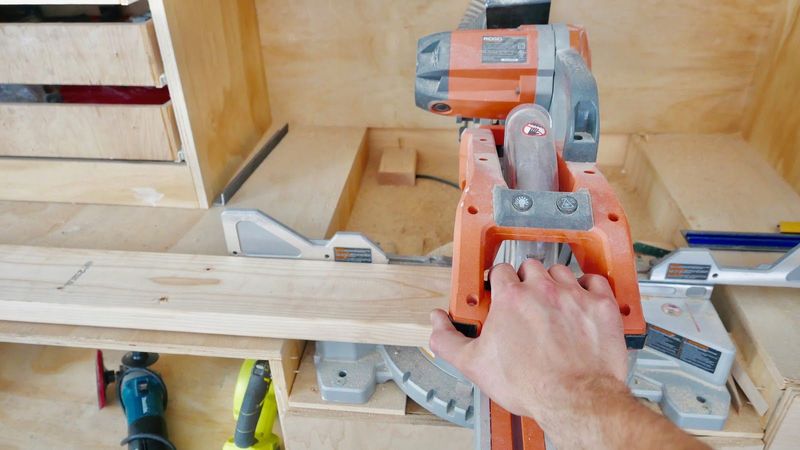
Typical Corn Hole boards are 24 wide and 48" long, so we cut the boards 1-2 longer to trim them flush after the glue up.
STOP: There are two ways to make the corn hole top. Option A: After the previous step, use a Kreg Pocket hole jig to joint all the boards together. Because of the round over edges on the 2x6 boards, this will work, but the board won’t be perfectly smooth. Option B: Mill the wood (prepare it to become one board). If you have access to a jointer, planer and table saw, follow the directions below.
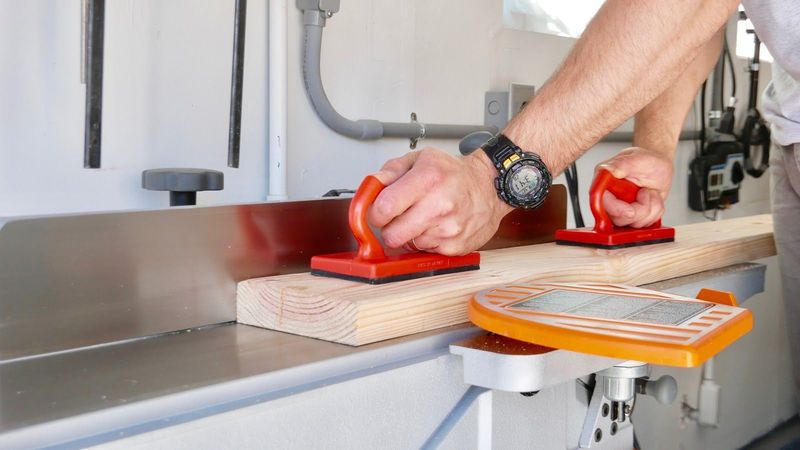
Since we're working with 2x6, we can use a 6 inch jointer to flatten one board face first.
Then flatten one edge. Doing it in this order, will save you tons of frustration.
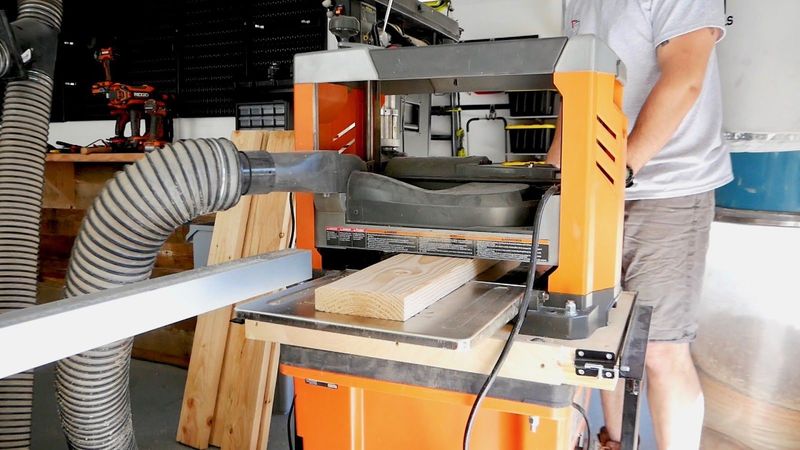
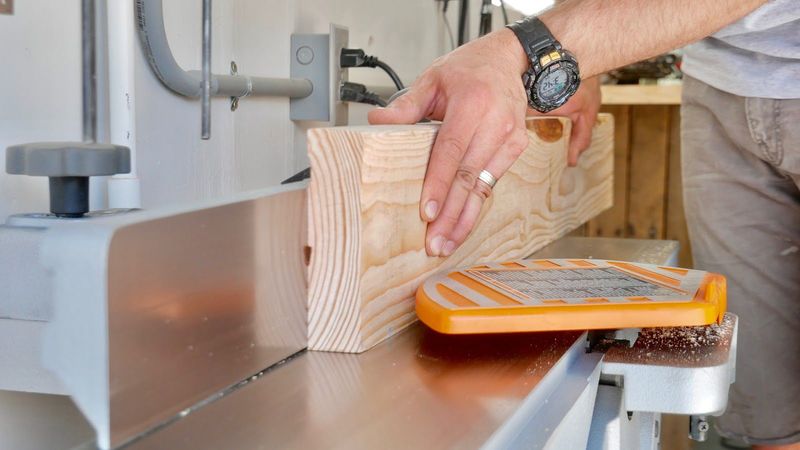
Create a parallel flat surface using your thickness planer, bringing the material to 1-1/4" thickness from 1-1/2.
Now finish off the milling process by creating a flat parallel edge running the clean jointed side along the fence and the remaining rough edge cut through the blade. This creates a perfectly "square" board.
Glue Up

Use plenty of water-resistant wood glue, like TITEBOND III if you're planning on leaving the Corn Hole game outside to endure the changing weather conditions and sprinklers.
Clamp
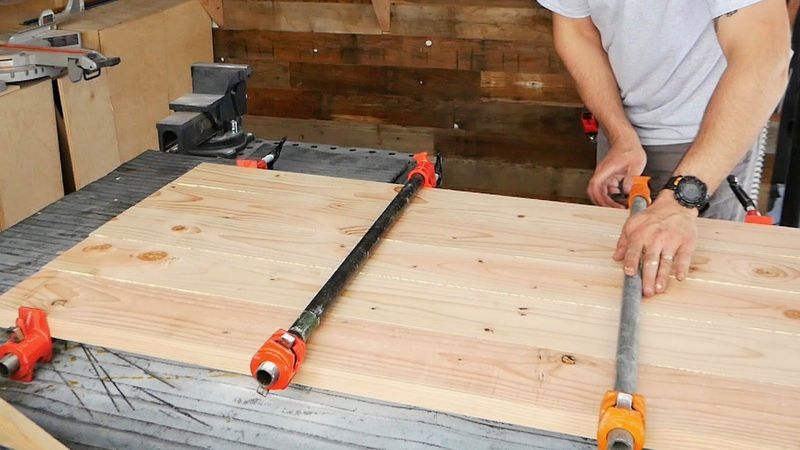
Clamp the workpiece being careful not to do it too tightly, so you don't squeeze out all of your wood glue. Look for a nice, light, and even glue squeeze out.
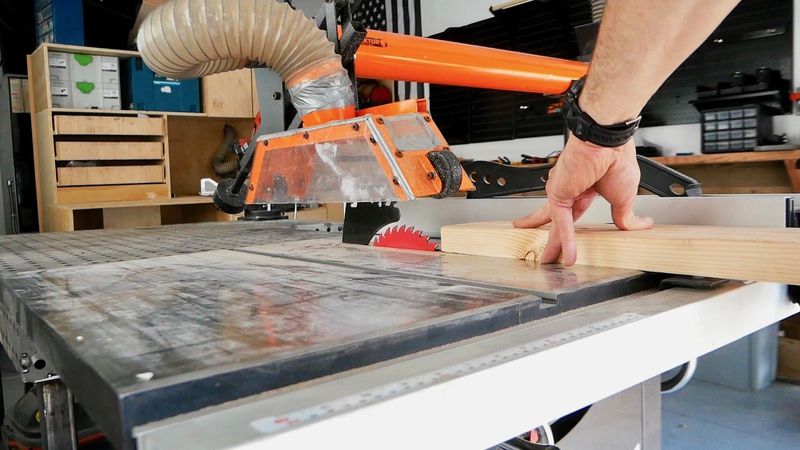
Trim
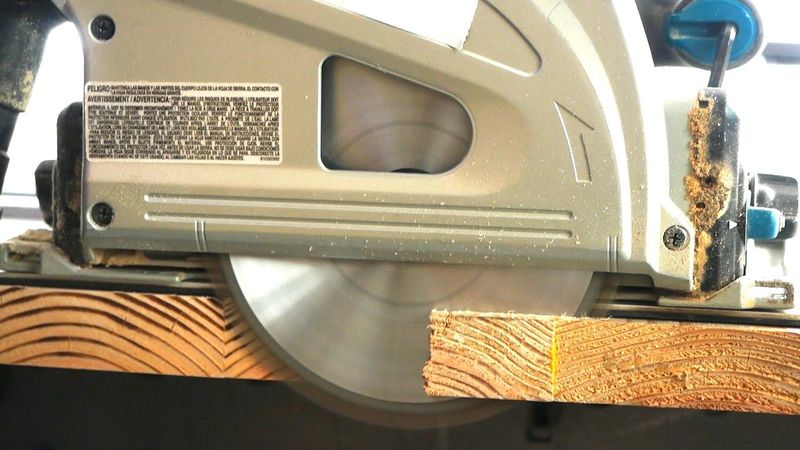
Because we made our boards a few inches longer in anticipation of this step, square off the board on all sides, creating the final dimensions of 24"x48".

Hole
Trace out a 6 inch hole, centering it to be 9 inches from top and 12 inches from side of the board.
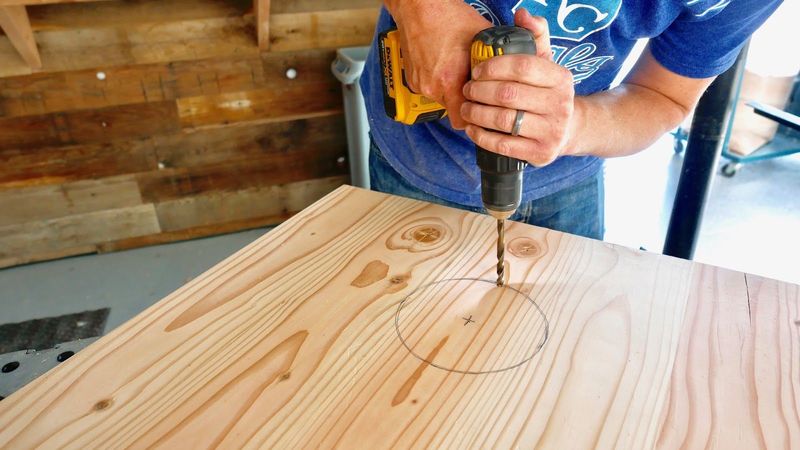
If you do not own a 6 inch hole saw bit, no worries, neither do I. What you can do is pre-drill a hole on the inside of the circle and then cut the hole out with jigsaw.
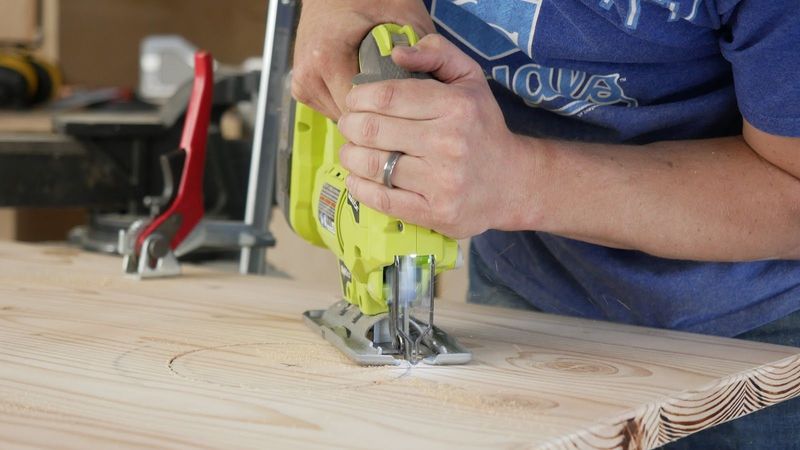
The best trick to cutting a good circle is to go slow and take your time.
Round Over
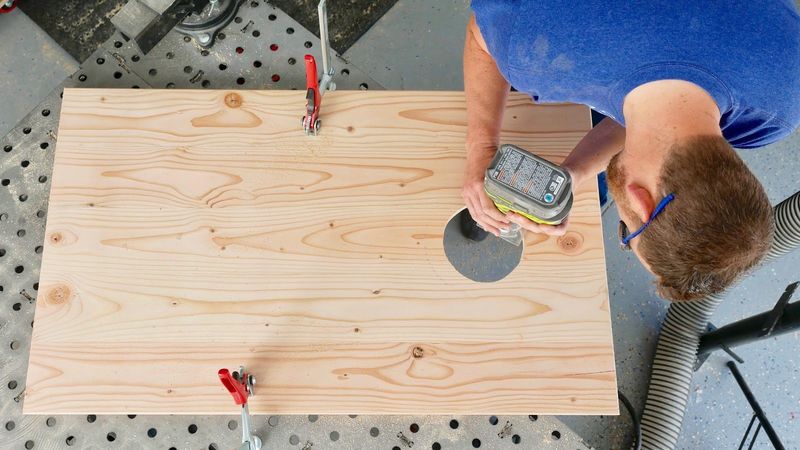
Use a 1/8-3/8 roundover bit on your router to smooth out the edges of your board as well as the circle. You’ll be amazed how much cleaner the circle looks once the round ver bit cleans up the rough edges.
Legs
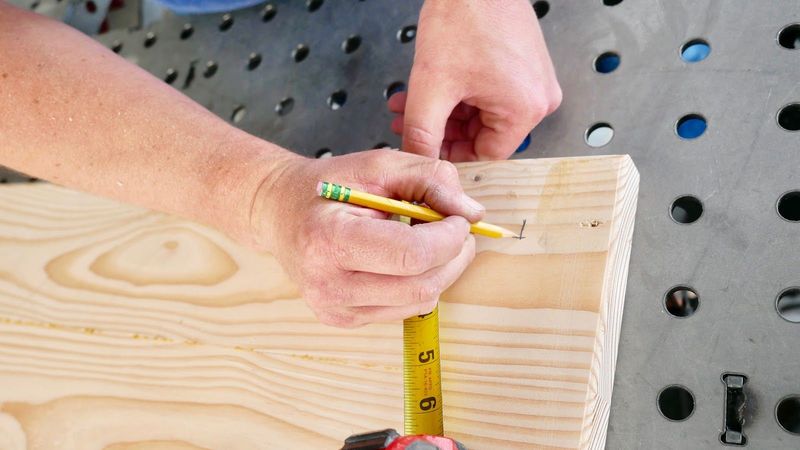
Make an inset 2" mark from each corner of the board to establish a home for the copper legs.
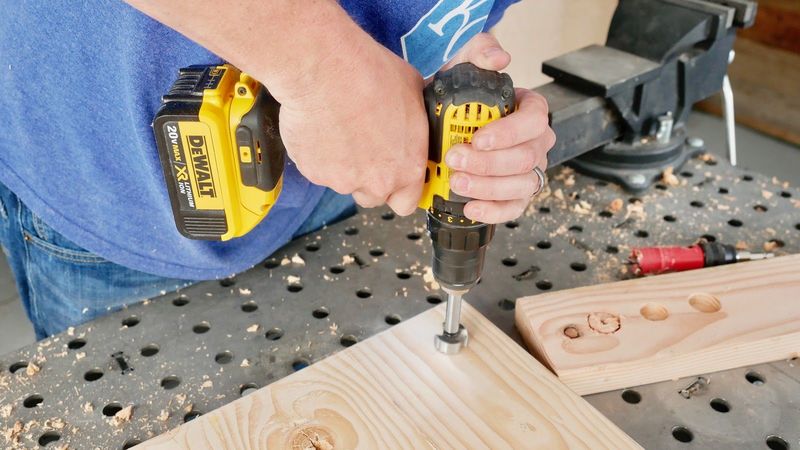
Since we're using the 1" copper tubing, use a 1-1/8" forstner drill bit, and drill down a hole to be 3/4-1" deep, depending on whether you chose your board to be 1" or 1-1/4" thick.
Cutting Copper
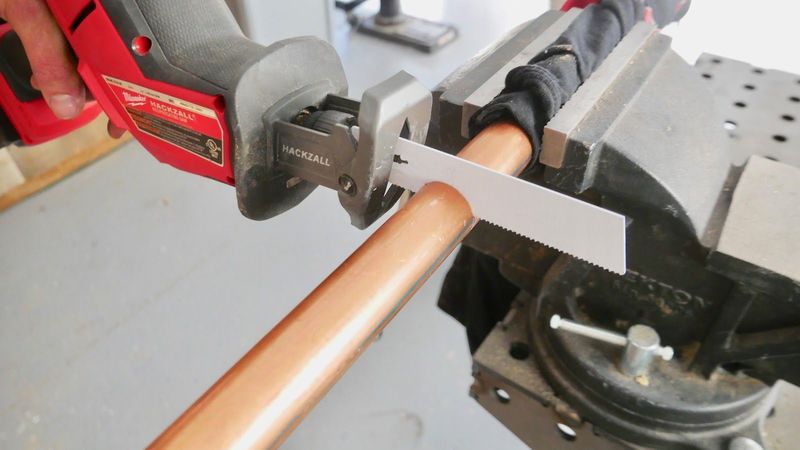
Copper cuts really easy with a metal cutting hacksaw blade. When clamping into a vice, I used a rag or an old shirt to prevent the teeth from the vice from cutting and scratching the copper.
- (x1) Large piece: 20" long
- (x2) Medium side pieces: 9-3/4"
- (x2) Small piece: 4 inches
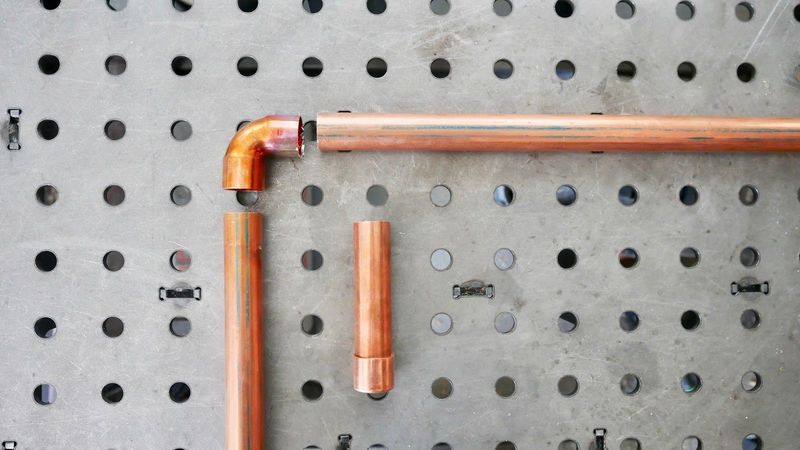
Layout
Soldering Copper
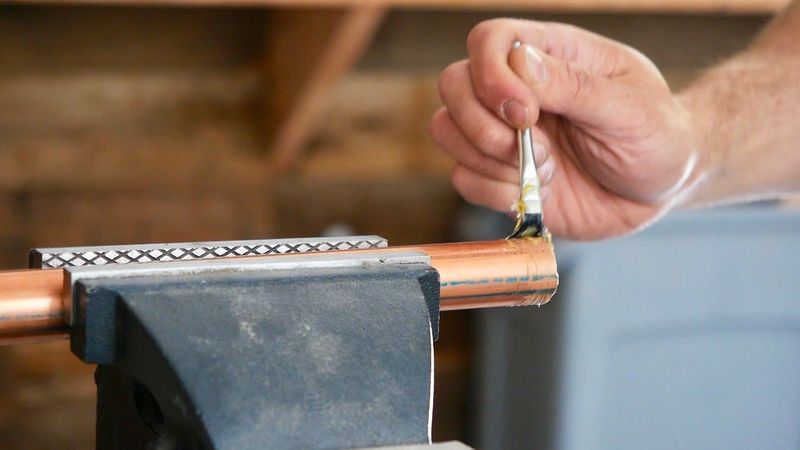
For official plumbing use, copper needs to be cleaned and sanded to ensure proper sealing. But since for this application we only need a jointing purpose, I just lightly cleaned the joints from any debris. Then I applied an even coating of Flux paste with a brush on both pieces.
This ensures a strong connection during soldering.
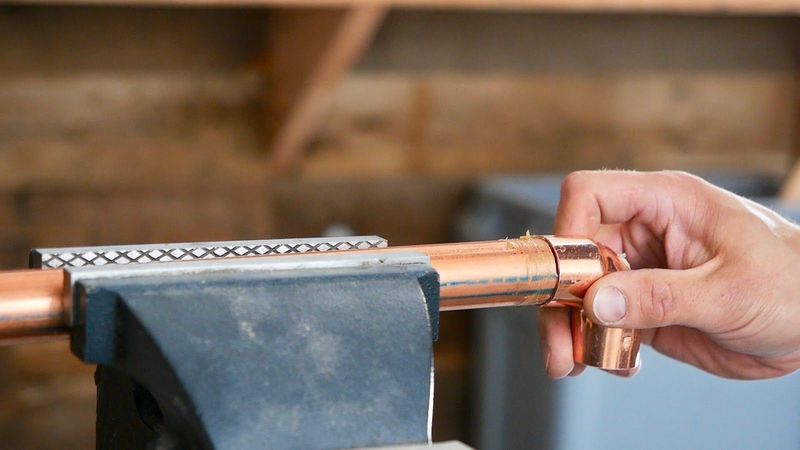
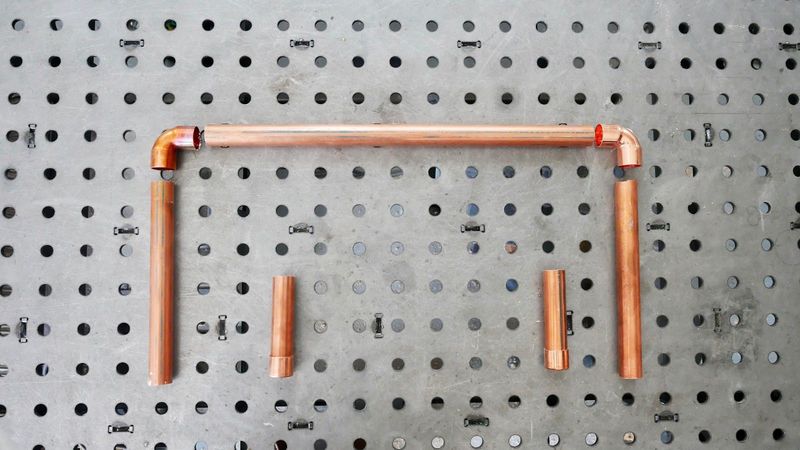
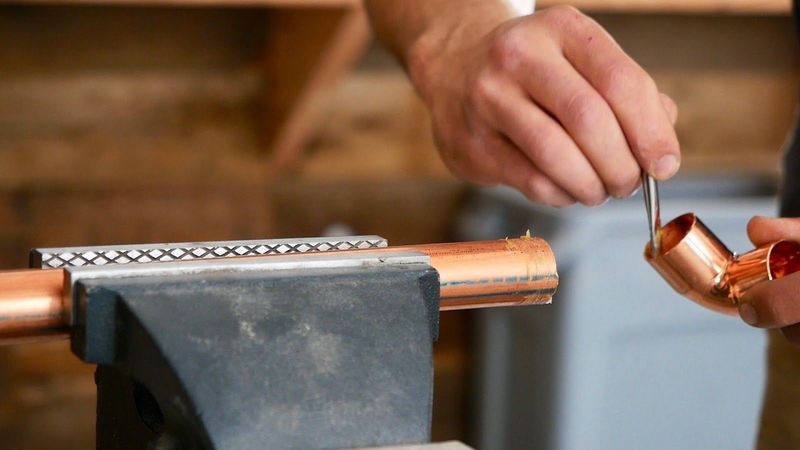
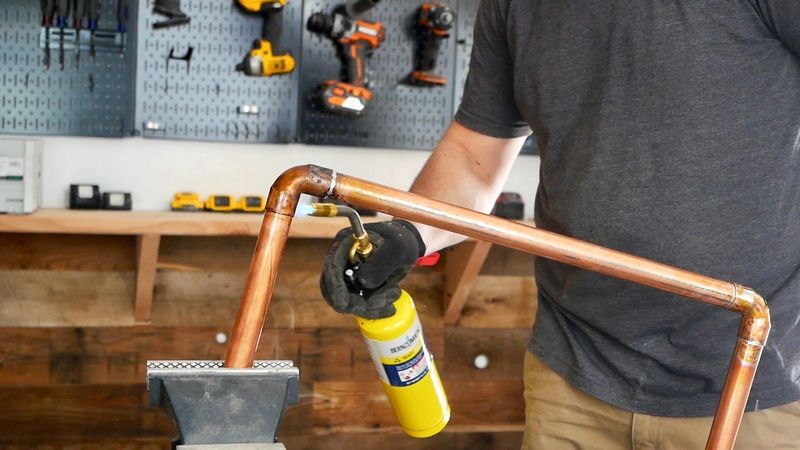
Connect the pieces tightly, ensuring they are in the appropriate direction.
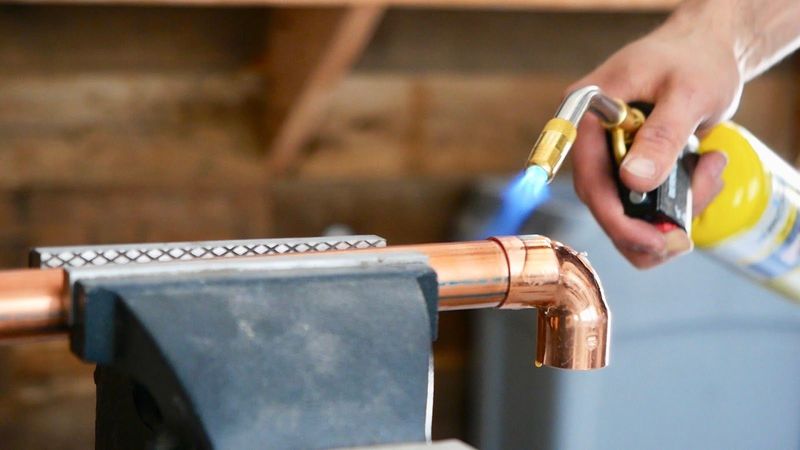
Use the MAP/Pro gas with the TS4000 torch to heat the copper hot. You're definitely at proper temps when you start seeing smoke coming out the openings of the pipe.

Use the proper plumbing wire and run the tip of the wire around the jointer allowing the wire to get sucked in via Capillary fill. This is amazing to watch as well as so much fun.
Finish off the rest of the joints in the same manner.
Burning Wood
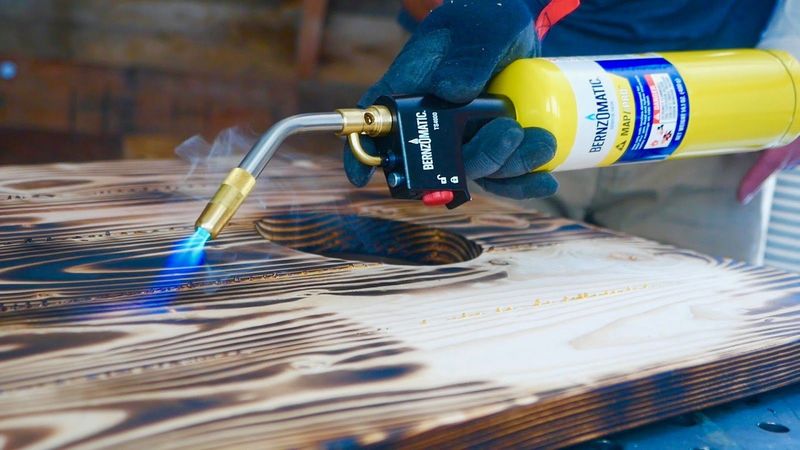
When burning the wood, follow the appropriate safety instructions that are included in the packaging. I used the same yellow MAP/Pro gas for speed since again. It burns so much hotter than propane. This made controlling an even burn on the corn hole board easier as well as even. The TS4000 torch has a hands-off locking mechanism that allows for the torch to be sparked, and then locked in the ON position so that you can get your finger off the button for comfort, convenience, and control.
Installation
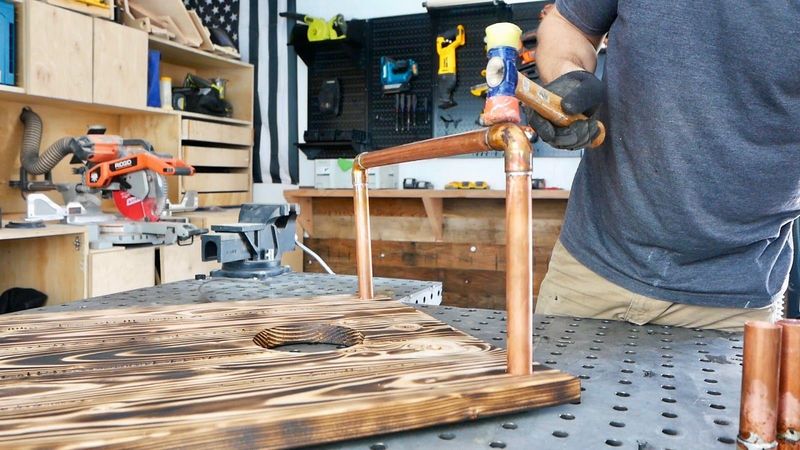
Because the 1-1/8" hole for the 1 inch legs, this is a perfect friction tight fit. I used a mallet to really ensure the legs are seated properly.
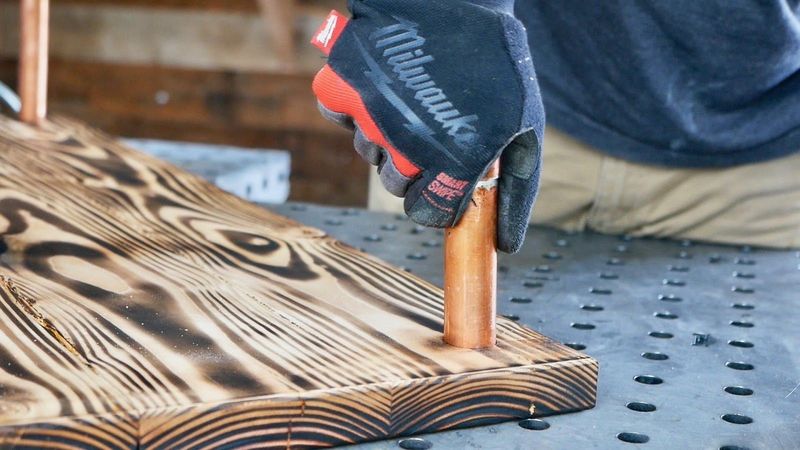
To ensure the legs don't develop a loose fitting over time, you can always apply epoxy or 100% silicone on the ends of the copper before setting them in place.
Sand
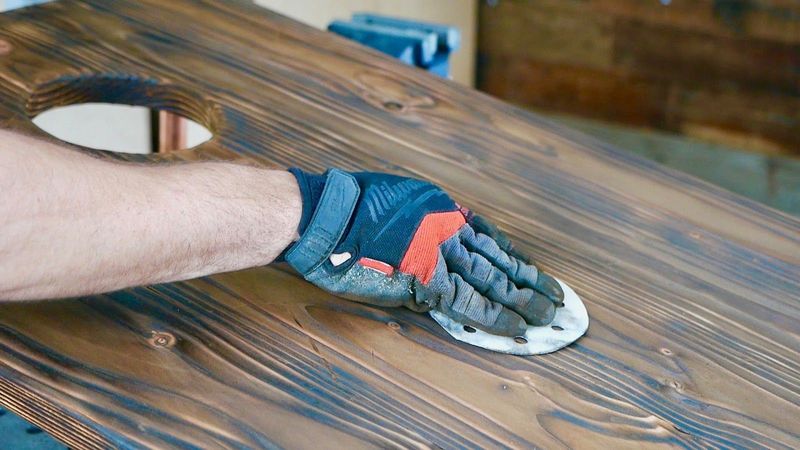
Because wood burns unevenly at times, or perhaps even too much, use a 12O Grit sandpaper to hand sand off any overly harsh burnt areas.
Protection
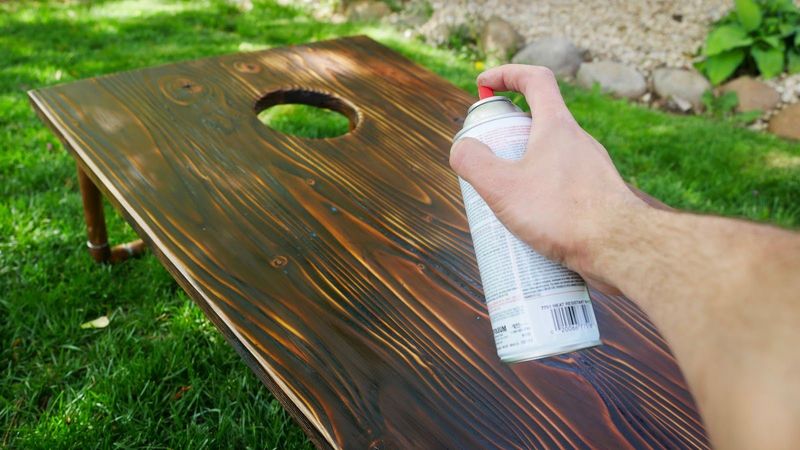
After a light washing with a wet rag, spray or brush on a few layers of a polycrylic or polyurethane to protect the top from wear, the sandbags, and the weather.
Final Reveal